DIY Wood Raised Garden Bed on a Budget
Build a sturdy, budget-friendly raised garden bed with basic tools. Includes lumber tips, step-by-step assembly, and accurate soil volume math for filling it.

Maggie O'Connell is a lifelong gardener and the voice behind Vegloom, dedicated to helping people grow their own food regardless of their yard size. With over 15 years of hands-on experience in backyard agriculture, she specializes in raised bed gardening, organic soil building, and seasonal planting calendars. When she isn't writing, Maggie can usually be found tending to her sprawling heirloom tomatoes or experimenting with new compost recipes.
I grew up snapping green beans on my grandma’s porch, and I swear that porch taste is what keeps me building new beds every spring. When I bought my first home, the “garden area” was basically a slab of dense clay that laughed at my shovel. Raised beds saved the day, and they can save yours too, even if you are working with a tight budget.
In this tutorial, I’ll walk you through building a simple, sturdy wooden raised bed using affordable, widely available materials. No fancy joinery. No pricey kits. Just a solid box that holds good soil and grows a lot of food.
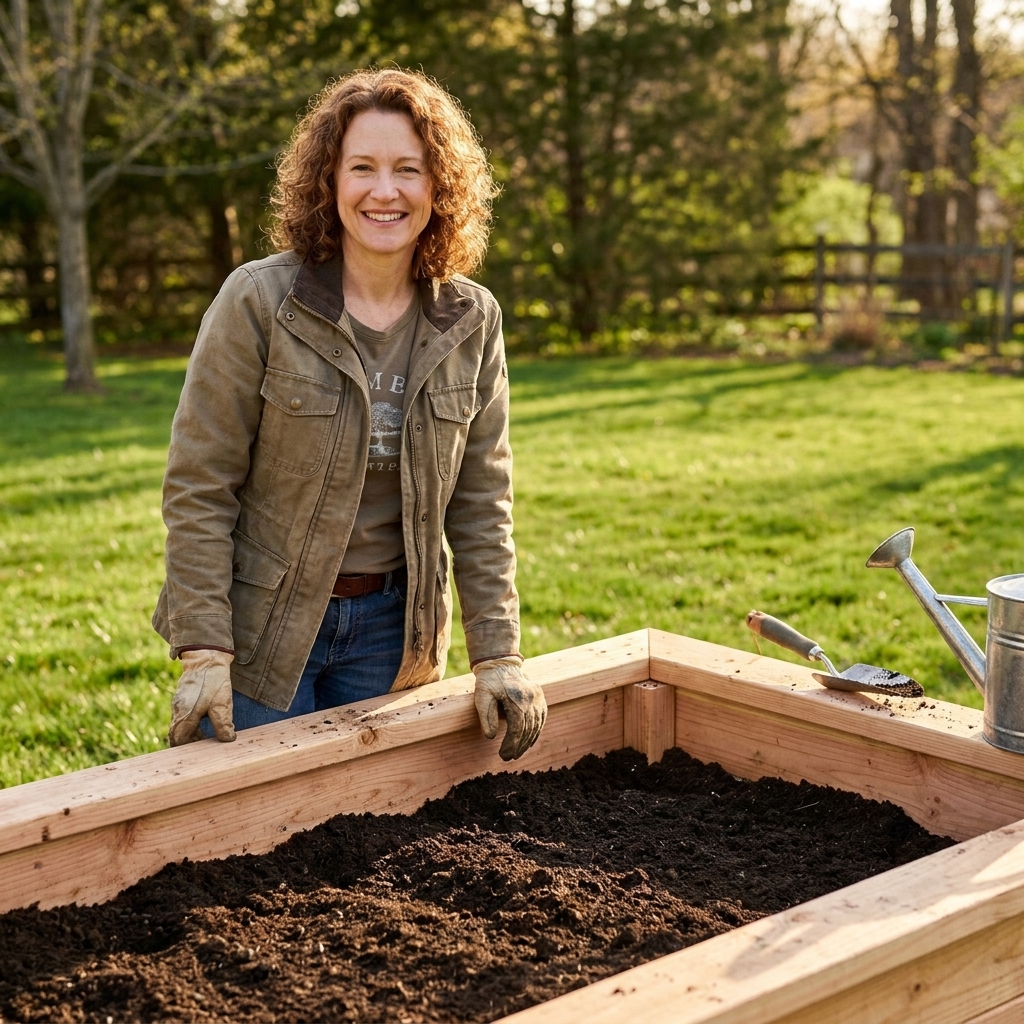
Plan first: size, location, and how much you really need
A beginner-friendly size that stays budget-friendly
The most practical starter bed is 4 feet wide because you can reach the center from either side without stepping on your soil. Length is flexible, but 8 feet long is a sweet spot for cost and yield. For depth, 10 to 12 inches works well for most vegetables, especially if the ground underneath can drain.
- Best all-around: 4 ft x 8 ft x 11 in (using a standard 2x12)
- Small space option: 4 ft x 4 ft x 11 in
- Low-cost, low-profile: 4 ft x 8 ft x 7.25 in (using a 2x8)
Pick a spot that makes vegetables happy
- Sun: 6 to 8+ hours is ideal for tomatoes, peppers, cucumbers, squash, and most fruiting crops. Leafy greens can manage with less.
- Water access: Put the bed close enough to a hose that watering is not a daily workout.
- Drainage: Avoid low spots where water puddles after rain.
- Convenience: If you can see it from a window, you will weed it more. That is just human nature.
Choosing safe, affordable lumber
This is where budgets can spiral, so let’s keep it simple and food-safe.
Best budget lumber options (and what to avoid)
- Kiln-dried pine or fir (most common at big box stores): Affordable and easy to find. It will not last as long as naturally rot-resistant woods, but you can still get several good seasons, especially if you keep soil a couple inches below the top edge and avoid constant saturation.
- Cedar (often “Western red cedar”): More expensive, but naturally rot-resistant and long-lasting. If you can find fence pickets or local-mill offcuts, cedar can sometimes be surprisingly affordable.
- Untreated hemlock or larch: Depending on your region, these can be great mid-price choices with decent durability.
Avoid old railroad ties and unknown reclaimed timbers that may be contaminated. Also skip creosote-treated wood entirely for food gardens.
Is pressure-treated wood OK for vegetable beds?
Modern pressure-treated lumber in the US is typically treated with copper-based preservatives (not the old CCA formula). Many gardeners use it for raised beds, and it is commonly sold for residential outdoor use. Still, “safe” can be a personal comfort call, and it’s smart to follow any local guidance.
If you want the most cautious route, choose untreated wood or cedar. If budget pushes you toward pressure-treated, stick with standard residential pressure-treated lumber and avoid products labeled for heavy-duty industrial or marine use. You can also reduce soil contact by lining the inside with heavy-duty landscape fabric, but keep in mind liners can trap moisture against boards and shorten their life.
My practical take: if you are building on a tight budget, untreated pine/fir is usually the simplest, least complicated choice. You can always rebuild the box later. Your soil and gardening skills will keep improving either way.
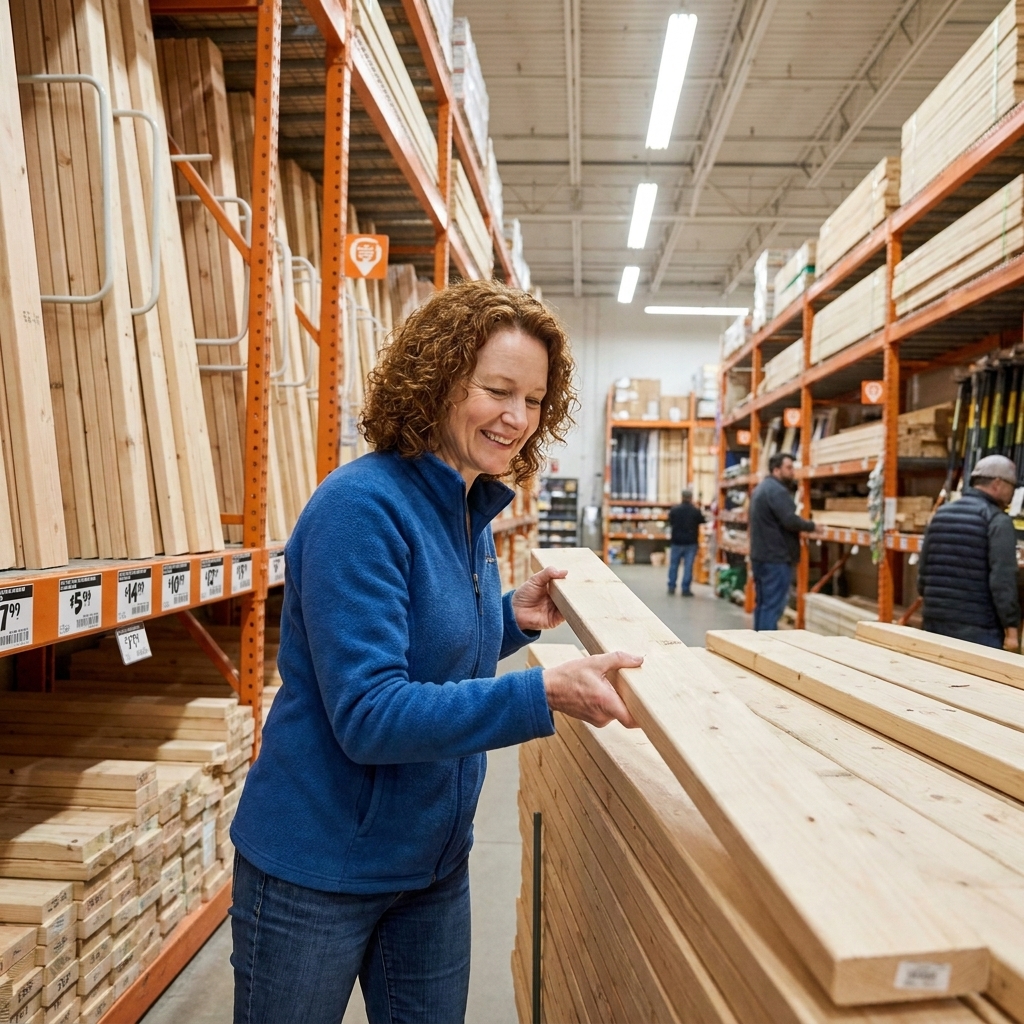
Budget materials list (4x8 bed, about 11 inches tall)
This build uses standard lumber sizes and basic screws.
Lumber
- Two 2x12x8 boards (long sides)
- Two 2x12x4 boards (short sides) or one 2x12x8 cut in half
Hardware
- Exterior-grade screws: 2.5 to 3 inch (about 24 to 32 screws)
- Optional but recommended: 4 corner braces or mending plates (helps beds stay square and tight over time)
- Optional: 1 interior brace for long beds (a single 2x2 or scrap wood across the middle helps keep sides from bowing when soil is heavy and wet)
Tools
- Drill/driver
- Tape measure
- Square (or a speed square)
- Clamps (nice, not required)
- Level (helpful for setup)
- Saw (only if cutting boards yourself)
Optional add-ons that are worth it
- Hardware cloth (metal mesh) for the bottom if you have gophers or persistent burrowers
- Cardboard for sheet-mulching grass underneath
- Staple gun if lining the inside
Step-by-step: build the raised bed box
Step 1: Select straight boards
At the store, sight down each board like you are looking down the barrel of a telescope. Skip boards that are badly bowed, twisted, or split at the ends. Straight boards make assembly faster and your bed will last longer.
Step 2: Cut your boards (if needed)
For a 4x8 bed:
- Keep two boards at 8 feet.
- Cut one 8-foot board into two 4-foot pieces for the ends.
If your store will cut boards for you, that can save money if you do not own a saw.
Step 3: Pre-drill to prevent splitting
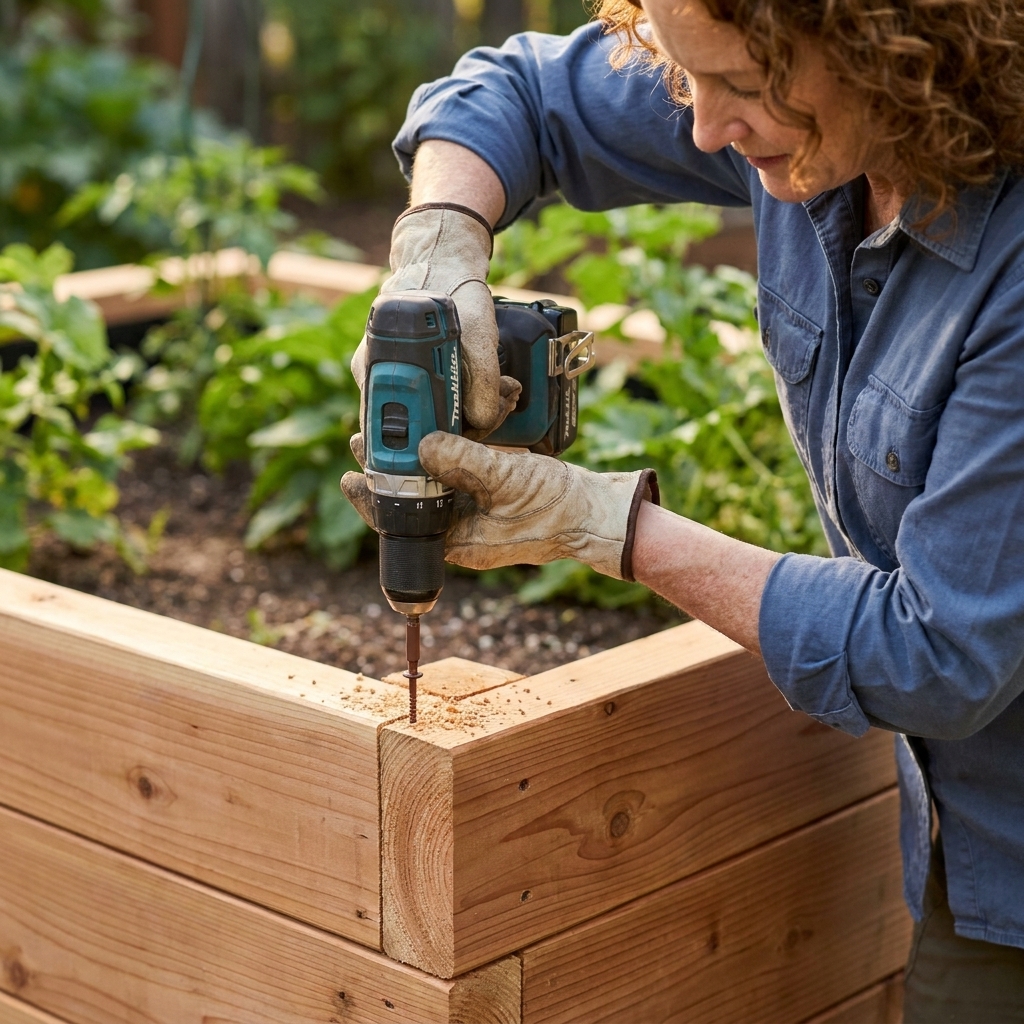
Pre-drilling is the small, boring step that prevents big, annoying cracks. Drill pilot holes near the ends of boards where screws will go.
Step 4: Assemble the rectangle
The 8-foot boards form the long sides. The 4-foot boards sit between them to make the ends.
Stand a 4-foot end board between the two 8-foot side boards to form a corner. Drive screws through the long side into the end board. Repeat for all corners.
- Tip: Use 2 screws per corner connection near the top and 2 near the bottom for strength.
- Tip: If you are working solo, assemble one corner at a time on flat ground.
Step 5: Add bracing (recommended for 8-foot beds)
Long sides can bow outward once the bed is filled. A simple brace across the middle helps a lot.
- Measure the inside width of your bed and cut a brace to fit.
- On a “4-foot-wide” bed built from standard 2-by lumber (about 1.5 inches thick), the inside width is usually about 45 inches.
- Screw the brace into the long sides, centered.
You can also use metal mending plates at the corners if you want extra rigidity without extra lumber.
Step 6: Place and level the bed
Set the bed where it will live. Use a level if you have one, but you can also eyeball it and adjust by scraping high spots and tamping low spots.
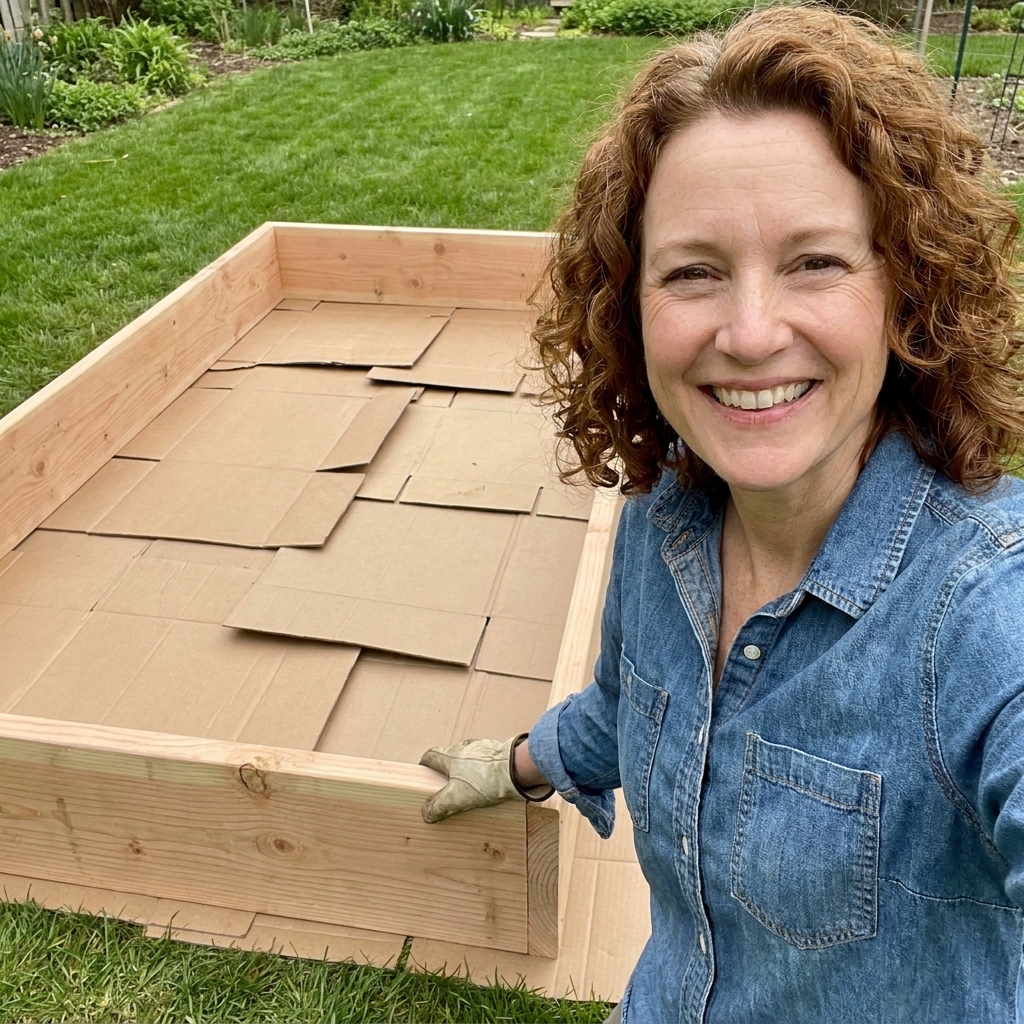
I usually skip landscape fabric under the whole bed. In my experience, it can reduce mixing between your native soil and your raised bed, and over time it can clog with fine particles. Worms can still work their way in, but I prefer a simple layer of cardboard as a budget-friendly weed barrier.
Step 7: Prep the bottom
- On grass: Lay overlapping cardboard (remove tape) and wet it thoroughly. This smothers grass and breaks down over time.
- On bare soil: Loosen the ground with a fork if you can. Even a couple inches helps roots and drainage.
- With burrowing pests: Staple hardware cloth to the bottom edges before filling.
How to keep costs low without building a flimsy bed
Spend on screws, not extras
Cheap interior screws can snap or rust quickly. Exterior-grade deck screws are a smart place to put a few extra dollars.
Use a single board height
Stacking boards (two 2x6s instead of one 2x12) often costs more and adds more seams that can separate. One board height is simpler and sturdier.
Look for “culled” wood or local lumber deals
Some stores discount boards with minor cosmetic issues. Also check local sawmills for rough-cut lumber, which can be thicker and longer-lasting for the price.
Skip stain on the inside
If you want to stain or seal for looks, keep it on the outside only and choose a product rated for garden use. The budget approach is to leave it natural and let it weather.
What this can cost
Prices vary by region and season, but a basic 4x8 bed is often the cost of the boards plus a box of exterior screws. As a rough ballpark, many gardeners land somewhere around $60 to $150 for the wood and screws, depending on whether they choose pine/fir or cedar. Soil usually costs more than the box, especially if you buy bagged.
Filling the bed: the budget soil approach that still grows great vegetables
A raised bed is only as good as what you put in it, and soil is often the most expensive part. Here is how to keep it affordable without shortchanging your plants.
How much soil do you need?
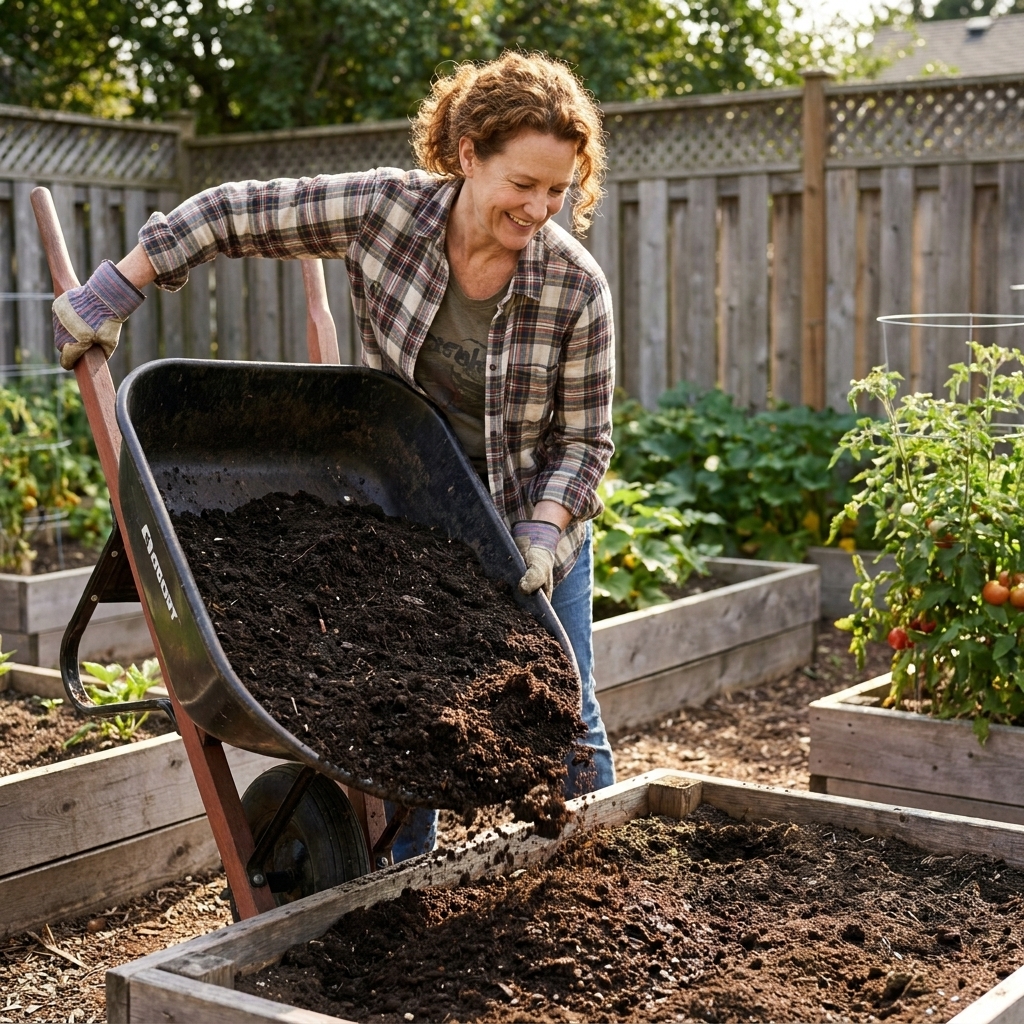
A 4x8 bed that is about 11 inches deep (0.92 feet) takes roughly 29 to 30 cubic feet of soil mix. That is about 1.1 cubic yards.
Budget tip: If you are trying to stretch your soil purchase, fill to within 1 to 2 inches of the rim, then top off after a week or two once everything settles.
A simple, reliable mix
- About 50%: quality topsoil (or screened loam)
- About 30%: compost
- About 20%: aeration material (pine fines, leaf mold, or a small amount of perlite)
If you are buying in bulk, a local landscape supplier is often cheaper than bags. If bags are your only option, mix bagged topsoil with bagged compost and fluff it with shredded leaves if you have them.
Do you need to “hugelkultur” the bottom with sticks and logs?
You can, especially if you are short on soil and have plenty of clean branches. Just know that wood breaks down and can temporarily tie up nitrogen. If you do it, keep woody material in the bottom third and make sure the top half is good growing mix.
Finishing touches that help the bed last
Keep soil below the rim
Leave 1 to 2 inches of space at the top. It reduces spillover when watering and keeps the top edge drier, which slows rot.
Mulch right away
Mulch is the unsung budget hero. A 1 to 2 inch layer of straw, shredded leaves, or untreated grass clippings helps retain moisture and cuts down weeding.
Water wisely
Raised beds drain faster than in-ground beds. Deep, less frequent watering encourages strong roots. If you can swing it later, a simple soaker hose is one of the best upgrades.
Plan for wood movement
Wood expands and shrinks with weather. After your first season, take five minutes to check corners and braces and snug up any loose screws. If a board eventually rots out, you can often replace just that piece instead of rebuilding the whole bed.
Common mistakes (so you do not repeat mine)
- Building too wide: If you cannot reach the middle, you will step in the bed and compact the soil.
- Using flimsy boards: Thin boards bow fast. Stick with standard nominal 2-by lumber like 2x8 or 2x12 (about 1.5 inches thick in real life).
- Forgetting braces: Wet soil is heavy. Long beds appreciate a middle brace.
- Putting down plastic under the bed: It can block drainage and reduce soil life. Cardboard breaks down and plays nicer with the ground.
- Filling with “garden soil” bags only: Many are mostly wood fines and don’t hold nutrients well. Blend in real compost.
Quick FAQ
How long will an untreated pine raised bed last?
It depends on climate and drainage, but many gardeners get 3 to 6 years. Keeping soil a little below the top, improving drainage, and mulching helps.
Should I line the inside with landscape fabric?
You can, but it is not required. Fabric liners can trap moisture against boards. If your goal is to keep soil from washing out through gaps, build tight corners and use good soil structure. If your goal is extra separation from treated wood, a liner can help, just expect slightly shorter board life.
Do I need to remove grass first?
Not if you use cardboard and give it a good soaking. The grass will break down under the bed.
What is the cheapest raised bed size to build?
Often a 4x4 using a single 8-foot board cut in half for two sides and another 8-foot board cut for the remaining sides. It is small but incredibly productive.
What to plant first (easy wins)
If this is your first bed, pick a few crops that reward you quickly:
- Lettuce and spinach for fast harvests
- Radishes for instant gratification
- Bush beans for big yields in a small footprint
- Cherry tomatoes if you have full sun and a sturdy trellis
And if your first season is not perfect, welcome to the club. Beds can be rebuilt, soil can be improved, and pests will humble all of us eventually. The joy is in getting started and taking your first bite of something you grew at home.