USDA Hardiness Zones Explained
Learn what USDA hardiness zones actually tell you, how microclimates can shift planting dates, and how to build a custom vegetable planting calendar using frost dates and soil temperature.

Maggie O'Connell is a lifelong gardener and the voice behind Vegloom, dedicated to helping people grow their own food regardless of their yard size. With over 15 years of hands-on experience in backyard agriculture, she specializes in raised bed gardening, organic soil building, and seasonal planting calendars. When she isn't writing, Maggie can usually be found tending to her sprawling heirloom tomatoes or experimenting with new compost recipes.
I still remember the first time I tried to garden in my own yard. I had a dream, a packet of seeds, and soil that could have doubled as pottery clay. Raised beds saved me, but the other thing that saved me was a calendar I could trust. Not a generic “plant in spring” list, but a planting plan that matched my actual backyard.
If you have ever wondered why your neighbor’s tomatoes are already a jungle while yours are still sulking, you are about to learn the reason. It is usually a mix of USDA hardiness zone, your frost dates, and the microclimates hiding all over your property.
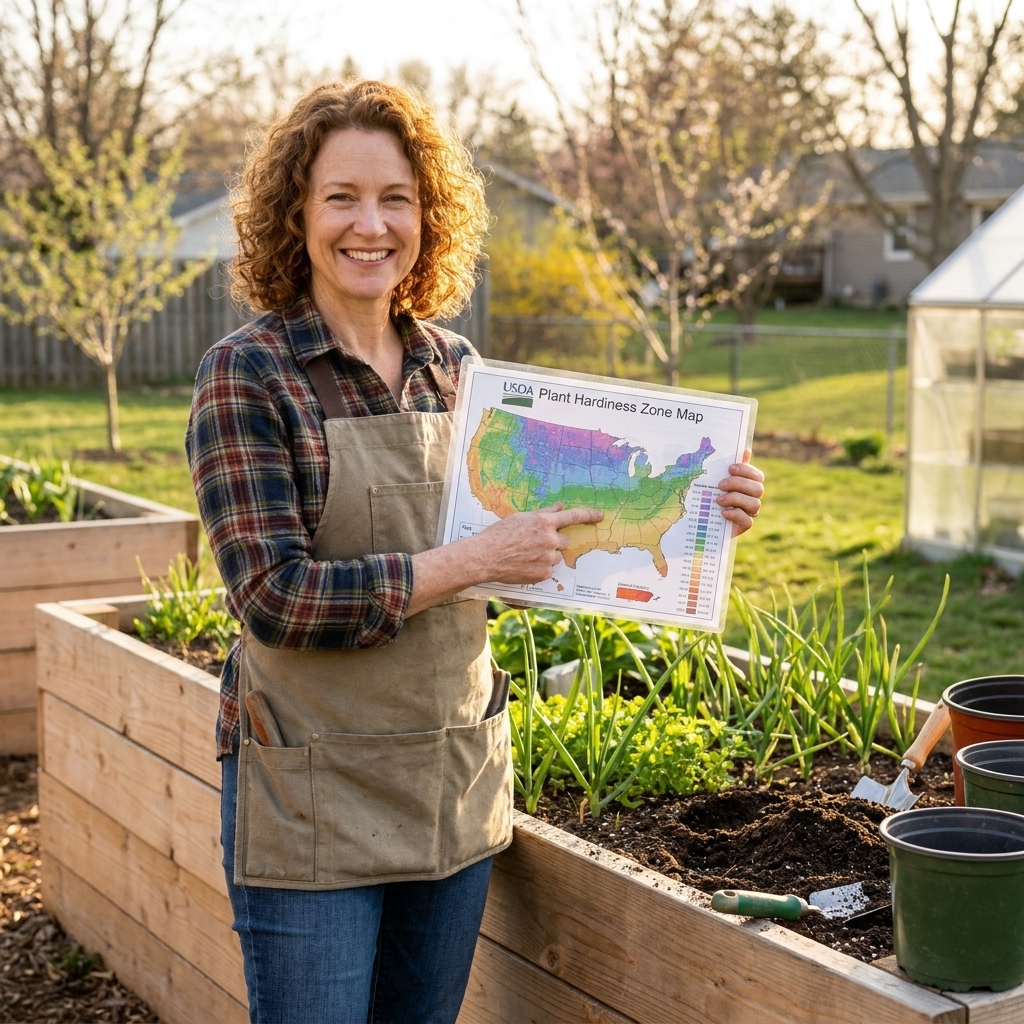
What USDA hardiness zones mean
USDA hardiness zones are based on one thing: the average annual extreme minimum winter temperature, calculated over a 30-year period. In plain language, your zone tells you how cold it typically gets at the coldest point of winter.
This is incredibly helpful for perennial plants and fruit trees because winter cold determines whether a plant can survive year after year. For vegetable gardening, zones are not your best “when to plant” tool, but they still matter in a couple of practical ways:
- They hint at the rough length of your growing season. Warmer zones often have longer seasons, though local geography can flip the script.
- They help you understand overwintering potential. In milder zones, you can sometimes overwinter carrots, garlic, and hardy brassicas (especially kale and collards) with protection. Variety choice matters.
One important nuance: in very warm zones, summer heat and short cool seasons can be the bigger constraint, especially for “cool-season” crops that bolt quickly. That is another reason zones alone do not give you a vegetable schedule.
What zones do not tell you
USDA zones do not tell you:
- Your last spring frost date or first fall frost date
- Your summer heat patterns and humidity
- Your rainfall
- Your wind exposure
- Your soil temperature in spring
So if you plant tomatoes “because I am Zone 7,” you are working with only one small piece of the puzzle.
The missing piece: frost dates
For most annual vegetables, the calendar revolves around frost. That is why two gardeners in the same USDA zone can have very different planting schedules if their frost dates differ.
You want two anchor points:
- Average last frost date (spring)
- Average first frost date (fall)
Once you have those, you can calculate your rough growing season length and schedule cool-season crops, warm-season crops, and fall plantings with much more confidence.
To find reliable local frost-date averages, check your local cooperative extension office, a nearby airport weather station record, or a reputable planting calendar that cites weather station data. The closest station to you is not always the most accurate if you live on a hill, in a valley, or near water.
A quick reminder about “average”
An average frost date is not a promise. Some years you will get a late freeze that nips your peppers after you got excited and planted early. Other years, spring will sprint ahead. Your calendar should be a plan you adjust, not a rule you obey.
Microclimates in one yard
Microclimates are small areas where the temperature, wind, sun, and moisture are noticeably different from the rest of the yard. And yes, they can be dramatic.
In my own garden, the bed near a south-facing fence wakes up earlier in spring and stays warmer at night. Another bed that sits lower on the property is a frost magnet. Same street, same town, very different behavior.
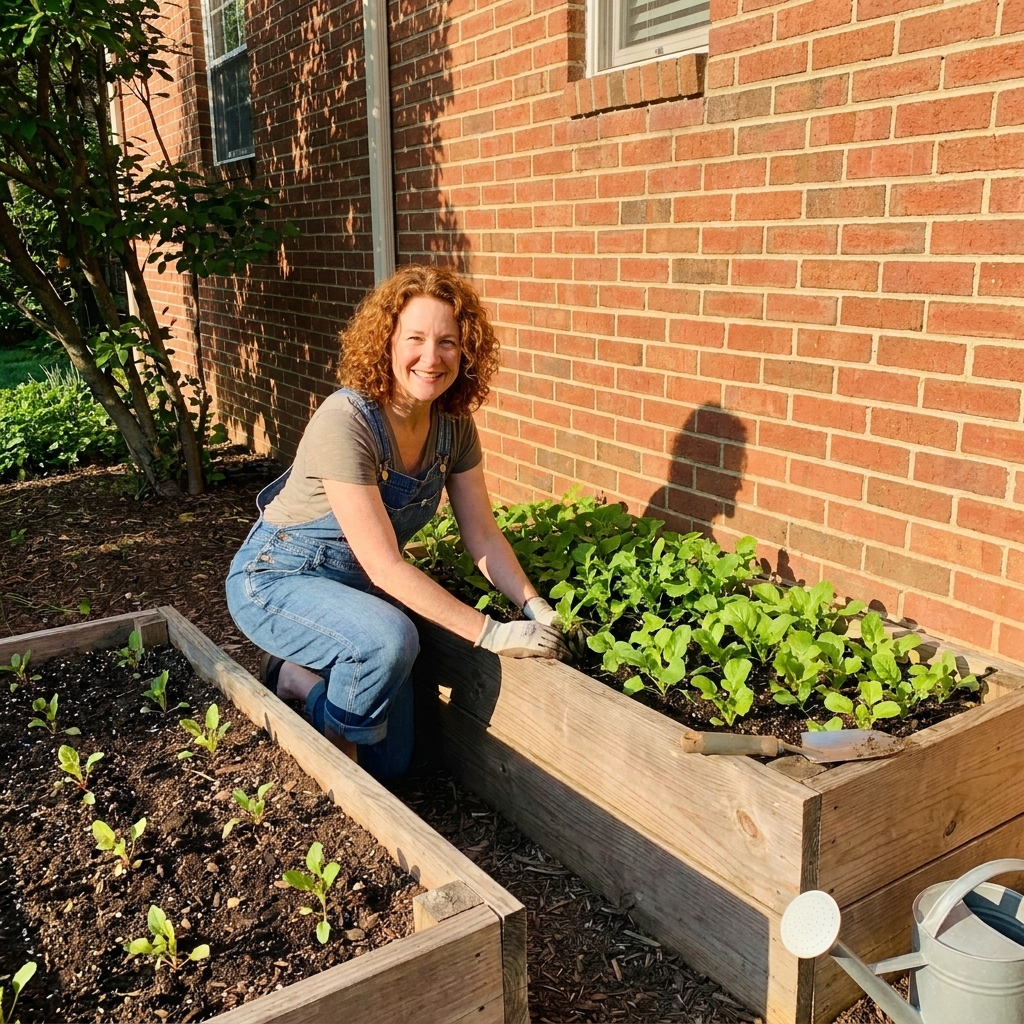
Microclimates that change timing
- South-facing walls and fences: absorb and radiate heat, often letting you plant a bit earlier
- Low spots: collect cold air, increasing frost risk
- Near pavement or stone: warmer nights and faster spring warm-up
- Windy corners: cooler soil and more transplant stress
- Under tree canopies: less sun, later soil warm-up, and more competition for water
- Urban areas: the “heat island” effect can reduce frost frequency compared to nearby rural areas
Microclimates you can create
You do not have to accept your yard’s defaults. You can build friendlier conditions with:
- Row cover or low tunnels to add a few degrees of protection
- Mulch to stabilize soil temperature
- Raised beds to warm earlier in spring and drain faster
- Windbreaks like lattice, hedges, or temporary fencing
- Shade cloth for summer crops that struggle in extreme heat
Build your planting calendar
This is the system I use. It works whether you garden in four patio containers or a whole yard of raised beds.
Step 1: Find your USDA zone (background)
Look up your USDA zone once, write it down, and treat it as background information. It is helpful context, especially for perennials and overwintering, but it is not the engine of a vegetable calendar.
Step 2: Write down your frost anchors
Record:
- Your average last spring frost date
- Your average first fall frost date
These two dates become the centerline of your whole calendar.
Step 3: Sort crops by cool-season vs warm-season
This keeps decision-making simple.
Cool-season vegetables (more frost tolerant)
- Peas
- Lettuce, spinach, arugula
- Brassicas: broccoli, cabbage, kale, collards
- Roots: carrots, radishes, beets, turnips
- Alliums: onions, leeks
- Potatoes (tops can handle light frost, but they prefer cool soil)
Warm-season vegetables (frost sensitive)
- Tomatoes
- Peppers
- Cucumbers
- Squash and pumpkins
- Beans
- Corn
- Basil
- Melons
Step 4: Add soil temperature triggers
This is where a lot of beginners lose time. Cold soil slows germination, invites rot, and can stall transplants for weeks. Use these as approximate, variety-dependent guidelines:
- Peas: soil around 40°F to 45°F is often enough
- Lettuce and greens: 40°F to 50°F
- Carrots: about 45°F and up (germination is slow when soil is cold)
- Potatoes: roughly 45°F to 50°F soil for planting
- Beans: about 60°F (they rot in cold soil)
- Cucumbers and squash: about 65°F
- Tomatoes and peppers: happiest when nights are consistently above 50°F, with soil warming into the 60s
If you only buy one garden tool besides a trowel, make it a simple soil thermometer. It will save you weeks of frustration.
Step 5: Use weeks from last frost
Instead of circling a specific date like April 15, build your calendar in blocks relative to your last frost date. Think of this as a practical starting framework, then fine-tune it with your seed packets and your microclimates.
- 10 to 12 weeks before last frost: start slow growers indoors (onions from seed, leeks, celery if you grow it)
- 8 to 10 weeks before: start brassicas indoors (broccoli, cabbage, kale)
- 6 to 8 weeks before: start tomatoes indoors toward the later end of this window; direct sow spinach and hardy greens if soil can be worked (or under cover)
- 4 to 6 weeks before: direct sow peas, radishes, carrots, beets; set out hardy transplants under cover; plant potatoes when soil is ready
- 0 to 2 weeks after last frost: direct sow beans when soil is warm; transplant tomatoes when nights are reliably mild (often later than people think)
- 2 to 4 weeks after last frost: transplant peppers; plant cucumbers and squash when soil is truly warm
Notice how this approach flexes with your actual climate. A gardener with a last frost in late April will have a different calendar than someone with a last frost in early May, even if both are in the same zone.
Step 6: Build a fall calendar by counting backward
Fall gardens are my secret weapon for big harvests and, often, fewer problems from the pests that peak in spring. You may still see late-summer pressure like cabbage worms, so plan to protect brassicas if they are a favorite.
To plan fall:
- Choose your fall crops (greens, carrots, beets, broccoli, cabbage, kale)
- Find the “days to maturity” on the seed packet
- Count backward from your first fall frost date
- Add a buffer of 1 to 3 weeks because fall growth slows as days shorten
Example: If your first frost is October 15 and your carrots need 70 days, counting backward lands you in early August. Add a buffer and you are sowing in late July or very early August. That sounds shockingly early, but it works.
Step 7: Assign beds by microclimate
This is where your calendar becomes truly custom. Match crops to the parts of your yard that help them succeed:
- Warmest bed (near a wall, best sun): tomatoes, peppers, basil, eggplant
- Quick-drying raised bed: carrots, onions, garlic, herbs
- Slightly shadier bed: leafy greens in late spring, cilantro, parsley
- Frost-prone low spot: reserve for hardier crops, or plan to cover on cold nights
Step 8: Put it on one page
Your calendar should live where you garden, not buried in an app you never open.
My favorite simple format is a single page with:
- Last frost date and first frost date at the top
- A list of your chosen crops
- Three columns: start indoors, direct sow outdoors, transplant outdoors
- A notes column for “microclimate bed” and “cover if cold” reminders
If you are starting seeds indoors, add a reminder for the basics: strong light, not-too-early timing, and a hardening-off week before you move plants outside for good.
Common mistakes and fixes
Mistake: planting warm-season crops by date, not conditions
Fix: Check soil temperature for beans, cucumbers, and squash, and pay attention to nighttime lows for tomatoes and peppers.
Mistake: assuming the whole yard behaves the same
Fix: Spend a week observing. Morning shade moves. Wind funnels. Frost settles. Jot notes like you are a backyard detective.
Mistake: ignoring wind
Fix: Even a temporary windbreak can help transplants establish. Wind also dries beds fast, which matters for direct sowing.
Mistake: forgetting containers are a microclimate
Fix: Pots heat and cool faster than in-ground beds. They warm up early, but they can also chill overnight in spring. Move them close to the house on cold nights if you can.
A quick microclimate check
If you want a quick project that will immediately improve your calendar accuracy, try this:
- On the next clear night, go outside right after sunrise.
- Look for where dew is thickest and where it dries first.
- Notice where the air feels colder, especially in low spots.
- Mark three zones in your yard: warm, average, cool.
Even that basic map helps you decide where to put early peas, where to protect tender seedlings, and which bed gets the heat lovers.
FAQ
Can I use USDA zones to know when to plant vegetables?
Use your zone as context, but build your planting schedule around frost dates, soil temperature, and your yard’s microclimates. Zones describe winter lows, not spring timing.
Why does my friend in the same zone plant earlier than I can?
They may have a different last frost date, live in a warmer pocket of town, garden next to heat-retaining structures, or simply have warmer soil conditions. Microclimates can shift planting comfort by a week or two, sometimes more.
How do I protect plants when a surprise frost hits?
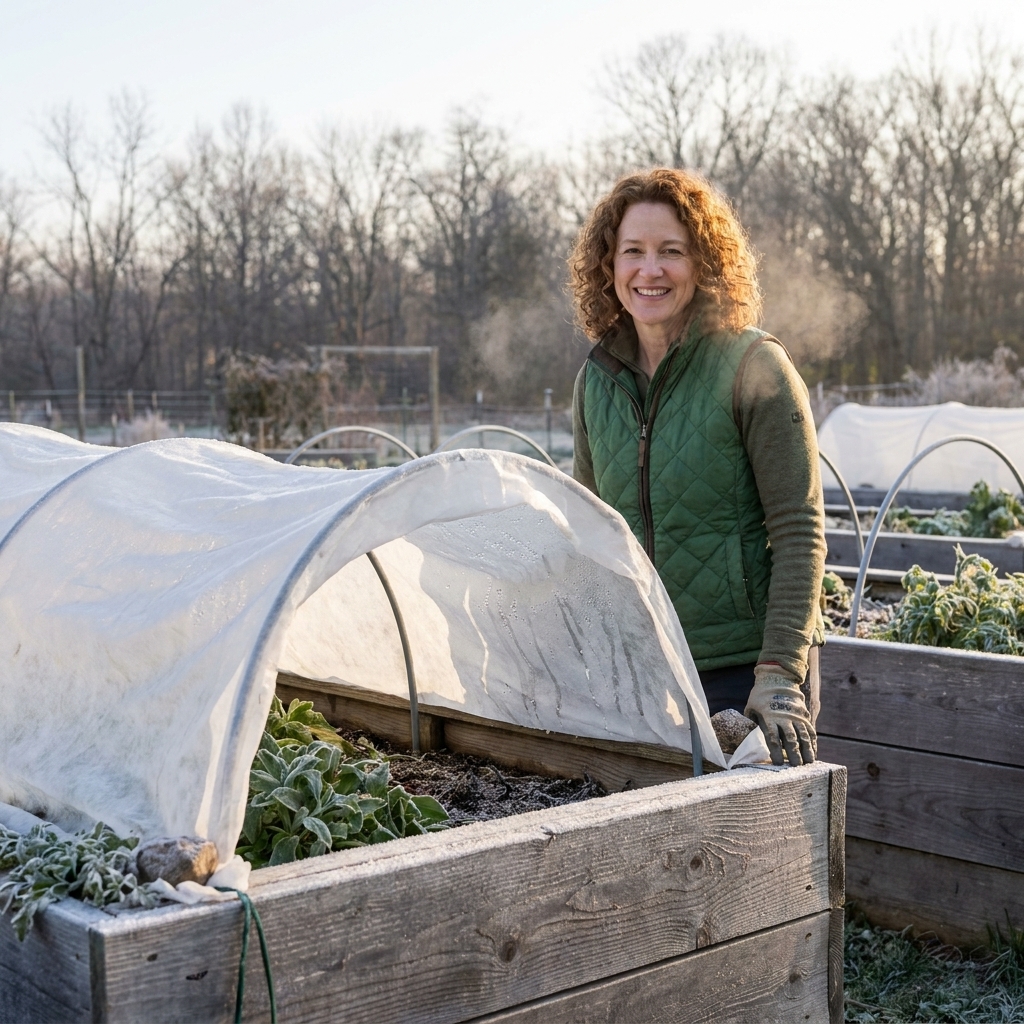
Cover tender plants before sunset with row cover, a frost blanket, or even a sheet. Try to keep fabric from resting directly on fragile seedlings. For individual plants, a bucket or bin works in a pinch. Uncover in the morning once temperatures rise.
What is the simplest way to start a calendar?
Pick 8 to 12 vegetables you truly like to eat, write down your last and first frost dates, then schedule each crop using “weeks before or after last frost.” Add soil temperature notes for warm-season crops, and assign them to your warmest beds.
The fence-line takeaway
Think of USDA hardiness zones as the backdrop and your frost dates plus microclimates as the script. Once you build a calendar around what your yard actually does, gardening feels less like guessing and more like showing up at the right time with the right seeds.
To make this even more accurate, compare notes with nearby gardeners and local extension resources, and keep a simple garden log. After one season, you will have a calendar that fits your yard better than any generic chart ever could.