A dependable raised bed soil mix recipe with exact ratios, volume math, ingredient guidance, and practical tweaks for vegetables, plus what to avoid so beds ...
Veg Loom
October 17, 2026
By Maggie O'Connell
Amending Heavy Clay Soil for Raised Bed Vegetables
Turn sticky, compacted clay into a veggie-friendly foundation. Learn step-by-step ways to loosen clay, improve drainage, and build rich raised bed soil with organic matter.

Maggie O'Connell
Maggie O'Connell is a lifelong gardener and the voice behind Vegloom, dedicated to helping people grow their own food regardless of their yard size. With over 15 years of hands-on experience in backyard agriculture, she specializes in raised bed gardening, organic soil building, and seasonal planting calendars. When she isn't writing, Maggie can usually be found tending to her sprawling heirloom tomatoes or experimenting with new compost recipes.
If your yard soil is the kind that clings to your boots like peanut butter and bakes into bricks by July, welcome to the heavy clay club. I started there too, staring at a backyard that looked like it should come with a pottery wheel. The good news is this: clay is not “bad” soil. It is just tight soil. And yes, some clay sites can be genuinely frustrating when they are compacted, waterlogged, or both. But structure changes everything. With the right approach, clay can become a moisture-holding, mineral-rich base that helps your raised bed vegetables stay steady through heat and dry spells.
This article will walk you through how to loosen compacted clay, improve drainage, and feed soil life using organic matter, so your raised beds stop acting like bathtubs and start growing tomatoes, peppers, greens, and roots like they mean it.
Clay and raised beds: what goes wrong
Raised beds are supposed to be the easy button, but heavy clay underneath can still cause a few classic problems:
- Poor drainage: Water moves slowly through clay. After heavy rain, the soil below the bed can stay saturated and block drainage out of the bed.
- Compaction: Clay particles are tiny and pack tightly. Foot traffic and working it when wet make it worse.
- Shallow roots: If water sits at the bottom of the bed or the underlying clay is rock hard, roots hang out in the top few inches instead of diving deep.
- Hard crusting: The surface of bare clay can seal over, making it harder for water and air to move.
The fix is not to “defeat” clay. The fix is to create structure by adding organic matter and protecting the soil so it can develop pores, aggregates, and a thriving web of microbes and worms.
Quick test: is it heavy clay?
You do not need a lab coat for this. Grab a handful of soil from the area around your beds (or the soil you plan to put beds on), moisten it, and try these:
- Ribbon test: Roll it into a ball, then press between thumb and forefinger to form a ribbon. If it ribbons out several inches without breaking, that is clay-heavy.
- Drainage test: Dig a hole about 12 inches deep and wide, fill with water, let it drain once, then fill again. If the second fill still has water after several hours (often 4+), drainage is slow. If it is still holding water the next day, drainage is poor and you will want to be extra intentional about bed height and where runoff goes.
Knowing what you are working with helps you choose the right bed depth and how aggressive you need to be about drainage.
Golden rule: do not work wet clay
If there is one habit that saves you years of frustration, it is this. Wet clay smears and compacts. Instead of nice crumbs, you get slick plates that set up like concrete.
A simple timing check: squeeze a handful. If it forms a sticky ball that shines and holds its shape, walk away. If it crumbles when you poke it, you are good to go.
Step by step: amend clay for beds
Step 1: Set up drainage first
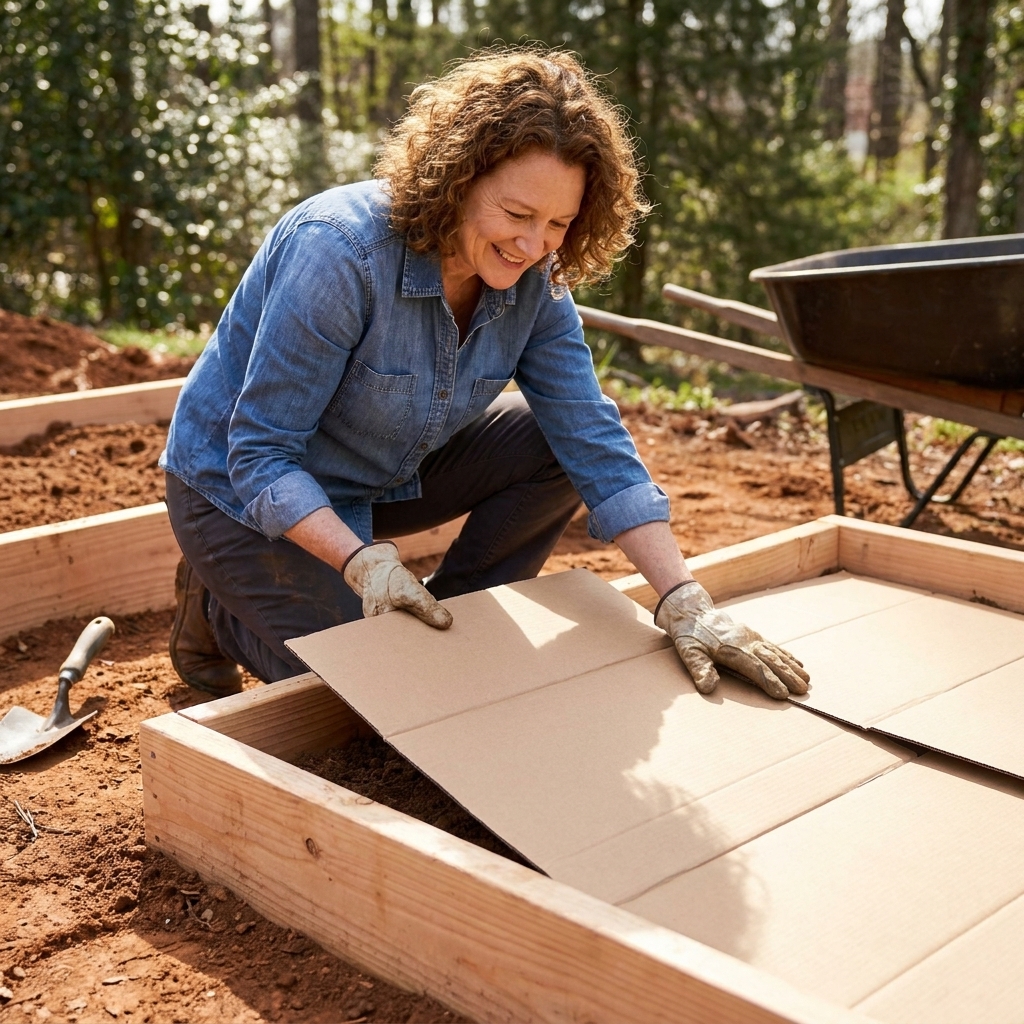
If your raised bed is going on top of clay, the base matters. You want water to be able to move down and away instead of pooling. You also want to avoid creating a “sealed tub” where the bed mix stays wetter than it should.
- Skip landscape fabric at the bottom. It can clog with fine particles and organic matter over time and slow drainage. Cardboard is a better temporary weed barrier because it breaks down.
- Pick a practical bed height. In many clay yards, 12 to 18 inches is a sweet spot for mixed vegetables. Deep-rooted, heavy feeders (tomatoes, squash) often appreciate 18 inches or more if you can swing it. Shallow crops can do well at 10 to 12 inches with consistent watering and good soil structure.
- Prevent surface puddles. A slight crown (just a gentle rise in the center) can help keep water from sitting on top of the bed after a downpour. The bigger win is still the base: loosened clay and a soil mix that drains.
If your site gets roof runoff, stays soggy, or sits at the bottom of a slope, address that water outside the bed too. Redirect downspouts, regrade if needed, or add a simple swale so your raised bed is not trying to solve a whole-yard drainage problem by itself.
Step 2: Loosen clay, do not flip it
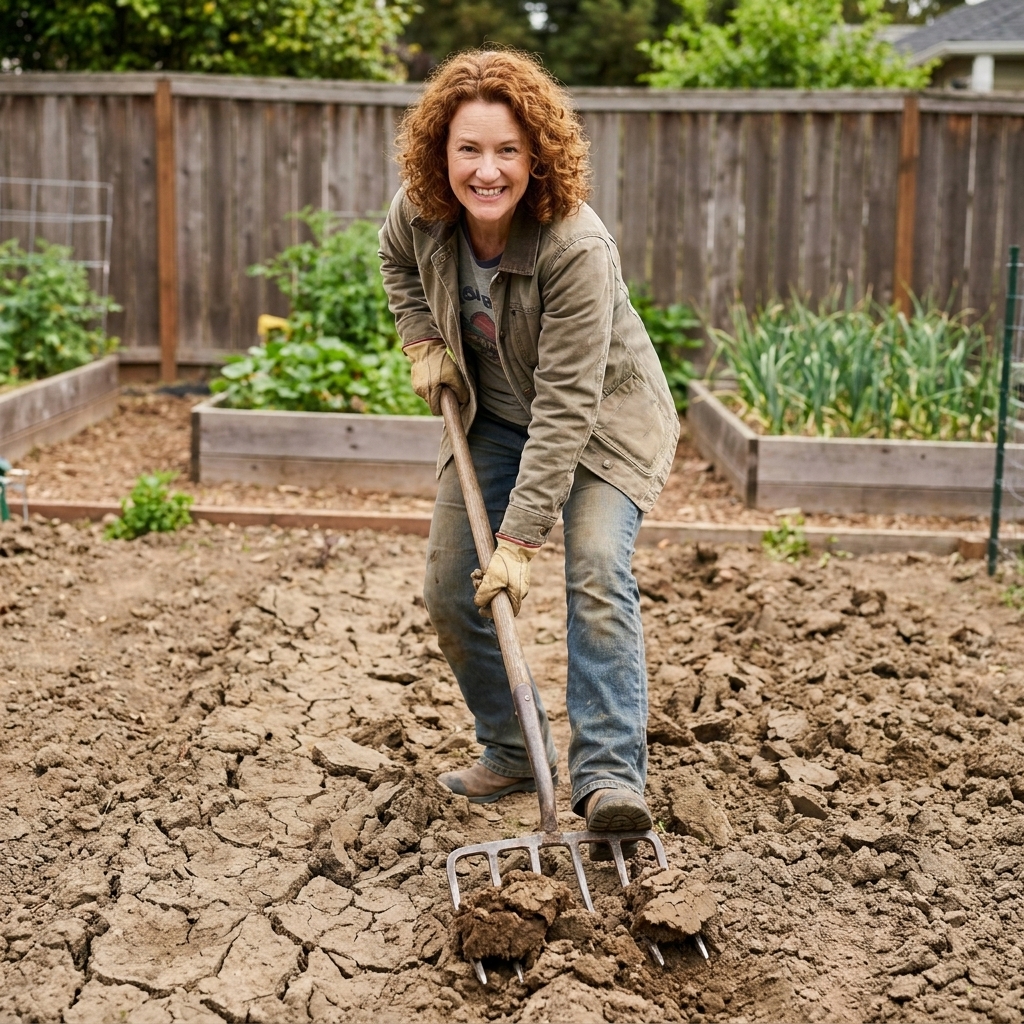
Before adding your raised bed mix, loosen the top layer of clay underneath. This helps roots and water move across that boundary instead of hitting a hardpan “floor.”
- Use a garden fork or broadfork to loosen 6 to 10 inches deep.
- Rock the tool back to crack and lift, then set it back down. You are creating fractures, not turning over slabs.
- If the clay is severely compacted, do this when soil is slightly moist but not sticky.
This step is especially important if you are building beds on a lawn or an area that has been driven on or walked on heavily.
Step 3: Add organic matter where it counts
Organic matter is the long-term solution for clay. It feeds soil life, and soil life builds aggregation, which creates air pockets and drainage channels.
For the clay layer under the bed and the first few inches around the bed perimeter:
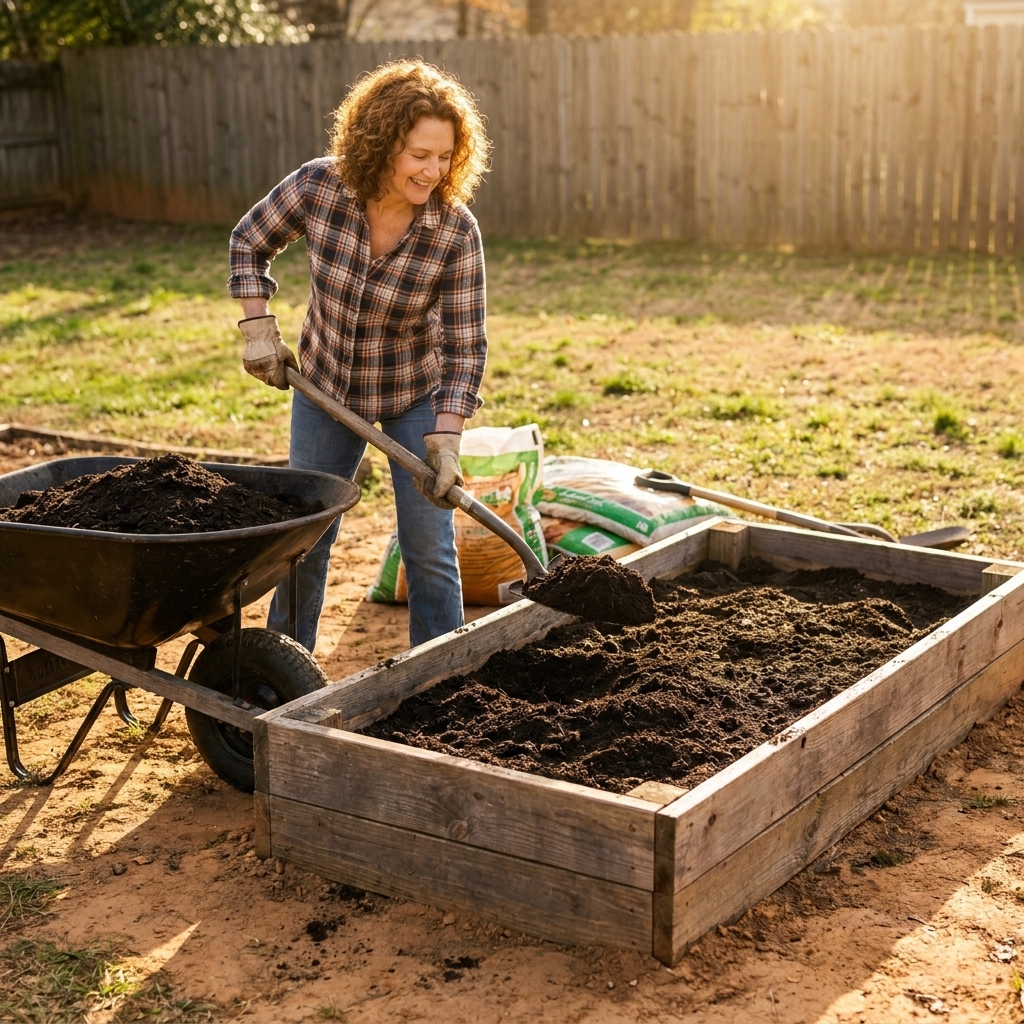
- Spread 2 to 3 inches of finished compost over the loosened clay area.
- You can scratch it into the top 3 to 6 inches with a fork, or simply leave it as a layer and let worms and weather pull it downward over time. Either works. Choose the approach that fits your weeds, your energy, and your timeline.
- If you have leaves, add a thin layer of shredded leaves too. Shredded breaks down faster and improves structure beautifully.
My compost note from the “learned it the hard way” files: use compost that smells earthy, not sour or ammonia-like. The issue is not “hot” as in warm. The issue is immature compost, especially high-carbon, not-fully-broken-down material that can temporarily tie up nitrogen and stress seedlings.
One more real-world caution: if you are using composted manure, hay-based mulch, or mystery bulk compost, consider doing a simple pea or bean bioassay first. Some products can carry persistent herbicides that twist and stunt sensitive crops. It is rare, but it is heartbreaking when it happens.
Step 4: Use a bed mix that stays fluffy
The goal inside the bed is a mix that holds moisture but still drains, with enough minerals to support heavy feeders like tomatoes and squash.
A reliable starting blend:
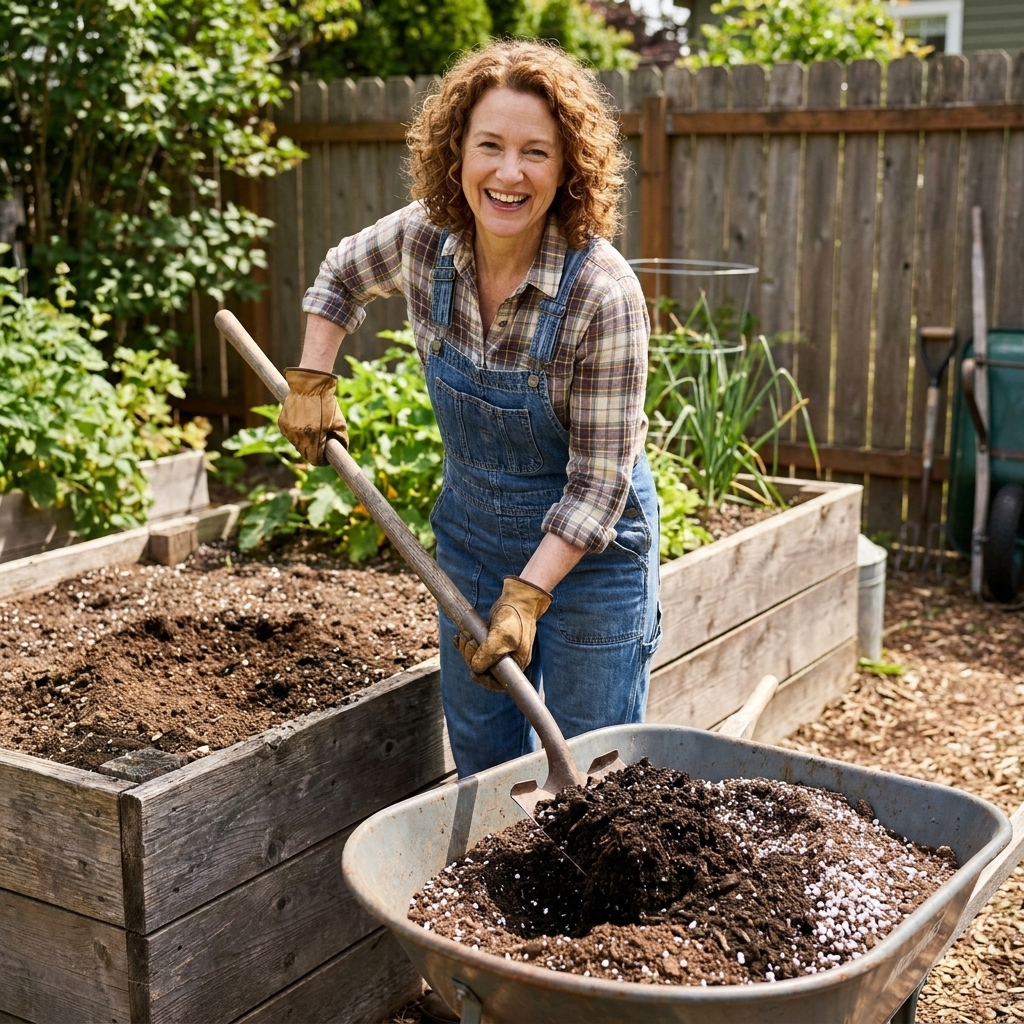
- 40% topsoil (screened if possible)
- 25 to 40% compost (a mix of sources is ideal)
- 20 to 35% aeration material such as pine bark fines, aged leaf mold, or a chunky composted wood product
Compost is wonderful, but it varies. Some composts are stronger, saltier, or richer than others. If you are not sure, start closer to 25 to 30% compost and top-dress later. You can always add more. Fixing an overly rich, soggy mix is the longer road.
Why I like bark fines or leaf mold as the “aeration” component: they help create stable pore space without the long-term issues that can come from adding sand to clay-heavy systems.
Step 5: Mulch generously
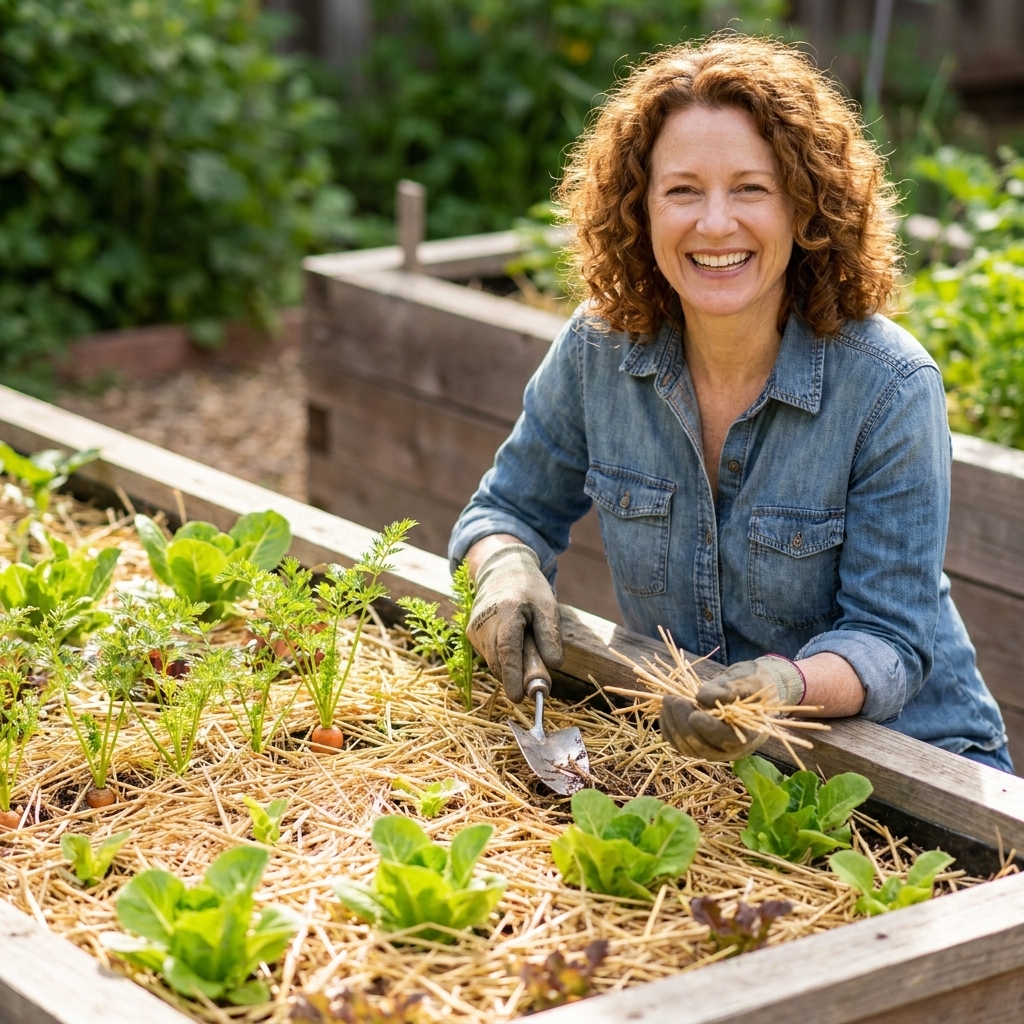
Mulch is clay soil’s best friend. It softens the impact of rain (less crusting), moderates temperature swings, and steadily adds organic matter.
- Use 2 to 3 inches of straw, shredded leaves, untreated grass clippings (thin layers), or chopped yard waste.
- Keep mulch 1 to 2 inches away from plant stems to prevent rot and slug hideouts.
Step 6: Mulch the paths too
Hard, bare pathways become compaction zones that squeeze the edges of your beds and slow drainage nearby.
- Lay down cardboard, then cover with wood chips, shredded leaves, or straw.
- Aim for 3 to 6 inches of path mulch, topped up as it breaks down.
This is one of those quiet upgrades that makes the whole garden feel easier, especially after rain.
What not to do with clay
- Do not add sand to clay in small amounts. It can create a cement-like texture if the proportions and particle sizes are wrong. Technically, you can improve clay with the right sand at very high volumes and thorough mixing, but that is usually impractical for home gardens. Compost and organic matter are safer and more forgiving.
- Do not till repeatedly. Tilling breaks soil aggregates and can lead to re-compaction. Loosen once, then let roots, mulch, and soil life do the long-term work.
- Do not rely on gypsum as a universal fix. Gypsum can help in specific soil chemistry situations (like sodic soils), but for most backyard clay problems, organic matter and time are the real solution.
- Do not leave clay bare. Bare soil crusts and compacts faster. Keep it planted or mulched.
Season by season plan
Fall (my favorite time to fix clay)
- Top-dress beds and surrounding clay areas with compost.
- Add shredded leaves as mulch.
- Plant a cover crop if your beds will be empty (winter rye, crimson clover, or a mix suited to your climate).
Spring
- Rake mulch aside where you will seed.
- Add a light compost layer (about 1 inch) and plant.
- Re-mulch once seedlings are established.
Summer
- Mulch maintenance is the big one. Keep soil covered.
- Water deeply and less often to encourage roots to explore downward.
Winter
- Keep beds covered with mulch or cover crop. Winter rains can compact bare clay and wash away the good stuff.
Best amendments for clay
If I had to pick only a few materials to keep on hand for clay improvement, it would be these:
- Finished compost: The main course for soil biology and structure.
- Leaf mold: Wonderful for water management, especially for clay that swings between swampy and cracked.
- Shredded leaves: Free and surprisingly powerful when used consistently.
- Composted manure: Great for fertility, especially in beds for corn, brassicas, and squash. Make sure it is fully composted and from a source you trust.
- Pine bark fines: Helps keep mixes fluffy and resistant to compaction.
If you are buying bagged compost, mixing brands or sources can help smooth out the highs and lows. Diversity in inputs usually means a more balanced soil over time.
How long clay takes to improve
You will often see better drainage and easier digging within a season, especially if you add compost and keep everything mulched. The deeper structural changes happen over time, usually 1 to 3 years of steady organic matter additions and minimal disturbance.
Think of it like building a pantry, not taking a vitamin. The benefits compound.
Troubleshooting
My bed stays soggy after rain
- Check that there is no fabric barrier at the bottom trapping water.
- Make sure runoff is not being funneled into the bed from a downspout or slope.
- Increase bed height if possible.
- Loosen the clay under the bed again with a fork in several spots to create channels.
- Mulch pathways so water infiltrates instead of running and pooling.
My soil surface crusts and repels water
- Keep soil covered with mulch.
- Water gently at first to rehydrate, then water deeper once it starts absorbing.
- Add compost as a top-dress to encourage aggregation.
Plants look stunted even though I added compost
- Consider nutrient balance. Compost adds a lot, but heavy feeders may still need extra nitrogen early on.
- Check watering. Clay-adjacent beds can swing between too wet and too dry depending on weather and bed height.
- Make sure compost is finished. Immature compost can temporarily tie up nitrogen.
- If new growth is twisted or ferny, consider the possibility of herbicide contamination in compost or manure and switch sources.
Roots hit a hard layer at the bottom
- Loosen the clay underneath with a broadfork or fork when conditions are right.
- Plant deep-rooted cover crops in the off-season (daikon radish is famous for punching channels).
FAQ
Should I remove clay before building a raised bed?
Usually, no. Loosen it, top it with compost, and build on top. Removing clay can create a low spot that collects water. The exception is when you are dealing with contaminated soil or a site that is chronically waterlogged and needs regrading or drainage work.
Can I put gravel in the bottom for drainage?
I do not recommend it. The problem is the sharp texture boundary of fine material over coarse material. Soil sitting on top of gravel can hold water above that interface instead of draining freely. Unless the entire profile is engineered for drainage, gravel layers often make the wet zone worse, not better. A better approach is loosening the clay base, skipping fabric barriers, and using a well-structured soil mix with plenty of organic matter.
How often should I add compost?
For raised bed vegetables, I like to top-dress with 1 to 2 inches of compost once or twice a year. Spring and fall are perfect. Consistency beats a one-time huge application.
What vegetables handle clay-adjacent conditions best?
Once your raised bed mix is healthy, most vegetables will do fine. If drainage is still improving, start with crops that tolerate more moisture like chard, kale, and many herbs. For root crops, wait until your soil is looser and more crumbly, then carrots and parsnips become much easier.
A quick pep talk
Clay teaches patience, but it also rewards it. Every layer of compost, every season of mulch, every set of roots left to decompose in place is doing quiet engineering underground. Start with drainage basics, feed the soil life, and let time do what time does best.
And if you find yourself laughing at the sheer amount of mud on your shoes, just know you are in good company. I have been there, squishing across the yard with a wheelbarrow, telling myself, “This is going to be tomatoes someday.” It was. Yours will be too.