A beginner-friendly guide to USDA zones, frost dates, and backyard microclimates so you can create a localized vegetable planting schedule that actually fits...
Veg Loom
October 17, 2026
By Maggie O'Connell
Raised Bed Placement: Sun, Spacing, and Orientation
Plan your raised bed layout the smart way: learn where to place beds for maximum sun, good drainage, and comfortable paths so planting, watering, and harvesting stay easy all season.

Maggie O'Connell
Maggie O'Connell is a lifelong gardener and the voice behind Vegloom, dedicated to helping people grow their own food regardless of their yard size. With over 15 years of hands-on experience in backyard agriculture, she specializes in raised bed gardening, organic soil building, and seasonal planting calendars. When she isn't writing, Maggie can usually be found tending to her sprawling heirloom tomatoes or experimenting with new compost recipes.
When I built my first raised beds, I thought the hard part was the wood and screws. Turns out the real make or break decision was where I put them. A raised bed in the wrong spot can be a daily headache: too shady for tomatoes, too soggy after every rain, or wedged so tight you have to crab-walk in to harvest a zucchini the size of a canoe.
Let’s map your raised bed placement in a way that makes sunlight, drainage, and access work for you, not against you.
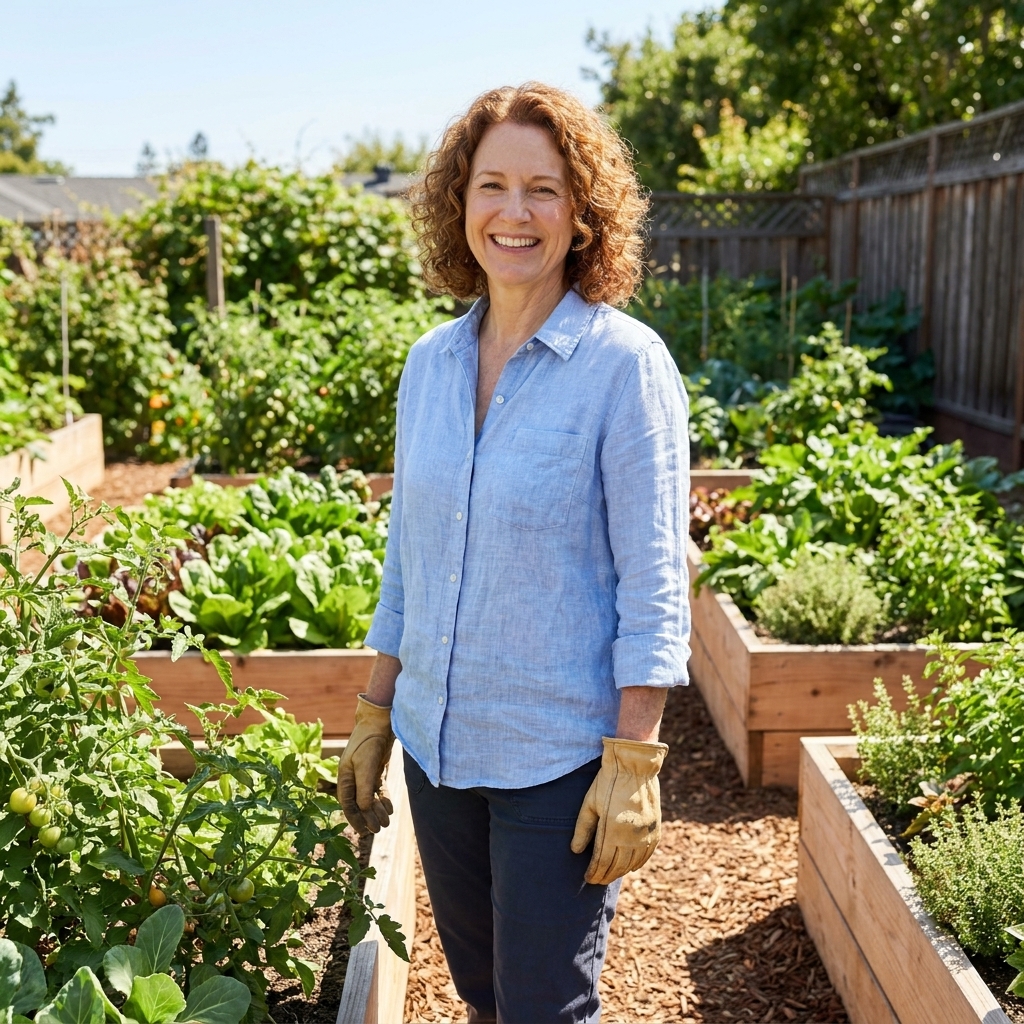
Start with sun
If you only do one thing before building beds, do this: figure out where your sun actually lands. Not where you hope it lands. Not where it landed in April. Where it hits in the heart of your growing season.
How much sun do vegetables need?
- 8+ hours: fruiting crops like tomatoes, peppers, eggplant, cucumbers, squash, melons, and corn (full sun)
- 6 to 8 hours: great for many veggies, including bush beans, carrots, beets, and many herbs
- 4 to 6 hours: workable for leafy greens and some herbs, especially if afternoon shade keeps them from bolting in summer
If your yard is part shade, don’t despair. You can still grow a lot. Just put your sun-hogs (tomatoes and friends) in the brightest patch and let greens take the meh light.
A quick sun-mapping method
Pick a clear day and do a simple check at three times: morning, midday, and late afternoon. Stand where you might build beds and look for shadow-casters:
- your house and garage
- fences and sheds
- neighbor’s trees
- that one ornamental shrub that turns into a small forest every summer
If you want to be more precise, take a photo from the same spot at each time. The patterns will jump out fast.
Watch for seasonal shade
Deciduous trees are sneaky. In early spring, a spot can look gloriously sunny. By June, once leaves fill in, that same spot can drop to half-day shade. If a bed location sits near big trees, plan for summer shade, not spring sunshine.
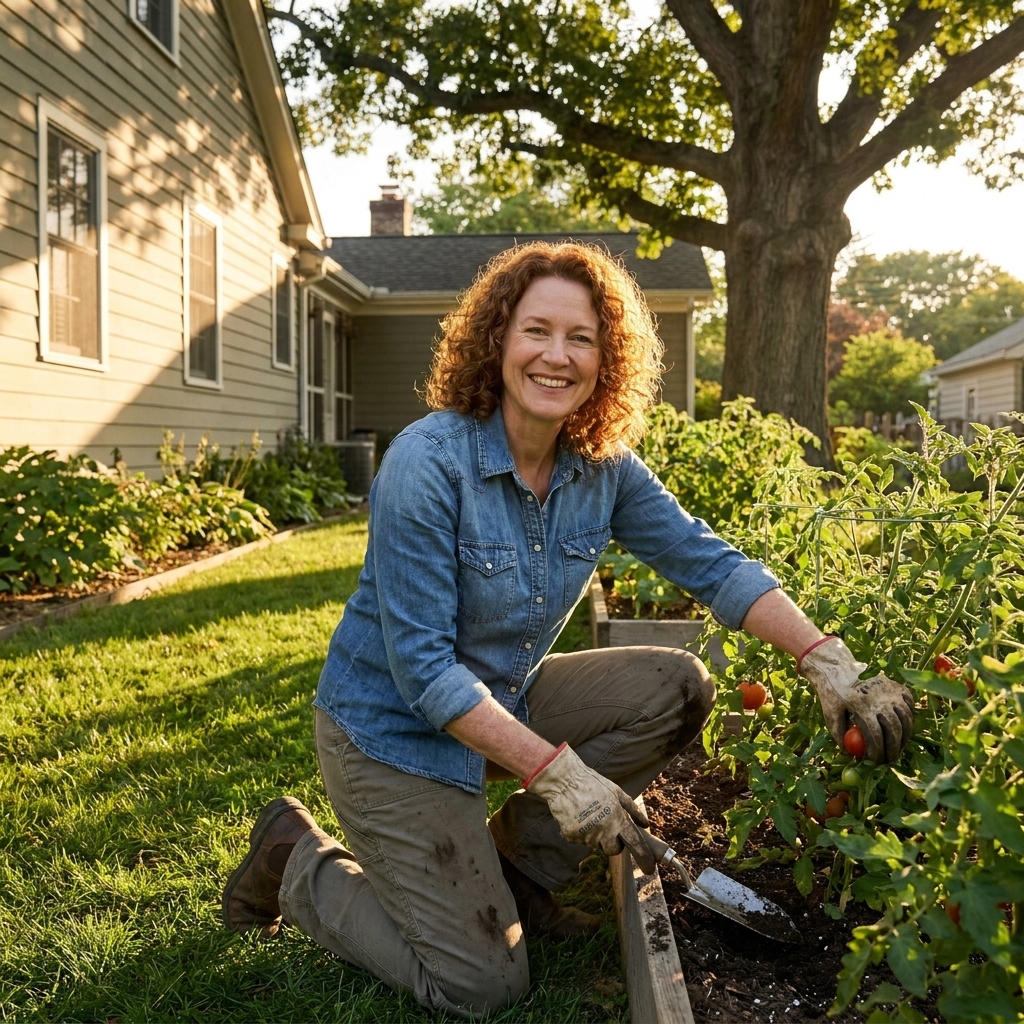
Orientation
For most home vegetable gardens, the goal is even light, fewer shadows, and easy access. Orientation matters most when you have multiple beds or tall crops that can shade everything behind them.
Best default: north to south
If you are placing several beds in a row, orienting them north to south helps both sides of the bed get sun as the day moves along. It is a solid, beginner-friendly default.
When east to west works
East to west orientation can work well for a single bed, or any setup where one bed is not shading another. It can also help if you are intentionally creating a bit of afternoon shade for summer greens.
Keep tall crops on the “back” side
This rule is gold: keep tall crops behind shorter crops so they do not cast shade all day. In the Northern Hemisphere, that usually means tall crops on the north side. In the Southern Hemisphere, reverse it and put tall crops on the south side.
Think:
- Trellises, pole beans, and corn on the back edge of your garden area
- Peppers, bush beans, and herbs in the middle
- Low growers like lettuce, spinach, and strawberries toward the front
If your beds are up against a fence, the fence itself may act like a tall crop. Note which side throws shade, especially in winter and shoulder seasons.
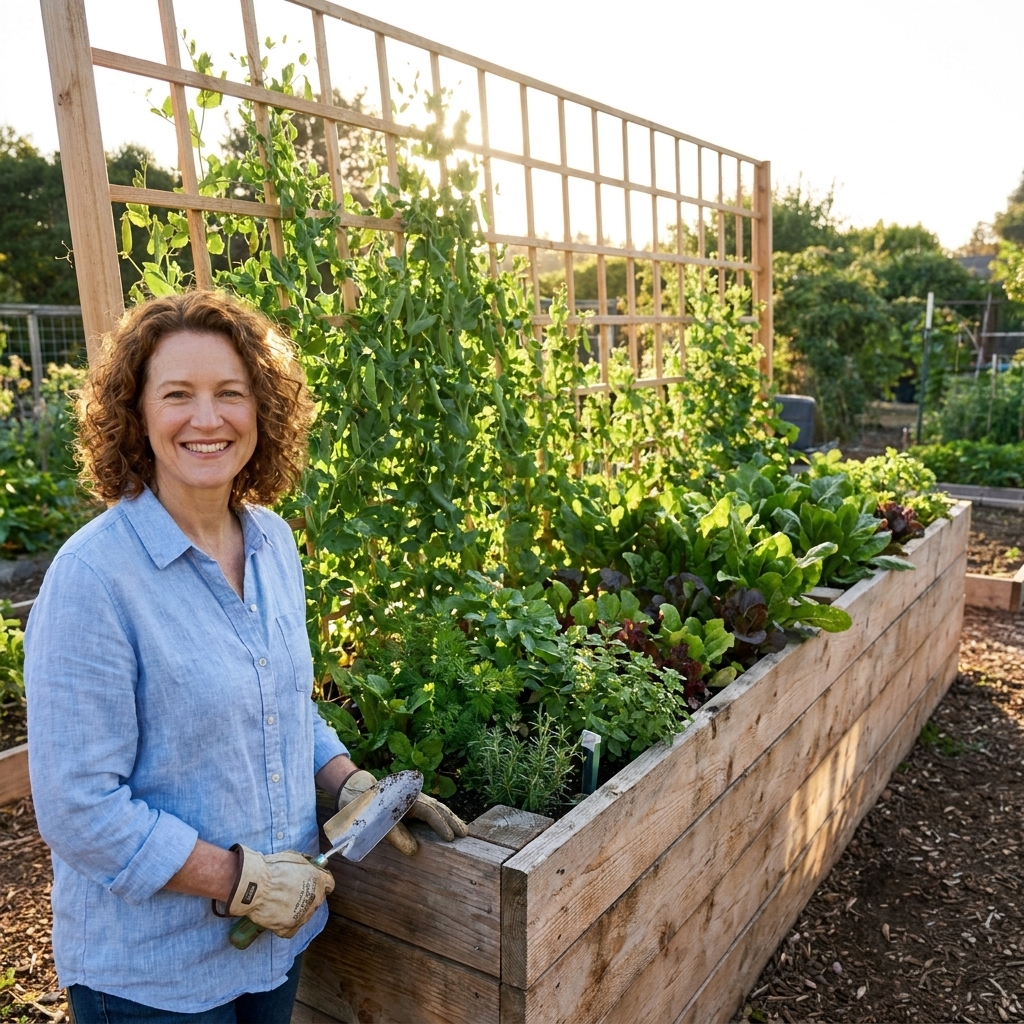
Spacing
A raised bed garden should feel inviting, not like an obstacle course. The right spacing improves airflow, reduces disease pressure, and makes everyday chores so much easier.
Path width guidelines
- 18 to 24 inches: tight but workable for one person walking and hand-watering
- 24 to 30 inches: my favorite for most yards, comfortable to move with a bucket, hose, or harvest basket
- 30 to 36 inches: ideal if you use a wheelbarrow, garden cart, or have kids helping
If you are deciding between more bed and more path, choose the path. You will thank yourself the first time you try to carry a watering can through a jungle of basil and tomato cages.
Space beds away from fences
If a bed is tight against a fence, you lose access on one side and airflow drops. Aim for at least 18 to 24 inches between a bed and a fence or wall when possible. If space is limited and you must place a bed against a fence, consider:
- keeping that bed narrow enough to reach from one side (more on that below)
- installing trellises on the fence to grow vertically without crowding the bed interior
Do not make beds too wide to reach
Placement and sizing go hand in hand. If you can access a bed from both sides, keep it about 4 feet wide. If you can only access from one side, keep it closer to 2 to 3 feet wide. Reaching into the center should feel easy, not like a yoga pose you regret.
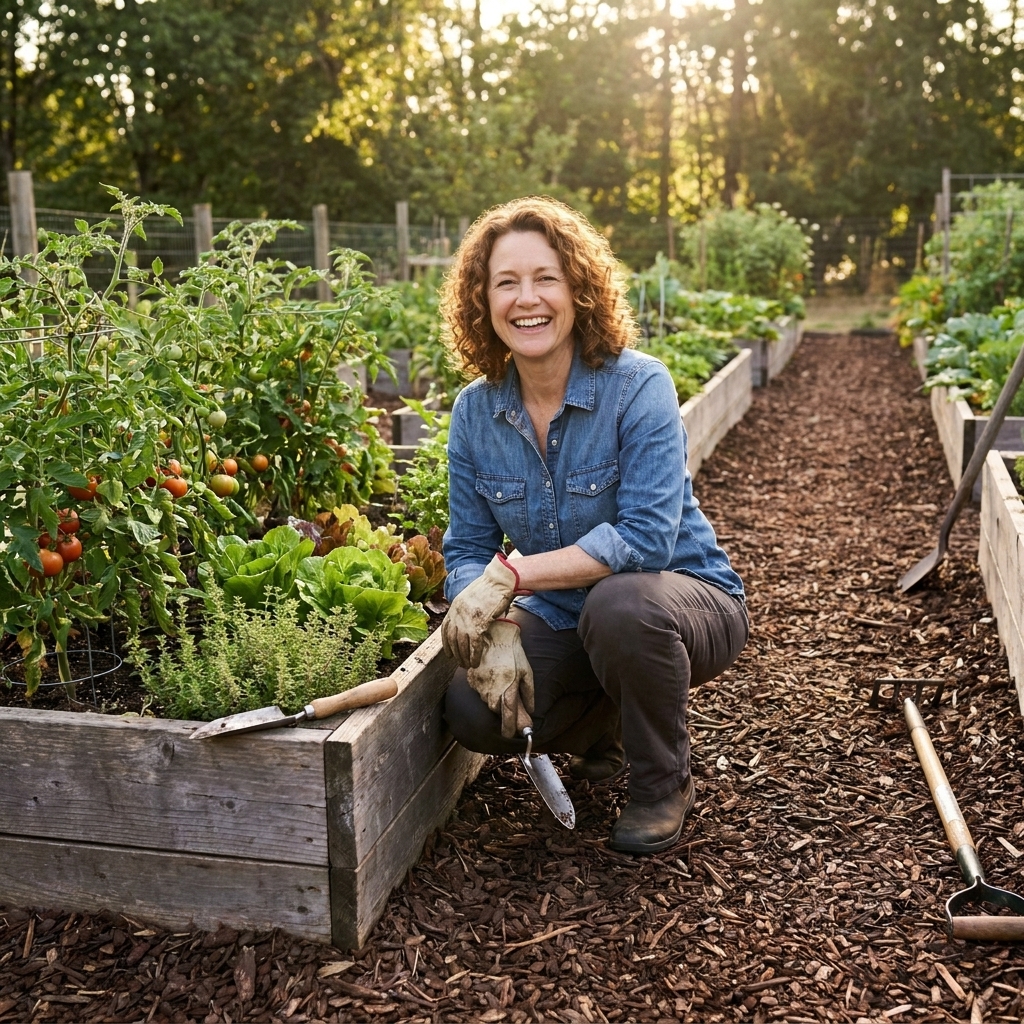
Drainage
Raised beds improve drainage compared to in-ground planting, but they are not magical. If you put a bed in a low spot where water naturally collects, you can still end up with soggy roots and sad plants.
Choose the highest spot you have
After a heavy rain, walk your yard. Where does water sit the longest? Avoid placing beds in those areas if you can. If the only sunny area is a little low, you can still make it work, but you will want to plan for drainage.
Fixes for a less-than-ideal spot
- Raise the bed height: going taller gives roots more oxygenated soil above the wet zone
- Build up the surrounding paths with wood chips or gravel to reduce splash and mud
- Add a slight grade so water runs away from the bed, not toward it
- Skip plastic under the bed in most cases: it can trap water and restrict roots and soil life. The main exceptions are situations like contaminated soil or aggressive tree roots, where a barrier may be part of a specific plan.
What to put under raised beds
For most home gardens, I recommend placing beds on:
- bare soil (best for drainage and soil life)
- cardboard (as a weed-smothering layer that breaks down)
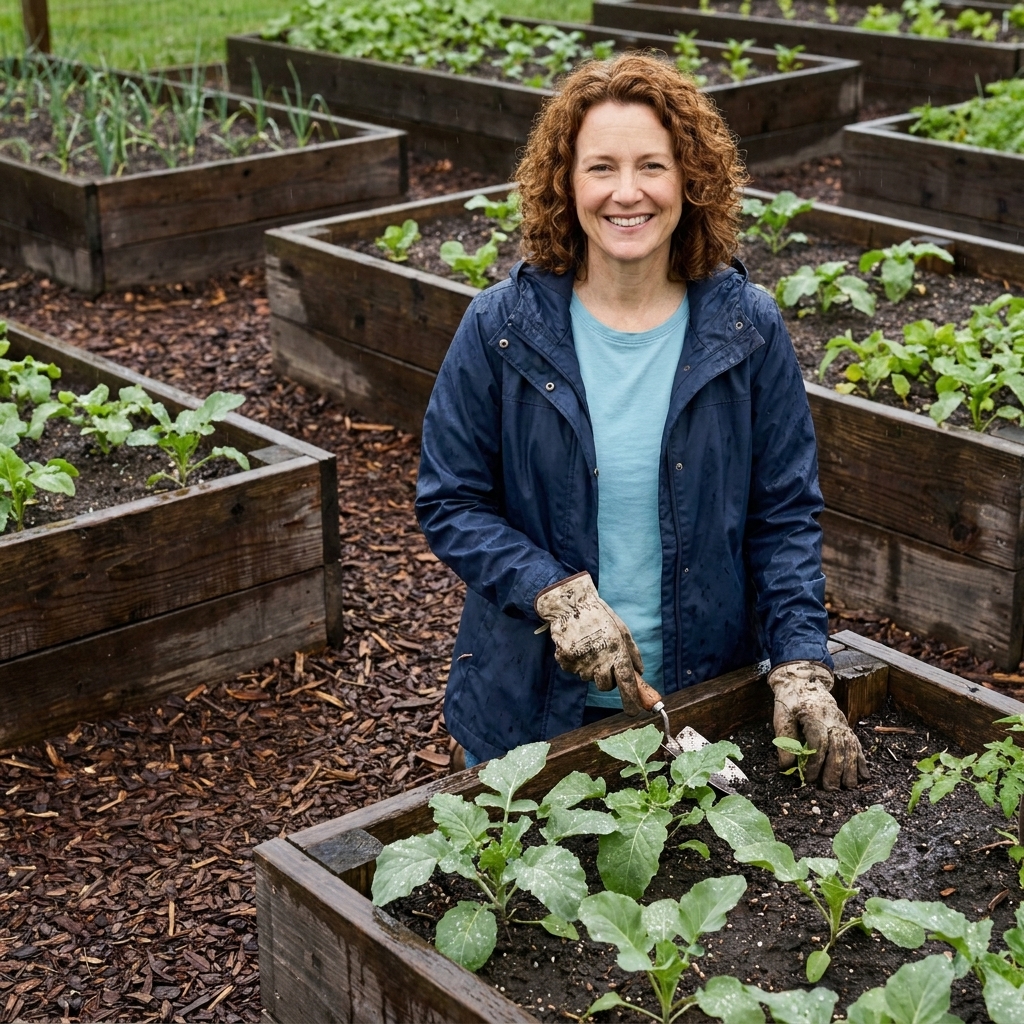
Landscape fabric can let water through at first, but long-term it tends to clog with sediment, tear, and become the world’s most annoying weed trampoline as roots grow into it.
Slope and leveling
If your best sunny spot is on a slope, take a minute to think about leveling before you build. A bed that leans can dry out faster on the high end, stay wetter on the low end, and slowly settle into a lopsided mess.
On a mild slope, you can often scrape and level the footprint and then build your paths up a bit to meet the bed edges. On steeper slopes, terracing (stepping beds like a staircase) usually works better than fighting gravity.
Access and workflow
Raised beds are supposed to make gardening easier. So set your layout up for the tasks you will do a hundred times: watering, weeding, harvesting, and adding compost.
Keep water close
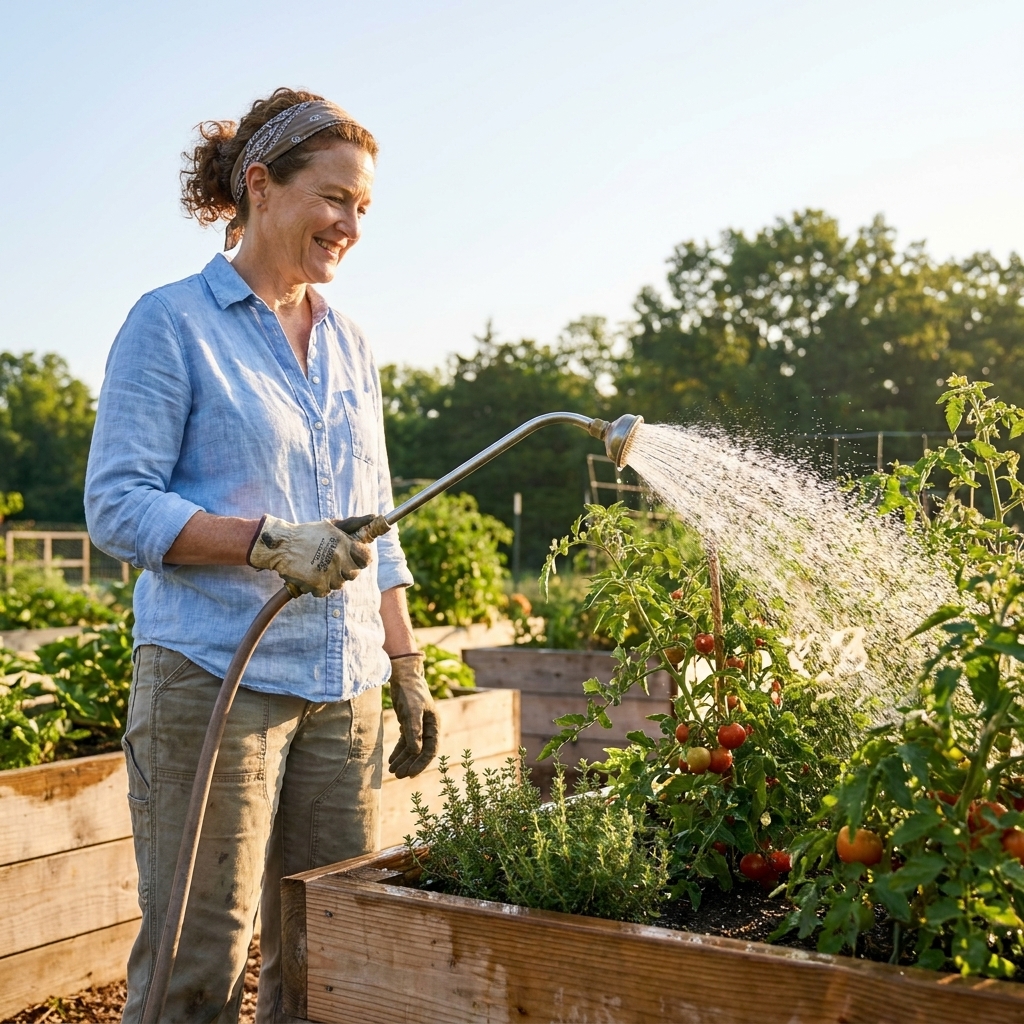
If your spigot is far away, you will water less. It is human nature. Place beds within a comfortable hose reach if possible. If not, plan ahead for:
- a dedicated hose line to the garden area
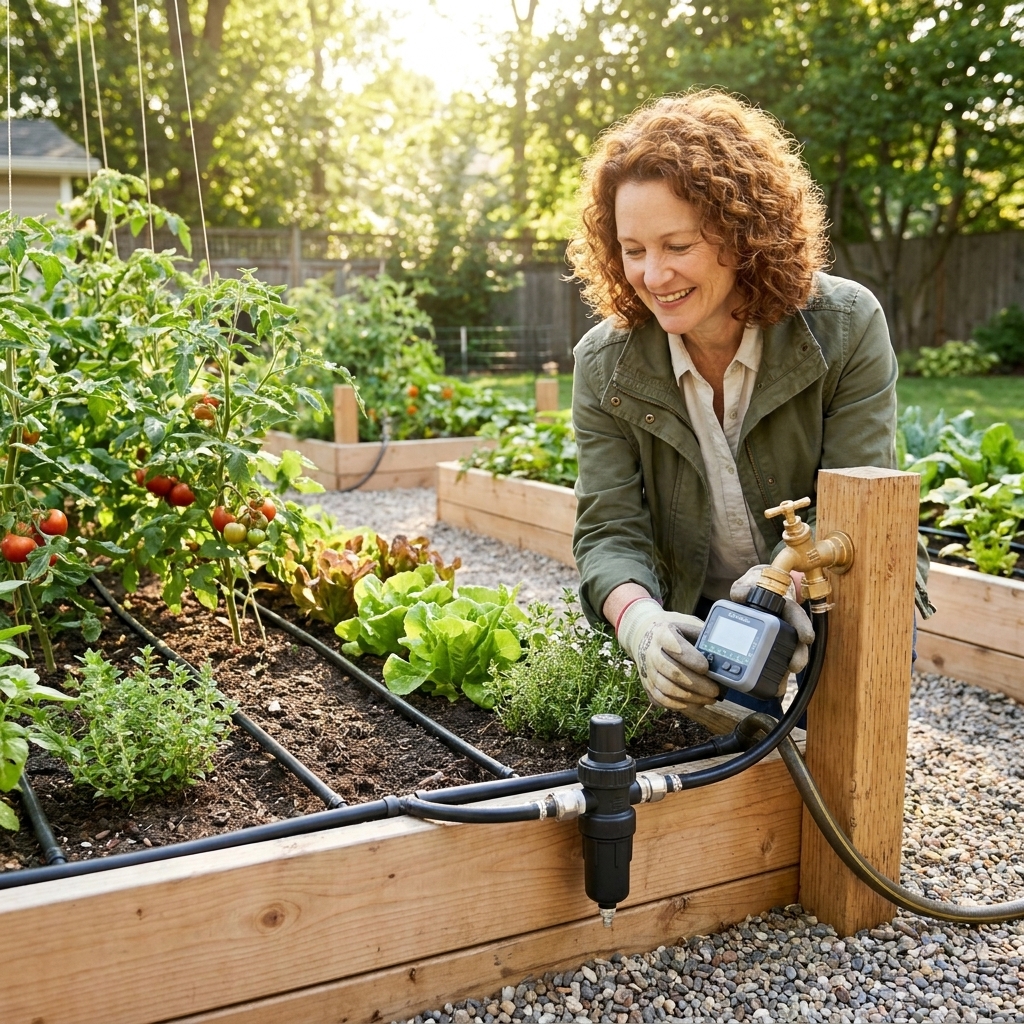
- a simple drip system
- a rain barrel setup (where allowed)
Make turning and carrying easy
Try this quick test: imagine carrying a full harvest basket or a bag of compost through your planned paths. Can you turn a corner without stepping into a bed? Can you park a wheelbarrow near the beds? If not, widen the pinch points now, before anything is built.
Plan a messy zone
Give yourself a spot for a compost bin, potting table, or tool storage. It does not have to be fancy, just convenient. A garden works better when your pruners are not hiding somewhere in the garage behind holiday decorations.
Microclimates
Even small suburban yards have microclimates. If you learn them, you can stretch your season and reduce stress on plants.
Warm spots
- South-facing walls can reflect heat and speed up early growth
- Near patios and driveways can be warmer, sometimes significantly
These are great for peppers, eggplant, and basil. Just be mindful of extra drying and the need for consistent watering. In very hot climates, these spots can be too intense mid-summer, so a little afternoon shade can actually help.
Windy spots
If your yard gets strong winds, avoid placing beds in the straight wind tunnel between a fence and your house. Wind can shred tender plants and dry beds fast. If the sunny spot is windy, plan wind protection like a hedge, lattice panel, or a line of sturdier crops.
Tree root competition
A bed placed too close to mature trees can struggle even if the light looks decent. Tree roots are incredibly competitive for water and nutrients. If you must garden near trees, build taller beds, water more consistently, and expect to add extra compost each season.
A simple layout you can copy
If you are staring at the yard thinking, “Okay, but where do I start,” here is a straightforward way to decide.
Step by step
- Find the sunniest zone that gets at least 6 hours, ideally 8.
- Stand where the beds would go and imagine daily access with a hose and basket.
- Choose orientation (north to south if you are doing multiple beds).
- Sketch paths first, then place beds into the remaining space.
- Put tall structures on the back side (trellises, corn block, sunflowers if you grow them).
- Check drainage after a rain, or avoid visible low spots.
- Leave expansion room if you can. Gardens have a habit of multiplying.
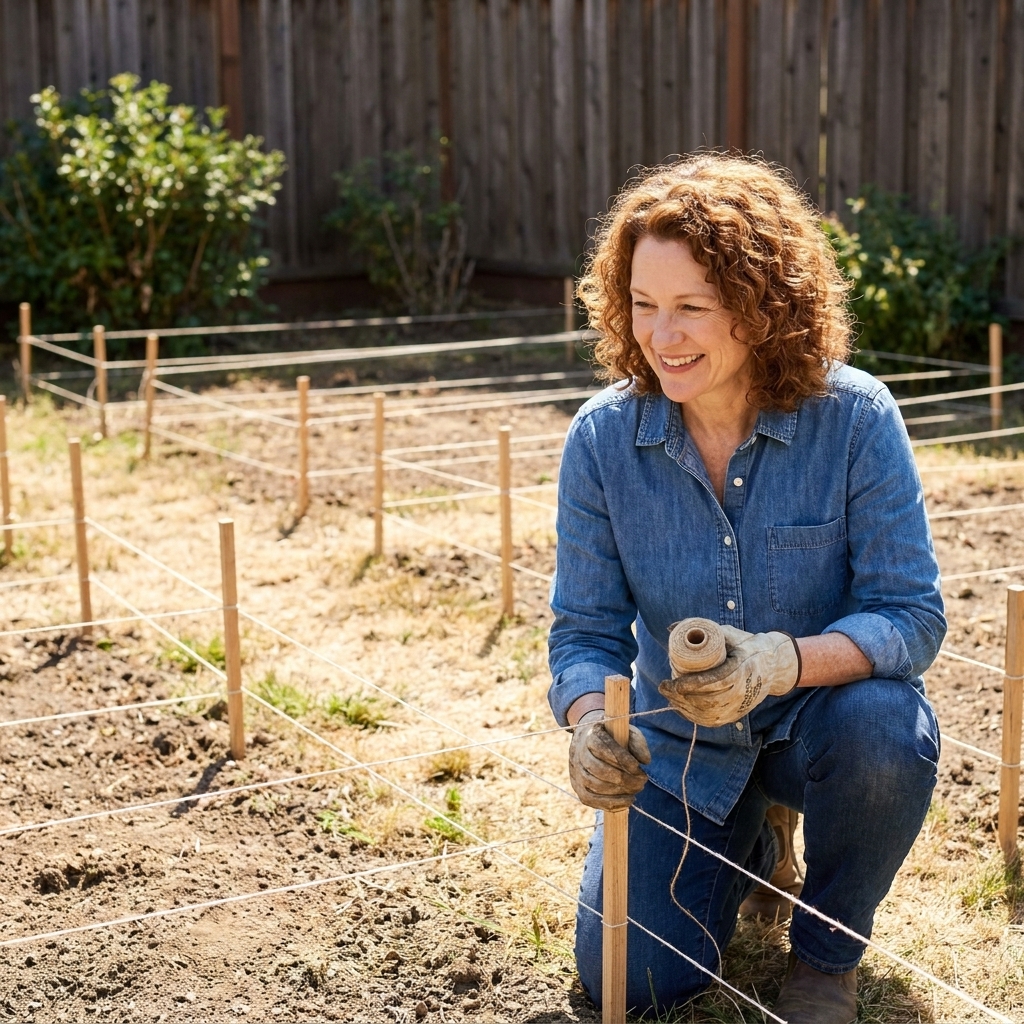
I like to mark the layout with a hose or string for a day or two before committing. Live with it. Walk the paths. Pretend to harvest. If it feels easy now, it will feel easy when everything is waist-high and you are in a hurry to pick beans before dinner.
Beginner mistakes
- Placing beds where it is convenient, not sunny. Fix: move beds or shift fruiting crops to containers in the sunniest spot.
- Paths too narrow. Fix: reduce bed width slightly and widen paths, especially main walkways.
- Ignoring shade from a future trellis. Fix: place trellises on the back side or at the end of a bed so shade falls outside the growing area.
- Building over a low soggy area. Fix: raise bed height and build up the surrounding grade, or relocate if possible.
- Hiding the garden far from the house. Fix: bring at least one bed closer. The closer it is, the more you will harvest and the fewer pests will get a head start.
Placement FAQ
Can I put raised beds on grass?
Yes. Mow low, lay down plain cardboard, then build the bed and fill it. The grass will smother and break down underneath.
How far apart should raised beds be for a wheelbarrow?
Aim for 30 to 36 inches for comfortable wheelbarrow access, especially if you will haul mulch or compost regularly.
Should I put raised beds against a fence?
You can, but it is less convenient. If a bed is against a fence, keep it narrow enough to reach the center from the accessible side, and watch for fence shade.
What if my only sunny spot is my front yard?
Honestly, front-yard raised beds can be fantastic. Keep the edges tidy, choose a clean path material, and plant a few herbs or flowers along the border. A well-placed edible bed can look purposeful and welcoming, not messy. Before you build, do a quick check for HOA rules, utility easements, and local setback requirements.
My best advice
Raised beds are a commitment, so place them like you plan to use them all the time, because you will. Give yourself sun for the crops you dream of, paths you can actually walk, and a layout that makes watering and harvesting feel simple.
And if you are still unsure, start with one bed in the best sun you have. One good bed will teach you more in a season than a dozen beds placed in optimism and shade.