A beginner-friendly guide to mapping raised beds for sunlight, airflow, drainage, and easy access. Get practical spacing rules and orientation tips that actu...
Veg Loom
October 17, 2026
By Maggie O'Connell
Low-Maintenance Pathways Between Raised Beds
Compare wood chips, gravel, pavers, and living cover crops for paths between raised beds. Learn which options need the least weeding and stay mud-free in veggie gardens.

Maggie O'Connell
Maggie O'Connell is a lifelong gardener and the voice behind Vegloom, dedicated to helping people grow their own food regardless of their yard size. With over 15 years of hands-on experience in backyard agriculture, she specializes in raised bed gardening, organic soil building, and seasonal planting calendars. When she isn't writing, Maggie can usually be found tending to her sprawling heirloom tomatoes or experimenting with new compost recipes.
If you have raised beds, you already know the secret: the beds get all the glory, but the pathways do the real work. They catch every muddy boot, every spilled scoop of compost, every wheelbarrow trip, and every weed seed the wind can deliver. A good path keeps you out in the garden longer because you are not slipping, sinking, or constantly yanking crabgrass out of your “walkway.”
Below is my no-nonsense comparison of the most popular low-maintenance options for pathways between raised beds: wood chips, gravel, pavers, and living cover crops. I’ll share what tends to need the least weeding over time, what is easiest on your knees, and what plays nicest with veggie garden habits like drip irrigation and frequent harvesting.
Quick reality check: no pathway is truly weed-proof forever. Even the best builds collect windblown seeds and a little soil and organic “fines” over time. The goal is fewer weeds and faster cleanup, not perfection.
Quick pick
If you want the shortest path to a clean, low-maintenance walkway, here’s my top recommendation:
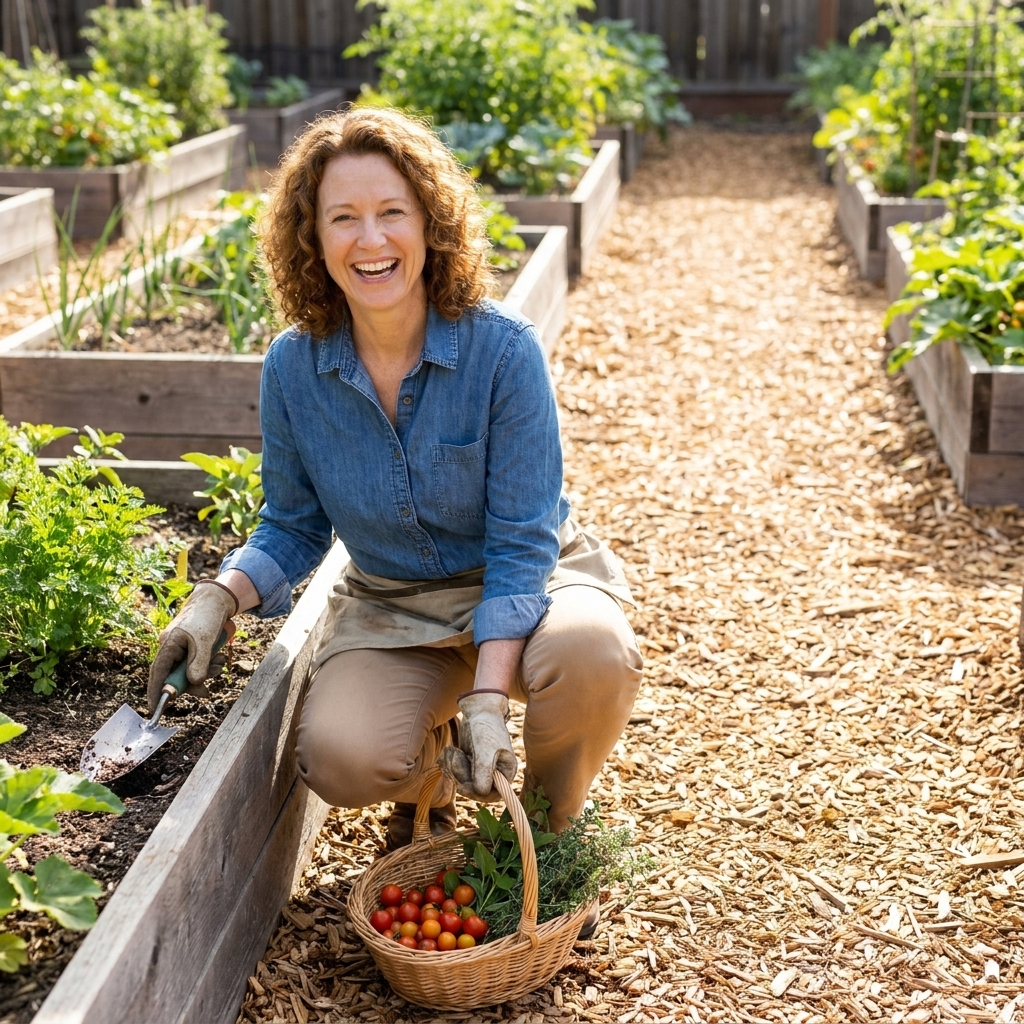
- Best all-around for most veggie gardens: Wood chips over cardboard (or a weed barrier) with a thick layer, then topped up once a year.
- Best for the cleanest look and easiest cart rolling: Pavers (or brick) set on a properly prepped base.
- Best for drainage (but still needs upkeep): Gravel on a compacted base, with edging and a geotextile layer.
- Best if you like a living-garden vibe and do not mind trimming: Low-growing cover like white clover, creeping thyme, or a mowable mix.
The truth is, “low weed” is mostly about prep + thickness. The material matters, but the layers underneath and how deep you install them matter more.
What makes a path low-maintenance?
Between sowing, watering, trellising, and harvesting, you do not need your pathways becoming a fifth raised bed for weeds. A low-maintenance path should do four things well:
- Block light so weed seeds cannot germinate easily.
- Drain fast so your shoes do not sink and you can harvest right after rain.
- Handle traffic from wheelbarrows and garden carts without rutting.
- Stay contained so it does not migrate into your beds or disappear into the soil.
Path width tip: If you can, aim for 24 to 36 inches wide between beds. You will thank yourself when you’re carrying a harvest basket or turning a wheelbarrow.
Accessibility note: If you need a stable surface for a stroller, walker, wheelchair, or rolling cart, pavers or a well-compacted stone surface usually beats loose chips or pea gravel.
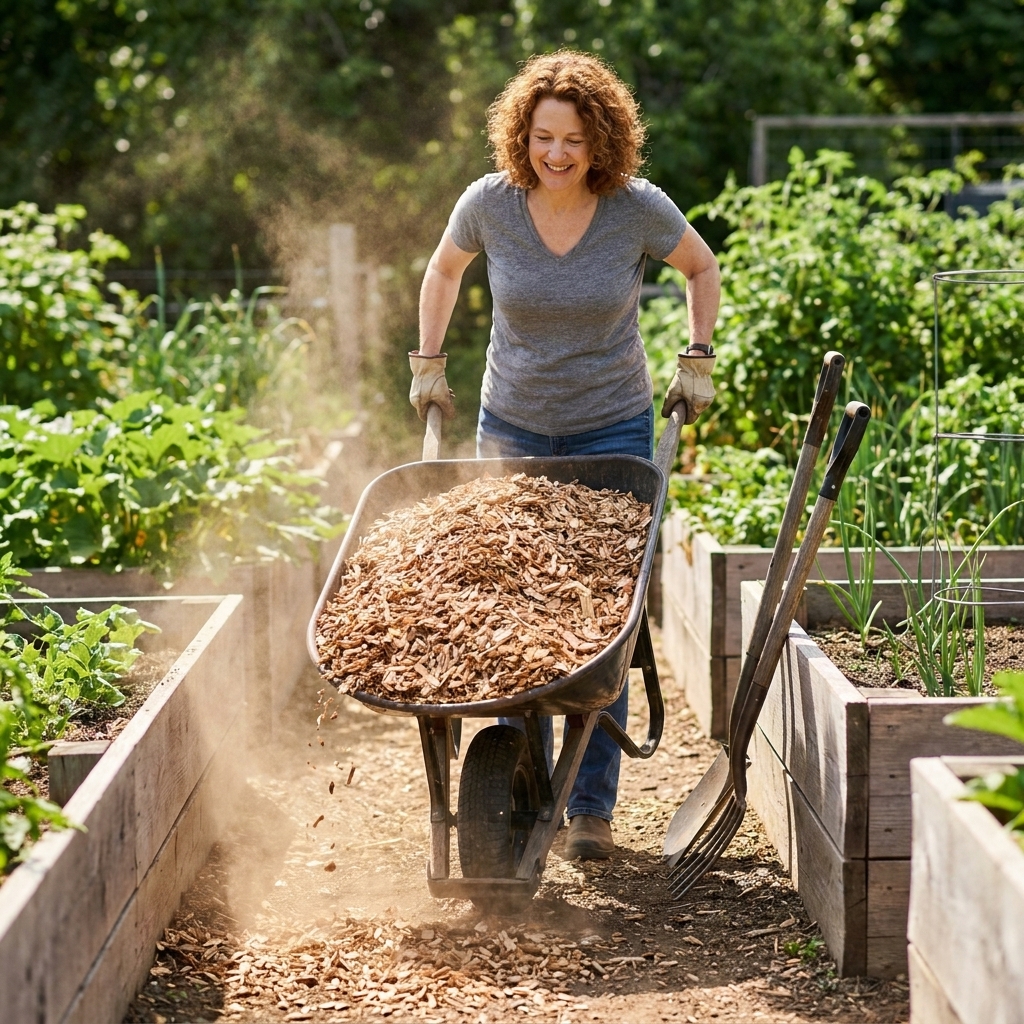
Option 1: Wood chips
Wood chips are the cozy sweatshirt of garden paths. They look natural, they are forgiving on feet and knees, and they can make a muddy garden feel usable again.
Why wood chips work so well
- Weed suppression: Excellent when applied thickly. Chips block light and create a physical barrier.
- Mud control: Great, especially on clay-heavy yards where bare soil turns to peanut butter in spring.
- Comfort: Soft underfoot, kinder on joints than rock or brick.
- Soil-building bonus: As chips break down, they feed soil life along the path edges and beneath the path over time.
Tradeoffs to know
- They decompose: Not a dealbreaker, but it means you will need to top them up, usually once a year.
- Slugs and snails: In damp climates, mulch can provide daytime hiding spots. If you battle slugs, keep chips a little back from tender bed edges, and scout at dusk.
- Nitrogen worry: Fresh chips can tie up nitrogen if mixed into soil. For paths, it is rarely an issue as long as you keep chips on the path and out of your bed soil.
How to install wood chips for the lowest upkeep
- Smother existing growth: Lay down plain cardboard (remove tape) or a quality landscape fabric. I prefer cardboard for most home gardens because it is easy to refresh and breaks down naturally.
- Overlap generously: Cardboard is a short-term smother layer (often months to a season), so overlap seams well and double up where weeds are thick.
- Go thick: Spread 3 to 5 inches of chips. Two inches looks nice for about a month, then weeds start acting bold.
- Edge if possible: Simple edging (wood, metal, or stone) keeps chips from wandering into beds.
- Top dress yearly: Add 1 to 2 inches each spring or fall to maintain weed-blocking depth.
Perennial weed warning: If you have bindweed, bermudagrass, quackgrass, or other stubborn perennials, cardboard plus chips may take more than one round. Expect some follow-up pulling, and consider a season-long smother with extra overlap and extra chip depth in the worst patches.
My neighbor-fence advice: If you can get “chip drop” style arborist chips locally, they are usually the best value. Mixed chips (wood plus leaves) settle faster, so start on the thicker end.
Option 2: Gravel
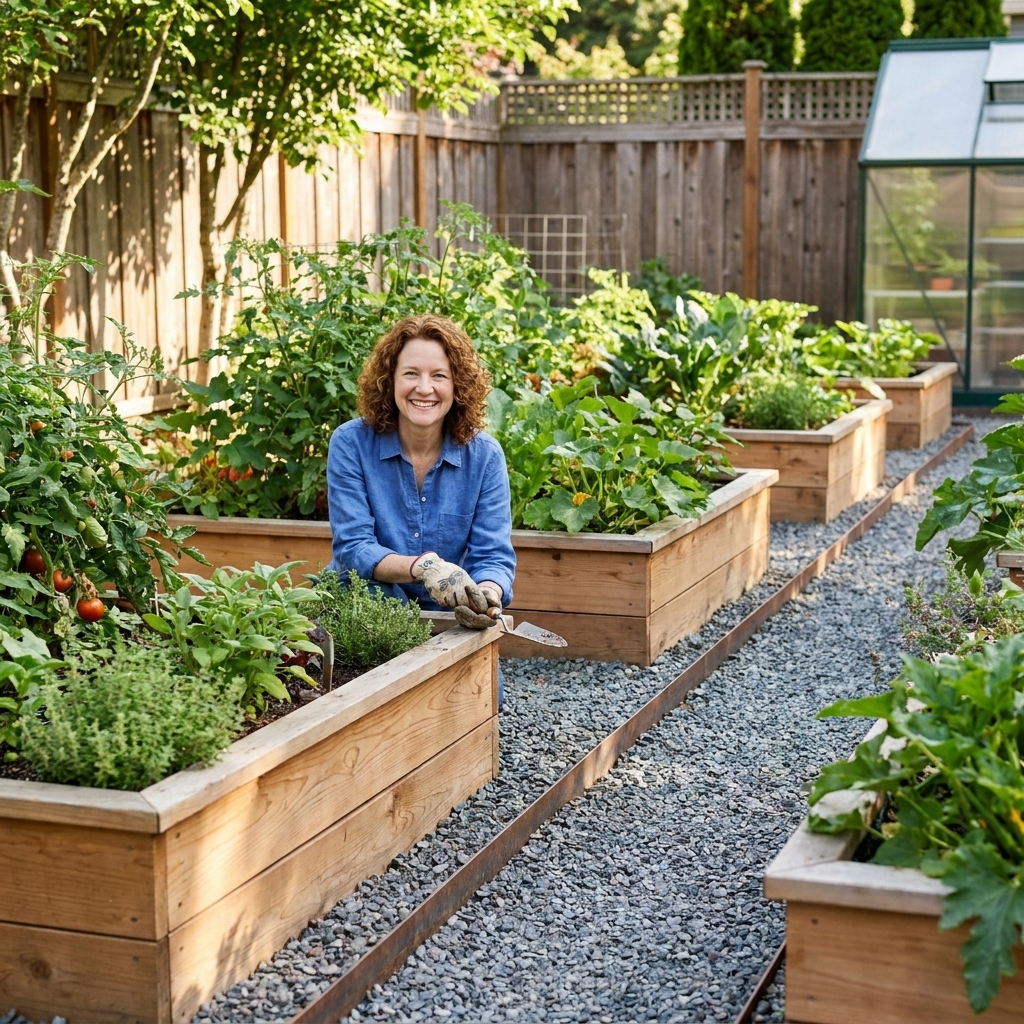
Gravel sounds like the ultimate low-maintenance choice, and it can be, but only if you build it correctly. If you toss gravel on bare soil, weeds will move in like they pay rent.
What gravel does best
- Drainage: Excellent. Great for rainy climates and low spots.
- Longevity: It does not break down like chips.
- Clean look: Brightens up a garden and makes beds feel finished.
Where gravel can frustrate veggie gardeners
- Weeds still happen: Seeds land on top and sprout in dust and organic debris that settles into the gravel over time.
- Moves around: Gravel migrates into beds, sticks in shoe treads, and can get flung by shovels.
- Not always friendly for kneeling: If you kneel to weed bed edges a lot, you will feel it.
- Wheelbarrow note: Pea gravel is notoriously difficult for wheels. If you want a gravel path that rolls well, you generally want an angular stone that compacts.
How to install gravel so it stays low-maintenance
- Excavate a little: Removing 2 to 4 inches of soil gives the gravel a home and reduces migration.
- Compact the base: A hand tamper goes a long way for stability.
- Use the right separator: A heavier-duty geotextile (often sold as driveway fabric) holds up better than flimsy landscape fabric and does a better job separating soil from stone.
- Choose the right stone: For stable paths, 3/8-inch minus crushed stone (with fines) compacts and rolls better than round pea gravel. If you prefer a looser, more decorative look, pea gravel is comfortable to walk on but shifts and wheels sink more.
- Add edging: This is not optional if you want clean bed borders.
Long-term heads-up: Any fabric layer can clog with soil over time, especially in gardens where compost and mulch get kicked around. Gravel paths still benefit from occasional raking and spot-weeding, and some gardeners prefer skipping fabric and focusing on a compacted base plus regular maintenance. If you do use fabric, choose a tough geotextile so it is less likely to shred when you refresh the path.
Option 3: Pavers
If you want pathways that look polished year-round and make rolling a garden cart effortless, pavers are hard to beat. They are also the most work up front, but the payoff is real.
Why pavers shine between raised beds
- Weed control: Very good when installed on a solid base with tight joints. You can still get occasional sprouts in seams, but it is usually quick work.
- Easy to walk and roll: Smooth, stable surface for wheelbarrows and harvest carts.
- Long life: A properly installed paver path can outlast your current beds.
- Less mess: No chips sticking to boots, no gravel in your beds.
Downsides to know
- Cost: Highest material cost, plus base materials.
- Prep matters: Skipping the base is how you end up with wobbly pavers and weeds colonizing the cracks.
- Harder on knees: Add a kneeling pad if you edge-weed often.
- Heat: In hot, sunny gardens, pavers can reflect heat. It is usually manageable, but watch bed-edge moisture and keep beds mulched.
A simple paver build that stays low-maintenance
- Excavate: Plan for 4 to 6 inches below finished height for light pedestrian paths in mild climates, and understand that freeze-thaw regions often need deeper bases (commonly 6 to 10 inches or more) depending on soil and drainage. When in doubt, follow local guidance and the paver manufacturer’s specs.
- Base layer: Add compacted crushed stone (road base) in lifts.
- Leveling layer: A thin layer of sand, then screed flat.
- Set pavers: Keep lines straight and surfaces level.
- Fill joints: Polymeric sand helps reduce weeds in cracks and firms things up after watering.
Veggie garden bonus: If you use drip irrigation, pavers keep lines cleaner and reduce mud splash on lower leaves.

Option 4: Living paths
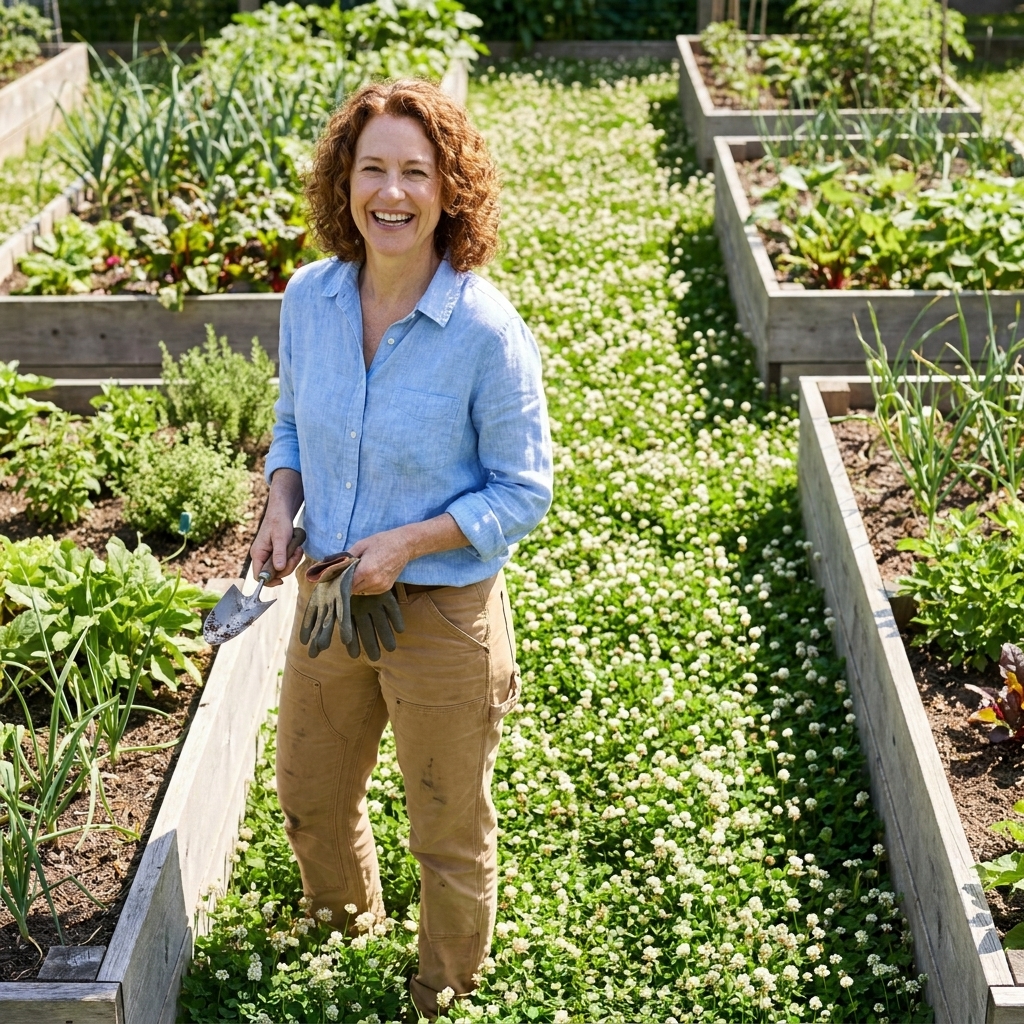
Living paths are exactly what they sound like: you plant something low-growing in the walkway instead of covering it. This can be beautiful and surprisingly functional, especially if you like biodiversity and do not mind occasional trimming.
Good choices for garden paths
- White clover: Soft, nitrogen-fixing, and attracts pollinators. It can creep into beds, so edge well.
- Creeping thyme: Low, fragrant, drought-tolerant once established. Best in sunny, well-drained gardens.
- Low mow mix: A blend designed for low growth can work if you can mow or string trim.
- Annual living mulch paths: In some gardens, buckwheat can be used in wider paths during warm months, then chopped and dropped before it seeds.
Where living paths struggle
- Weed pressure: Until the cover fills in, weeds will try to move in.
- Moisture competition: In dry climates, living paths can compete with bed edges for water.
- Maintenance is different, not zero: You trade weeding for mowing, trimming, or re-seeding.
How to make living paths workable
- Start with a clean slate: Remove existing weeds thoroughly before sowing.
- Seed densely: Thin seeding is an invitation for weed takeover.
- Keep it short: Trim before it flops into beds or sets seed where you do not want it.
- Use hard edging: Even a simple border helps keep paths from turning into bed invaders.
Fast comparison table
| Material | Weed resistance | Comfort | Best for |
|---|---|---|---|
| Wood chips | High (with 3 to 5 inches) | High | Most home veggie gardens, quick install |
| Gravel (compacted) | Medium to high (still gets top-sprouts) | Medium | Drainage, durability, tidy borders |
| Pavers | Very high (good base and joints) | Medium to low | Cart access, accessibility, clean look |
| Living cover | Medium (after it fills in) | High | Biodiversity, soft feel, pollinators |
My go-to low-weeding build
When friends ask me what I would do on an average suburban veggie garden, here’s my simplest recipe. It hits the sweet spot of low maintenance, low cost, and high sanity.
Cardboard + wood chips method
- Level the path area with a rake. Remove tall weeds, but do not stress about perfection.
- Lay cardboard with generous overlap. Water it so it hugs the ground.
- Add 4 inches of arborist chips (more if your paths are low and collect water).
- Install edging if you can. Even a simple 2x4 border helps keep chips where they belong.
- Top up annually with 1 to 2 inches of chips.
If you do just one thing: go thicker than you think you need. Thin mulch is the number one reason mulch paths fail.
Maintenance checklist
- Wood chips: Top up 1 to 2 inches yearly, pull the occasional sprout, and rake chips back into place after heavy traffic.
- Gravel: Rake occasionally to remove debris pockets, spot-weed as needed, and add a light refresh layer every few years if it thins or gets dirty.
- Pavers: Sweep regularly, spot-pull any seam sprouts, and refresh joint sand when you notice gaps or loosening (often every few years).
- Living paths: Mow or trim weekly to biweekly in peak growth, edge as needed, and overseed thin spots.
Common mistakes
Making paths too narrow
If you can barely squeeze between beds, you will step into your soil, compact bed edges, and resent your garden. Aim for 24 inches minimum, wider if you use a wheelbarrow often.
Skipping edging
Edging is what keeps gravel out of beds and keeps chips from drifting. It also makes weeding the border faster because you have a clear line.
Assuming any system stays weed-free forever
Even the best path eventually collects a little soil and compost dust, and that is all weed seeds need. Plan for small, quick maintenance and you will never feel behind.
Using fabric without a plan
Fabric can help under gravel, but it can also clog over time and become annoying to refresh. Under wood chips, fabric can turn into a messy layer once chips break down on top of it. For many home gardens, cardboard under chips is a simpler, cleaner start.
Not planning for water
Paths often become the low spot. If water flows through your garden, consider a slightly crowned path, better drainage material (gravel), or adding more chip depth in soggy zones.
FAQ
How deep should wood chips be for weed control?
For garden pathways, 3 to 5 inches is the sweet spot. If you start at 4 inches, you can usually maintain with 1 to 2 inches added each year.
Will cardboard stop weeds permanently?
No. Cardboard is a temporary smother layer, and it breaks down. It works best with generous overlap and a thick chip layer. Aggressive perennial weeds may still push through and need repeat smothering or targeted removal.
Do I need landscape fabric under gravel?
It is not strictly required, but a tough geotextile helps keep gravel from sinking into soil and reduces weeds coming up from below. You will still get some weeds from seeds landing on top over time, so plan for occasional spot pulling.
Will pavers make my garden hotter?
They can reflect heat, especially light-colored pavers in full sun. In most vegetable gardens it is manageable, but if you are in a very hot climate, keep beds mulched well and watch moisture at bed edges.
Are cover crop paths worth it?
If you enjoy a living garden feel and do not mind trimming, yes. If you want the cleanest, fastest, lowest-effort weed control, chips or pavers are usually a better match.
The bottom line
For most home vegetable gardeners who want low maintenance without a big construction project, wood chips are the best all-around path material, especially over cardboard with a thick layer. If you crave a tidy, permanent walkway that rolls like a dream, pavers are your upgrade. Gravel is a solid middle option if you build a proper base, choose an angular stone that compacts, and edge it well. Living cover is wonderful when you want beauty and biodiversity, and you are okay trading weeding for trimming.
Whatever you choose, remember this gardener’s truth: the best pathway is the one that keeps you out there harvesting, even after a rainy week, because the tomatoes will not pick themselves.