A practical, neighbor-to-neighbor guide to deep, infrequent watering that builds strong roots, saves water, and helps tomatoes, peppers, cucumbers, squash, a...
Veg Loom
October 17, 2026
By Maggie O'Connell
Growing Potatoes in Grow Bags
Learn how to grow potatoes in fabric grow bags, from chitting seed potatoes to hilling, watering, and harvesting a high-yield crop in small spaces.

Maggie O'Connell
Maggie O'Connell is a lifelong gardener and the voice behind Vegloom, dedicated to helping people grow their own food regardless of their yard size. With over 15 years of hands-on experience in backyard agriculture, she specializes in raised bed gardening, organic soil building, and seasonal planting calendars. When she isn't writing, Maggie can usually be found tending to her sprawling heirloom tomatoes or experimenting with new compost recipes.
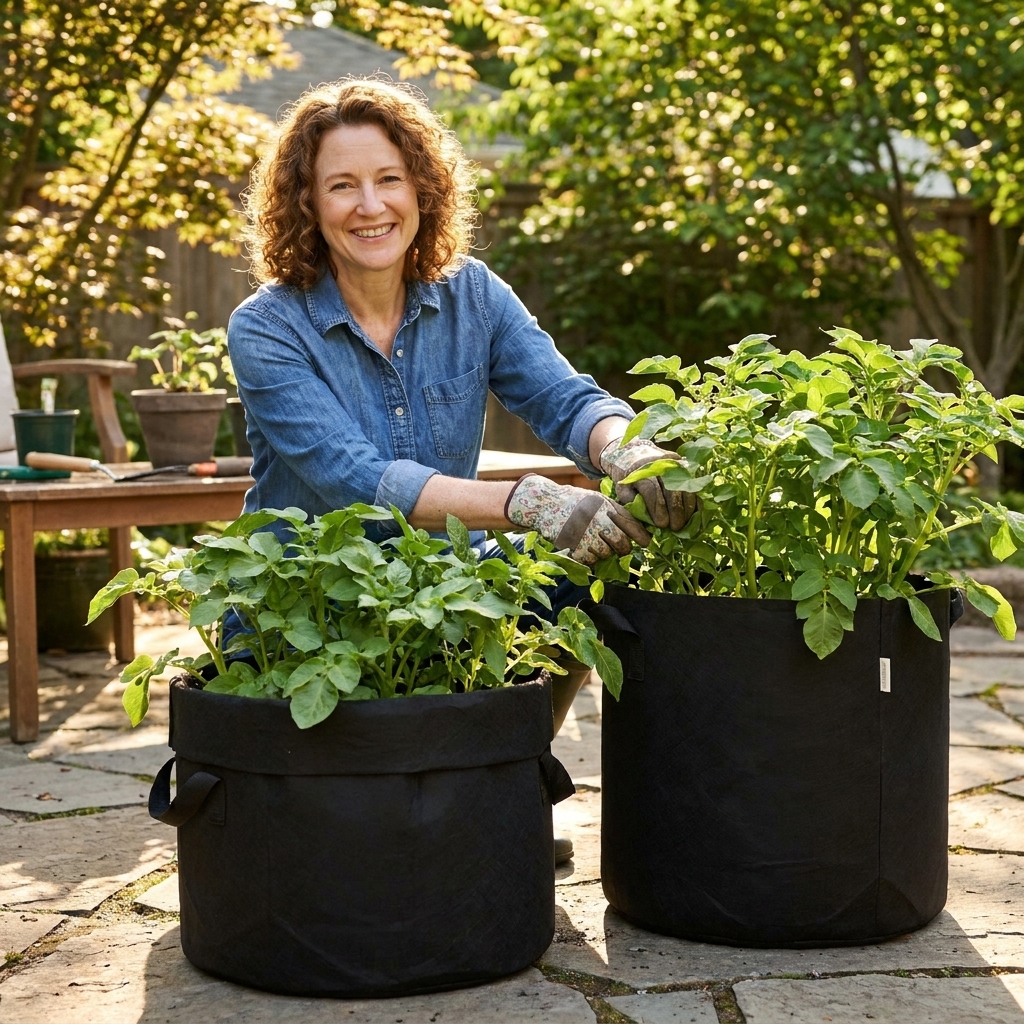
Why grow potatoes in bags?
If your soil is heavy clay, your beds are already full, or you just want potatoes closer to the kitchen door, grow bags are a handy workaround. Fabric bags drain well, warm up faster in spring, and make harvest day feel like a magic trick. No digging, no wrestling with a fork, just tip and treasure.
One quick truth up front: the biggest “secret” to a big harvest in bags is steady moisture plus enough soil volume. Everything else is helpful, but those two make or break your yield.
What you need
- Fabric grow bag: 10 to 20 gallons is the sweet spot. A 10-gallon bag works for a small batch, 15-gallon is my favorite, and 20-gallon gives you more buffer against drying out.
- Seed potatoes: Certified disease-free seed potatoes, not grocery store potatoes.
- Soil mix: A fluffy, moisture-holding blend that still drains.
- Slow-release organic fertilizer: Something balanced or slightly lower in nitrogen.
- Mulch (optional but helpful): Straw, shredded leaves, or untreated grass clippings (thin layer only).
- Watering setup: A hose-end wand, watering can, or drip line.
Drainage note: Most fabric bags breathe and drain well, but make sure yours can freely drain from the bottom. Avoid keeping bags in saucers that hold water, which can lead to soggy soil and rot.
Step 1: Pick the right potato types
All potatoes can grow in a bag, but some are simply more cooperative.
Good choices for grow bags
- Early potatoes (new potatoes): Red Norland, Caribe. Fast, a bit more forgiving, and great if you want a quick win.
- Early to midseason: Yukon Gold. Not the earliest in every climate, but it does well in containers and you can harvest it young.
- Maincrop potatoes: Kennebec, Russet types, German Butterball. Bigger overall harvest, but they need more time and consistent watering.
How many seed potatoes per bag?
- 10-gallon bag: 2 seed potatoes
- 15-gallon bag: 3 seed potatoes
- 20-gallon bag: 4 seed potatoes
If you cram in more, you usually get lots of plants competing for the same pantry of water and nutrients. You can end up with a bunch of small potatoes instead of a pile of nice-sized ones.
Step 2: When to plant
The simplest rule is this: plant when it is cool, but not freezing.
- Aim to plant once night temperatures are mostly above freezing and you are past the risk of a hard freeze.
- If you like numbers, many gardeners plant when soil temps are roughly 45 to 50°F and rising.
- In many regions, this lines up with about 2 to 4 weeks before your last frost, as long as you can protect bags on unusually cold nights.
Because bags sit above ground, they can chill faster than in-ground beds on cold nights. If a surprise freeze is forecast, tuck the bag near a wall, wrap it, or cover the foliage overnight.
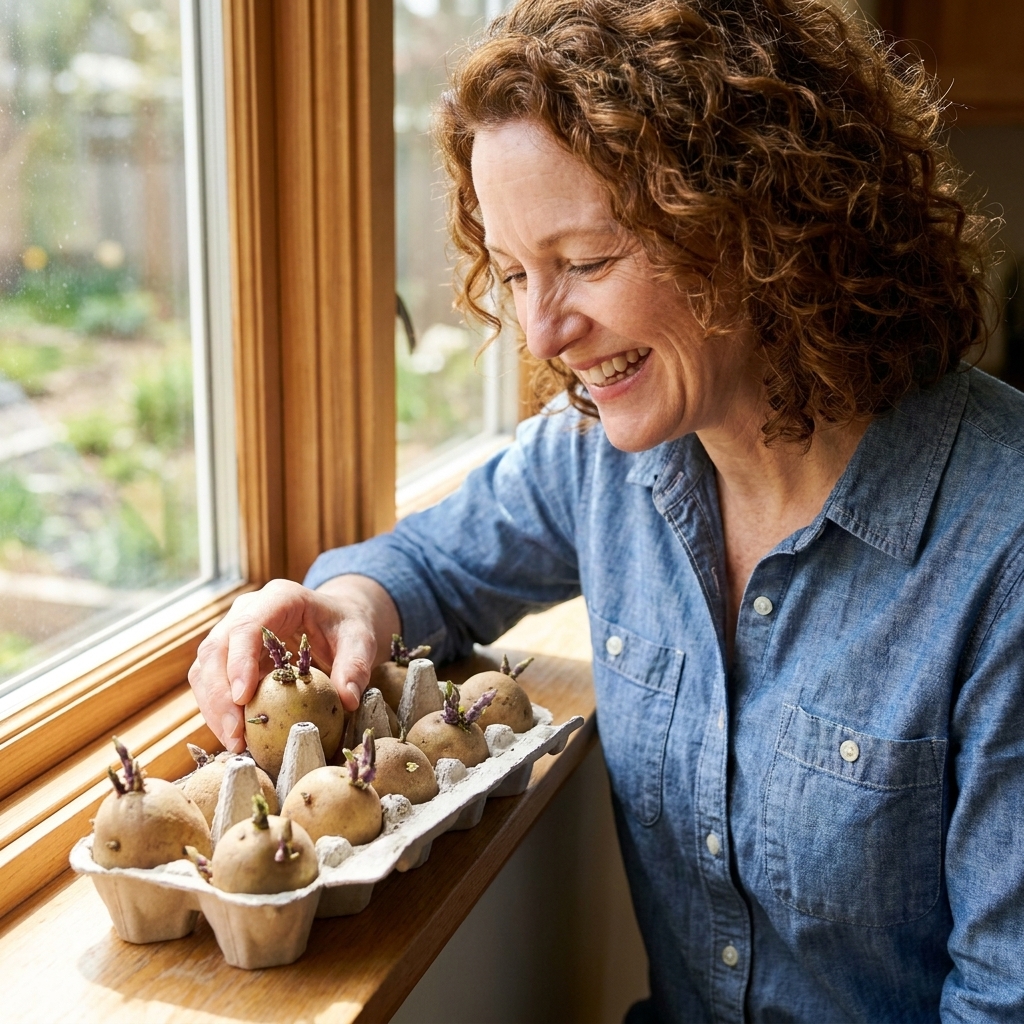
Step 3: Chit (pre-sprout) your seed potatoes
Chitting is optional, but I like it because it gives potatoes a head start and helps you spot weak seed early. Think of it as letting them wake up on the porch before you send them out into the world.
How to chit potatoes
- Set seed potatoes in a shallow tray or egg carton with the “eyes” facing up.
- Place them in a bright, cool spot out of direct sun, around 50 to 60°F.
- Wait for short, sturdy sprouts, about 1/2 to 1 inch long. This usually takes 2 to 4 weeks.
If your seed potatoes are large: You can cut them into chunks with 1 to 2 eyes per piece. Let the cut pieces dry and callus for 1 to 2 days before planting to reduce rot.
Step 4: Build the best soil mix for grow bags
Potatoes want soil that’s loose enough for tubers to swell, but not so airy that it dries out every afternoon.
A reliable grow bag potato mix
- 40% quality compost
- 40% peat-free potting mix or coconut coir based mix
- 20% aeration: perlite, pumice, or rice hulls
Avoid straight garden soil in bags. It compacts, drains poorly, and makes tubers more likely to deform. Also avoid fresh manure, which can encourage scab and push leafy growth over tubers.
Fertilizer add-in
Mix in an organic slow-release fertilizer following the label. If you want a rule-of-thumb approach, choose something around a 4-4-4 or 5-5-5, and go a little lighter than you would in a bed. In bags, it’s easier to add later than to undo an overfeed.
Step 5: Plant in layers
This is where grow bags shine. You are basically building your potato bed from the bottom up.
How to plant potatoes in a grow bag
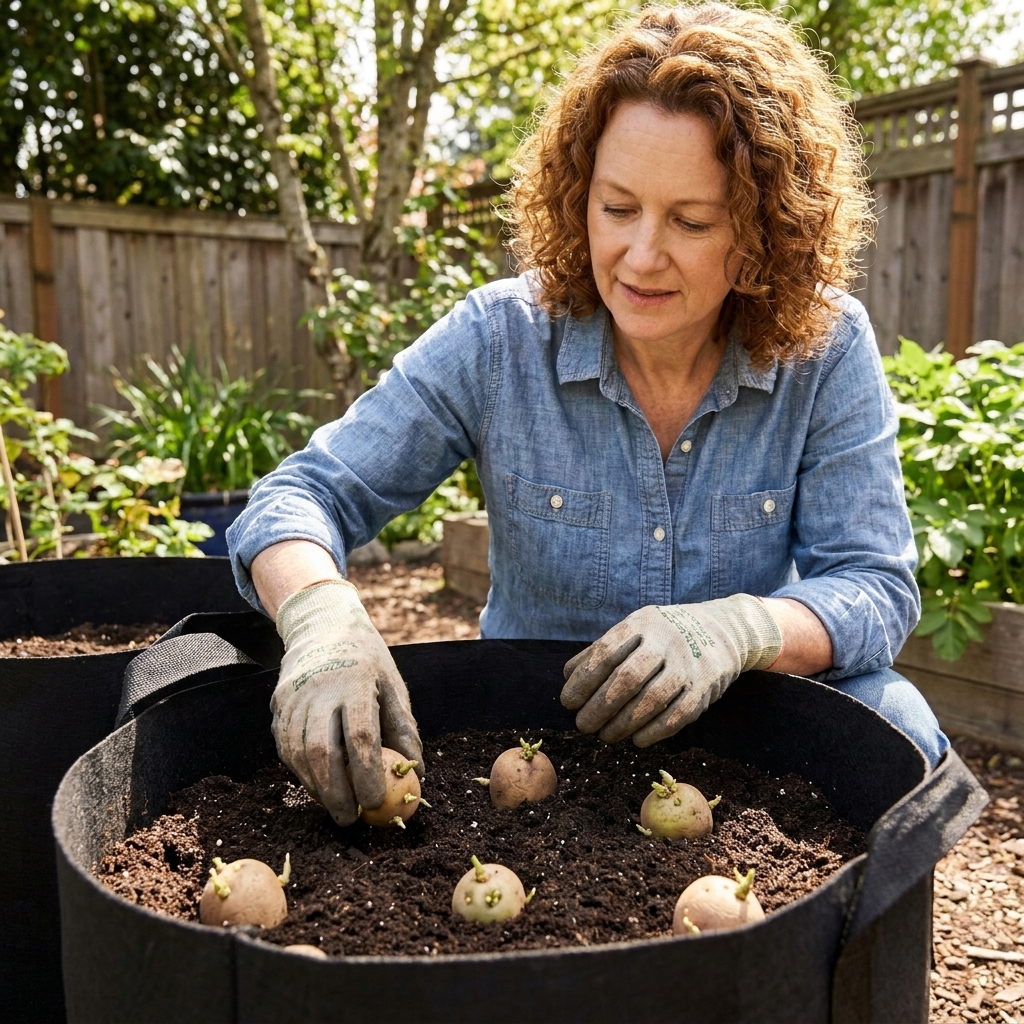
- Start with a base layer: Add 4 to 6 inches of damp soil mix to the bottom of the bag.
- Place seed potatoes: Set your chitted potatoes sprouts-up, spaced evenly.
- Cover: Add 3 to 4 inches of soil mix over the seed potatoes.
- Water: Water thoroughly until you see a little run-off, then let excess drain.
Planting depth note: You do not need to fill the bag to the top right away. Leaving room makes hilling much easier later.
Step 6: Sun and placement
Potatoes want 6 to 8 hours of sun for strong growth. Morning sun is especially helpful because it dries leaves early and reduces disease pressure.
- Set bags on a surface that drains well.
- If your patio gets blazing hot, consider a spot with afternoon shade in peak summer. Hot roots plus dry soil equals stress.
- In windy areas, cluster bags together so they support each other.
Step 7: Water like you mean it
This is the make-or-break section. Grow bags dry out faster than beds, especially once plants are full size.
Watering rules that work
- Keep soil consistently moist like a wrung-out sponge. Not soggy, not bone dry.
- Water deeply: A quick sprinkle only wets the top inch, which trains shallow roots.
- Check daily during warm spells. In peak summer, you may water once a day, occasionally twice in extreme heat.
Tip from my own mistakes: Uneven watering is a common cause of cracked tubers. For scab, the big risk is letting soil get too dry during tuber initiation and early bulking, especially if your mix runs on the alkaline side. If you can only do one thing right, do moisture consistency.
Step 8: Hill as the plants grow
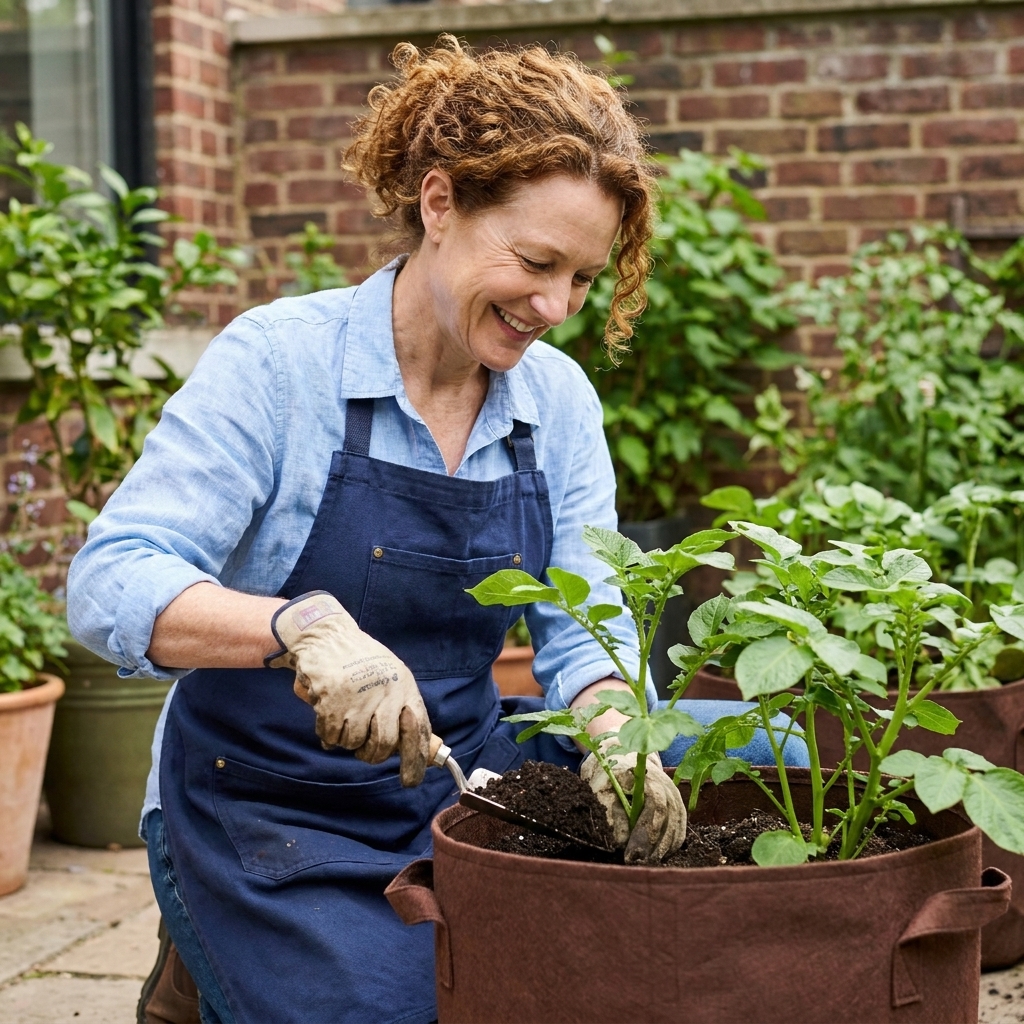
Hilling means adding soil around the stems as the plant gets taller. It prevents sunlight from greening exposed tubers, and it can improve usable yield by keeping the tuber-forming zone covered. Depending on variety and conditions, hilling may also encourage more tubers to develop in that covered zone, but it is not a guaranteed “more potatoes” button.
When to hill
Start hilling when the plants are about 6 to 8 inches tall.
How to hill in a grow bag
- Add 2 to 3 inches of soil mix (or a blend of soil mix and straw) around the stems.
- Leave the top few inches of leafy growth exposed.
- Repeat every week or two until the bag is nearly full.
How full is full? Aim to stop hilling when you are within 2 to 3 inches of the bag’s rim so watering is still tidy.
Step 9: Feeding during the season
If you started with compost and a slow-release fertilizer, you may not need much else. Too much nitrogen creates gorgeous foliage and disappointing tubers.
A simple feeding schedule
- At planting: Slow-release organic fertilizer mixed into soil.
- When flowering begins: Optional light side-dress with a lower-nitrogen fertilizer (something like 3-5-7) or a sprinkle of compost.
Skip heavy feeding late in the season. At that point, you want plants focusing on finishing tubers, not pushing new leafy growth.
Step 10: Pest and disease watch
Grow bags reduce some soil-borne issues, but potatoes still have enemies. Catching problems early is half the battle.
Common issues
- Colorado potato beetles: Yellow and black striped adults and squishy red larvae. Hand-pick into soapy water, check undersides of leaves for orange egg clusters.
- Aphids: Blast off with water or use insecticidal soap if needed.
- Early blight or leaf spotting: Remove the worst leaves, avoid wetting foliage, and give plants space for airflow.
- Late blight (if it shows up in your area): Dark, water-soaked patches that spread fast, often with pale edges. If you suspect late blight, remove and bag infected foliage promptly and do not compost it.
- Scab: Often linked to higher pH and dry soil during tuber set. Keep moisture steady when tubers are forming and avoid liming potato soil.
Big prevention tip: Use certified seed potatoes and fresh potting mix components. Reusing old bag soil for potatoes year after year can invite disease buildup.
When to harvest
There are two harvest windows, and both are wonderful for different reasons.
New potatoes
Harvest as “new potatoes” about 2 to 3 weeks after flowering, or when plants are well established and you want a taste early. You can gently rummage near the sides and pull a few without disturbing everything.
Main harvest
For full-size potatoes, wait until the plants yellow and die back naturally. Then give it another 1 to 2 weeks so skins can set up and toughen for storage.
If frost is coming and plants are still green, you can cut the tops down and harvest a week later. In a bag, cold can hit roots faster than in-ground plantings, so do not gamble with a hard freeze.
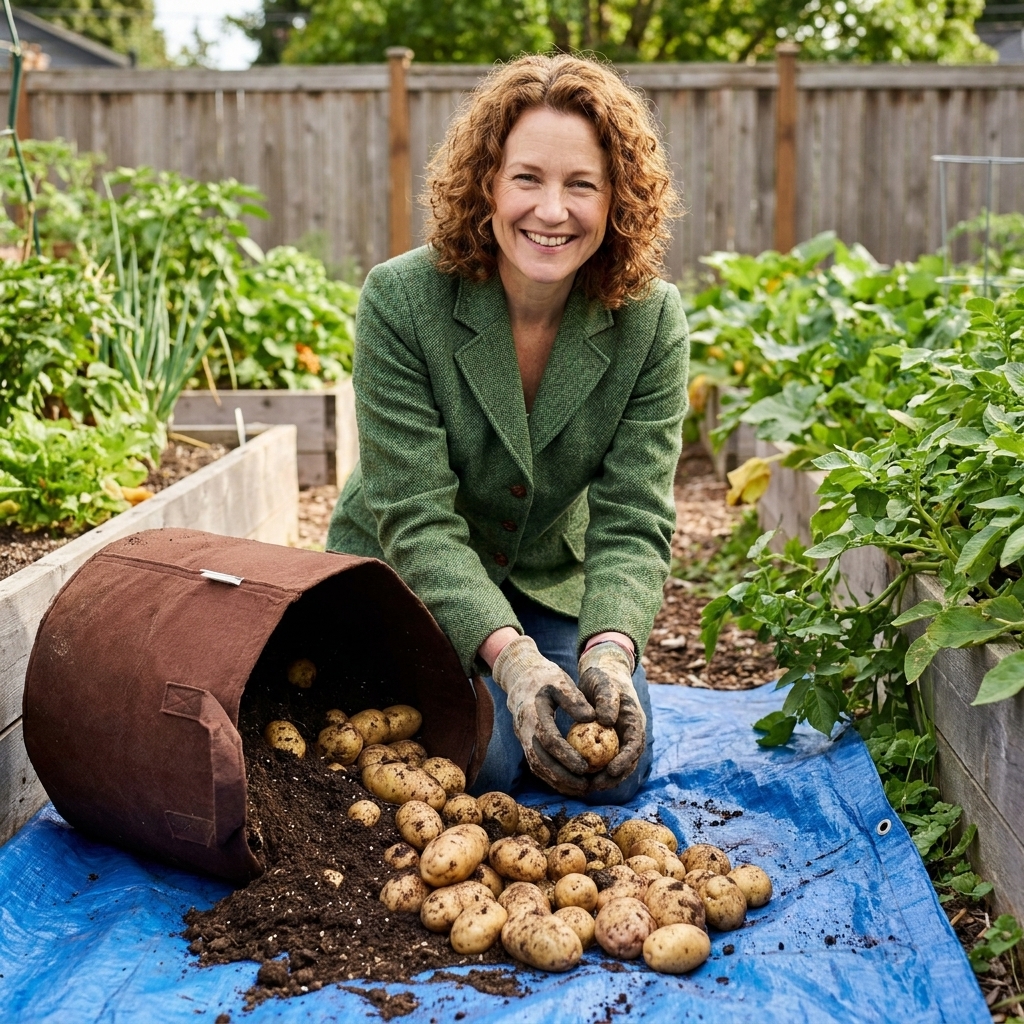
How to harvest
This is the fun part.
- Stop watering for a day or two if you can. Slightly drier soil is easier to work with.
- Lay down a tarp or an old sheet.
- Tip the bag on its side and gently roll the soil out.
- Pick through by hand and collect potatoes.
Be gentle. Freshly harvested potatoes bruise easily, and bruises can rot in storage.
Curing and storing
If you want potatoes that last beyond a week, curing matters. It is what turns thin, delicate skins into storage-ready jackets.
How to cure
- Brush off loose soil, but do not wash before storage.
- Lay potatoes in a single layer in a dark, well-ventilated spot around 50 to 60°F.
- Cure for 7 to 14 days.
How to store
- Store in a dark place around 40 to 45°F with good airflow.
- Use paper bags, mesh bags, or ventilated crates.
- Store potatoes separately from onions. They prefer different humidity and airflow, and keeping them apart reduces spoilage risk.
Important: If a potato has a small green patch, trim it deeply and taste before you commit to eating it. If it is heavily green, bitter, or you are unsure, discard it. Green skin can indicate solanine buildup, and it is not something you want on your dinner plate.
High-yield tips
- Choose a bigger bag than you think you need. More soil volume means steadier moisture and better yields.
- Do not skip hilling. It prevents greening and helps protect developing tubers.
- Mulch the top. A light layer of straw helps slow evaporation in summer.
- Water early in the day. It supports steady growth and reduces disease risk.
- Keep bags off scorching surfaces. If your bag sits on hot concrete, place it on pavers, soil, or a pallet to reduce heat stress.
Troubleshooting
Big plants, tiny potatoes
Usually too much nitrogen, not enough sun, crowded planting, or uneven moisture. Next time: fewer seed potatoes per bag, a more balanced fertilizer, and steadier watering.
Green potatoes
They were exposed to light. Hill more aggressively and keep tubers covered. Do not eat heavily green or bitter potatoes.
Seed potatoes rotted
Soil stayed too wet, temperatures were too cold, or cut pieces were planted before callusing. Plant a bit later, use a lighter mix, and let cut seed pieces dry before planting.
My bag dries out constantly
Move to a slightly shadier afternoon spot, add mulch, and consider drip irrigation. Also, larger bags dry out slower.
FAQ
Can I use grocery store potatoes as seed?
I do not recommend it. Grocery potatoes are often treated with sprout inhibitors, and they can carry diseases that are a headache in containers and gardens alike. Certified seed potatoes are worth it.
How long do potatoes take in grow bags?
Most varieties take 70 to 120 days depending on type and weather. Earlies are fastest, maincrops take longer but can yield more.
Can I reuse the soil from potato grow bags?
Yes, but I would not reuse it for potatoes or other nightshades (tomatoes, peppers, eggplant) right away. I usually refresh it with compost and use it for greens or flowers, then rotate back later.
A neighborly send-off
If you have ever looked at your yard, your patio, or your balcony and thought, “Surely I cannot grow potatoes here,” I am here to gently disagree. A couple of fabric bags, a good soil mix, and consistent watering can give you a harvest that feels like pure garden joy. And on the day you tip that bag and see what’s been hiding underground, you will understand why I keep making room for potatoes every season.