A practical guide to straw, shredded leaves, pine needles, and wood chips for moisture retention and weed control in veggie beds, plus exactly how thick to s...
Veg Loom
October 17, 2026
By Maggie O'Connell
Planting, Growing, and Curing Fall Garlic
Learn how to plant garlic in fall, care for it through winter and spring, and cure and store bulbs for months. Variety tips, spacing, fertilizing, scapes, harvest timing, and troubleshooting.

Maggie O'Connell
Maggie O'Connell is a lifelong gardener and the voice behind Vegloom, dedicated to helping people grow their own food regardless of their yard size. With over 15 years of hands-on experience in backyard agriculture, she specializes in raised bed gardening, organic soil building, and seasonal planting calendars. When she isn't writing, Maggie can usually be found tending to her sprawling heirloom tomatoes or experimenting with new compost recipes.
Garlic is my favorite kind of long game. You tuck a few cloves into the soil when the garden is winding down, and months later you pull up plump, papery bulbs that make store-bought garlic taste like a rumor. If you have ever wanted a crop that feels both easy and downright magical, fall garlic is it.
This guide walks you through the whole cycle: choosing a variety, planting at the right time, keeping it happy through winter and spring, and curing it properly so it stores for months.
Garlic basics
Hardneck vs softneck
Most garlic falls into two types. Picking the right one makes your life easier, especially when it comes to storage and cold tolerance.
- Hardneck garlic: Best for colder winter climates, makes curly flower stalks called scapes, often has bigger cloves and rich flavor. It commonly stores about 3 to 6 months, depending on cultivar and how well it is cured and stored.
- Softneck garlic: Best for mild winter climates, does not usually make scapes, tends to store longer and is the classic type for braiding. It commonly stores about 6 to 10 months and sometimes longer with ideal curing and storage.
Why plant in fall?
Garlic bulbs up best after a period of cool temperatures. For many varieties, that cold exposure helps trigger proper bulbing in spring. Hardnecks generally need more cold than softnecks, and softnecks are often more flexible in warmer zones. When you plant in fall, the clove grows roots before the ground freezes, then it takes off in spring. The result is usually bigger, better bulbs than most spring plantings.
When to plant
The goal is simple: plant after summer heat fades, but early enough for roots to establish before hard freeze.
- Colder zones (roughly 3 to 6): aim for 2 to 4 weeks before the ground freezes.
- Moderate zones (roughly 7): plant in mid to late fall once nights cool down.
- Warm zones (8 to 10): plant in late fall to early winter after consistent cool weather arrives. In the warmest areas, softneck is usually the most reliable.
If you are unsure, watch the soil temperature. Garlic is happiest going in when soil is cool, not hot, and daytime highs are no longer summery.
Choosing seed garlic
For the best results, buy seed garlic from a reputable grower. It is selected for vigor and is less likely to carry disease.
Grocery store garlic may be treated to reduce sprouting, and it is often grown for shipping and shelf life rather than performance in your region. Can it grow? Sometimes. Will it give you the kind of bulbs you brag about? Not always.
Varieties by climate
If you want an easy starting point, match the type to your winter:
- Cold winters: hardnecks like Porcelain or Rocambole types are popular choices.
- Mild winters and long storage: softnecks like Artichoke or Silverskin types are often dependable.
Local growers and extension resources are gold here, because the same named variety can behave differently depending on climate.
How much to buy
One bulb usually breaks into 8 to 12 plantable cloves, depending on variety and bulb size. Plant the largest, healthiest cloves for the biggest bulbs. Save smaller cloves for the kitchen.
Where to plant
Sun
Give garlic full sun, especially in spring when bulb sizing happens.
Drainage matters
Garlic hates wet feet. If your soil stays soggy in winter, plant in a raised bed or mound the row a bit higher to shed water.
Rotate away from alliums
To reduce disease and pest buildup, avoid planting garlic where you grew onions, leeks, shallots, or garlic in the last 3 to 4 years if you can manage it.
Soil prep
Garlic is a light feeder compared to, say, tomatoes, but it does care deeply about soil structure and steady nutrition.
Target soil conditions
- Loose, fertile soil so bulbs can expand
- Lots of organic matter for moisture balance
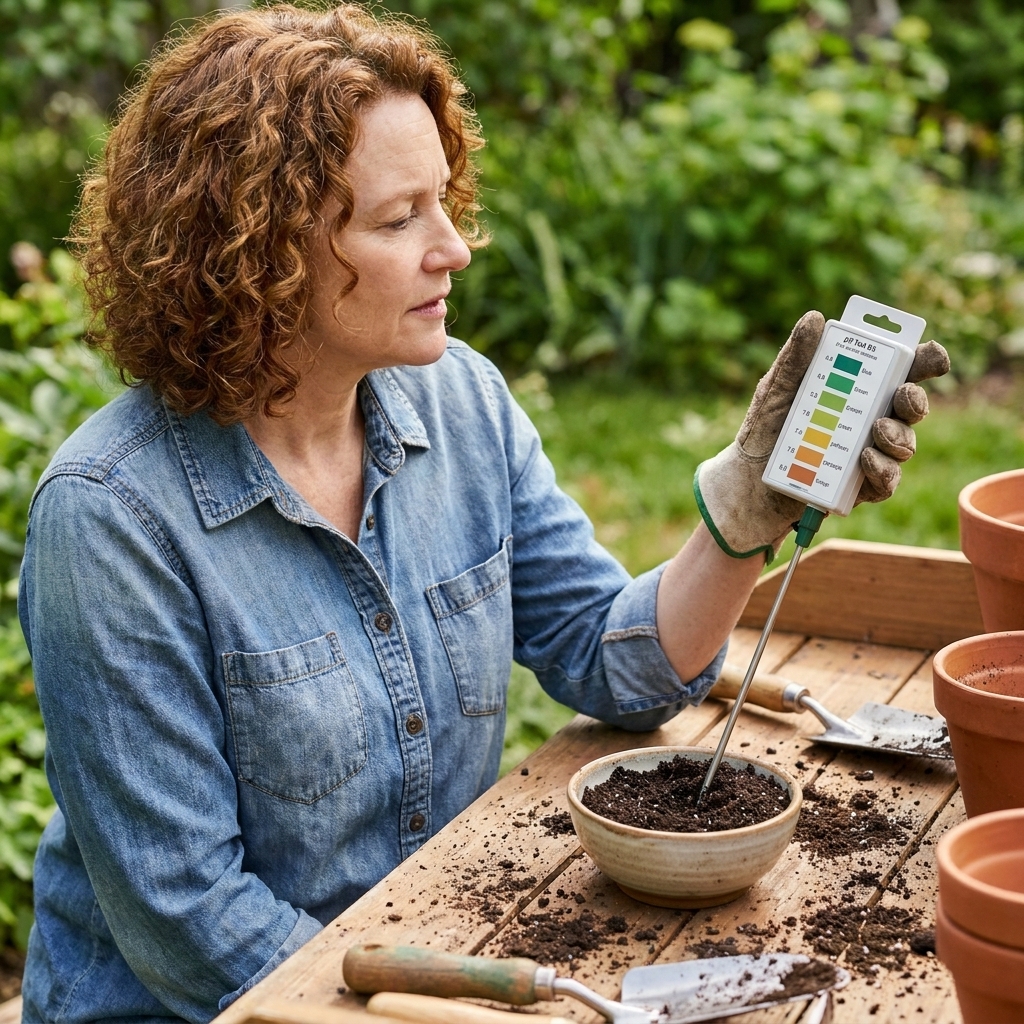
- pH around 6.0 to 7.0
My easy raised bed recipe
If you garden in beds, this is a dependable approach:
- Top the bed with 1 to 2 inches of finished compost.
- If your soil is compacted, gently loosen the top 6 to 8 inches with a fork.
- Mix in an organic, balanced fertilizer or something slightly nitrogen-forward if your soil is very lean. Avoid overdoing it.
A quick caution that saves headaches: skip fresh manure right before planting. It can be too high in nitrogen, and it can increase disease risk. If you use manure, make sure it is well composted and applied well ahead of time.
If you know your soil tends to be low in potassium, a little help there can support bulb development later. When in doubt, compost plus a light, slow release organic fertilizer is a solid beginner plan.
How to plant
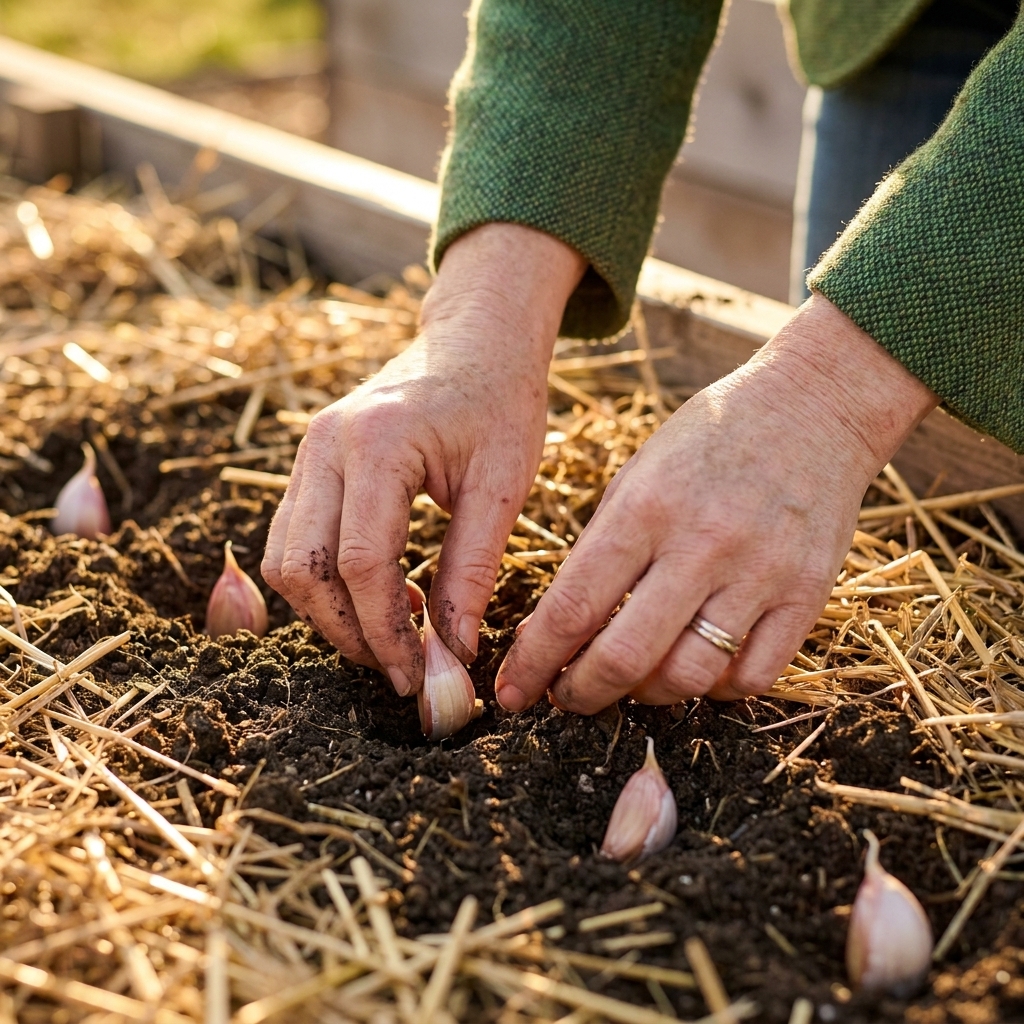
1) Split the bulbs into cloves
Break bulbs apart right before planting. Keep the papery skins on each clove. Discard any cloves that are soft, damaged, or moldy.
2) Plant pointy side up
The pointed end faces up, the flatter root end goes down.
3) Depth and spacing
- Plant depth: about 2 to 3 inches deep in most gardens (measured from the top of the clove). In very cold climates, planting a bit deeper is fine, especially with mulch.
- Spacing: 4 to 6 inches between cloves.
- Row spacing: 8 to 12 inches between rows, or use a grid spacing in raised beds.
4) Water in
Give the bed a thorough watering to settle soil around the clove. After that, fall rains usually take it from there unless you are in a very dry spell.
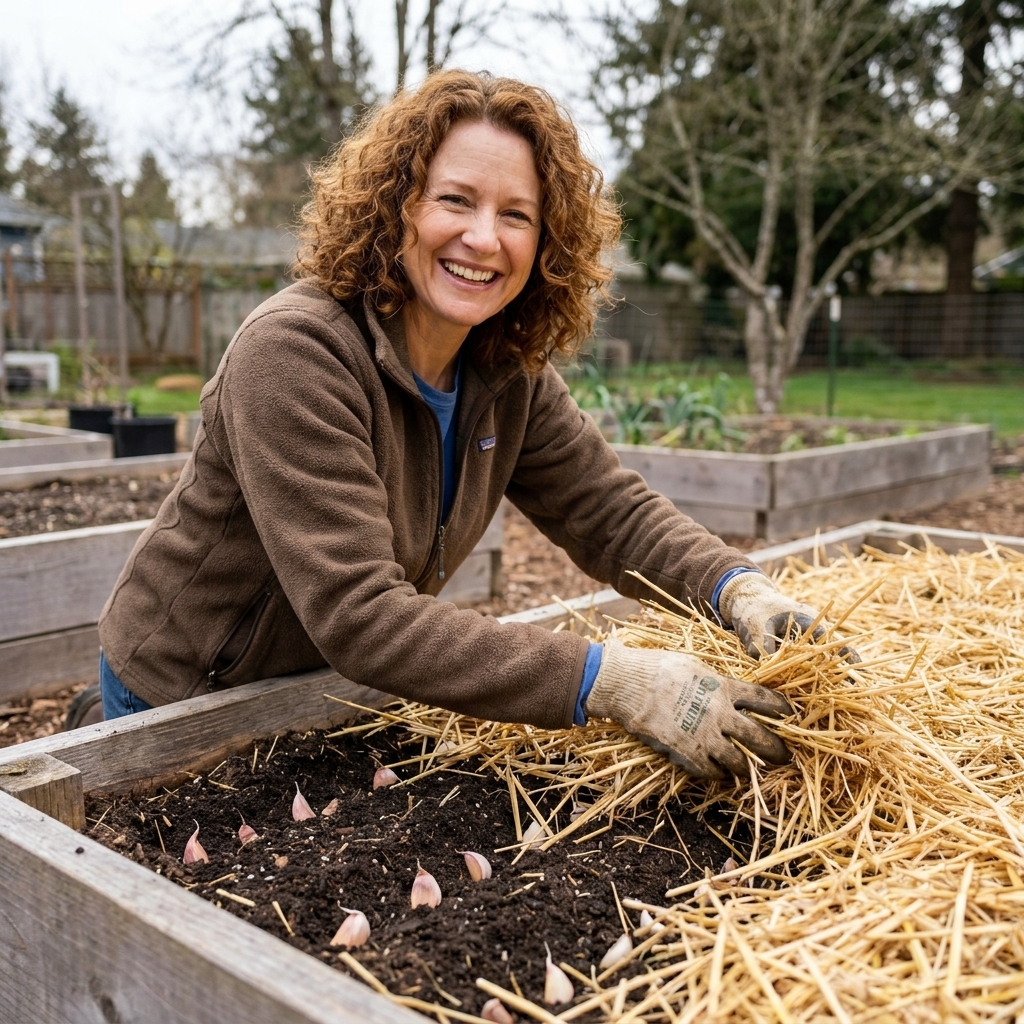
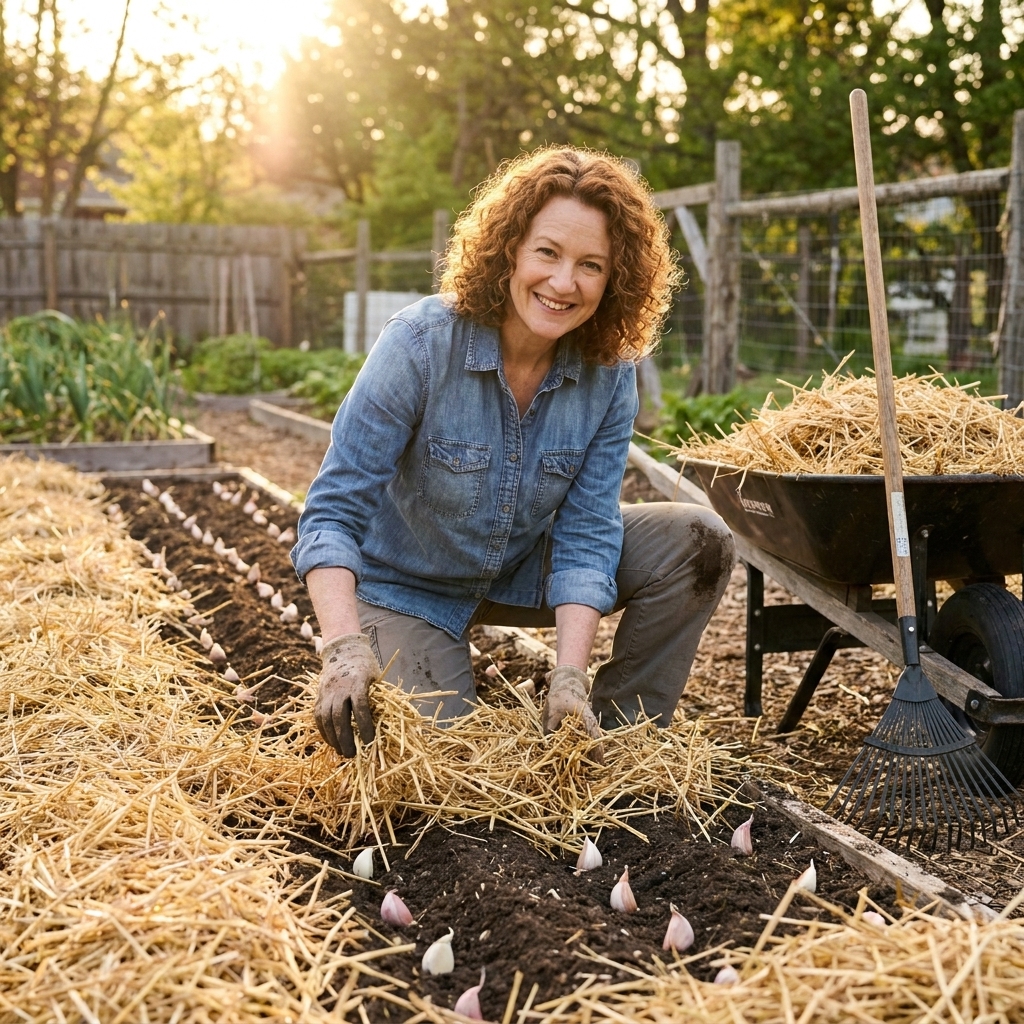
5) Mulch like you mean it
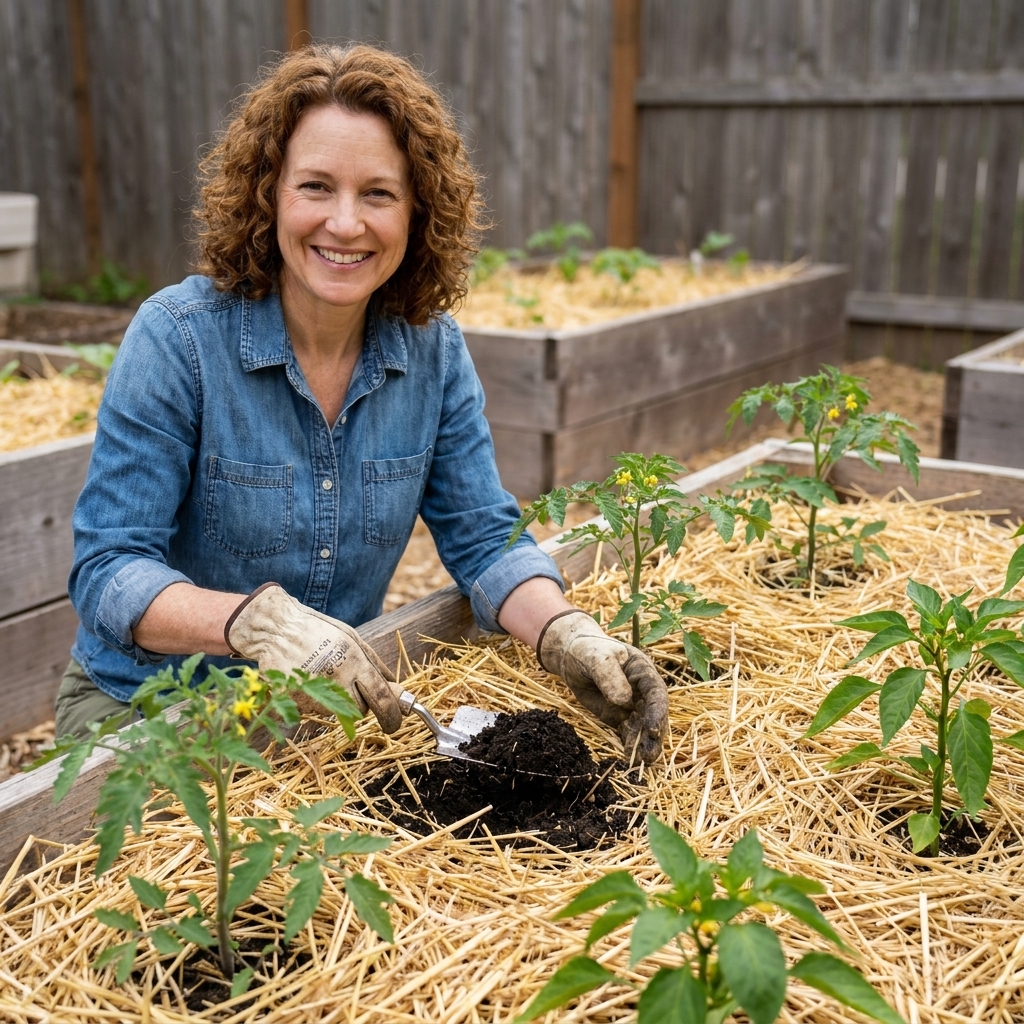
Once the bed cools down, apply 3 to 6 inches of clean straw, shredded leaves, or pine needles. Mulch moderates temperature swings, suppresses weeds, and helps prevent frost heaving.
Winter care
Garlic does not need babysitting in winter. Your main job is to make sure it is not sitting in standing water.
- If green shoots appear in fall: that is okay. Mulch will protect them. They often slow down or pause in deep winter.
- If your mulch blows away: tuck it back in place. Exposed soil is where freeze-thaw cycles cause trouble.
- If winter is unusually dry: water on a mild day if the soil is bone dry, especially in raised beds under eaves.
Spring care
Pull mulch back a little
When you see steady spring growth, you can gently pull mulch back so the soil warms, then leave a thinner layer for weed control. I like mulch to stay present, just not smothering.
Fertilize at the right time
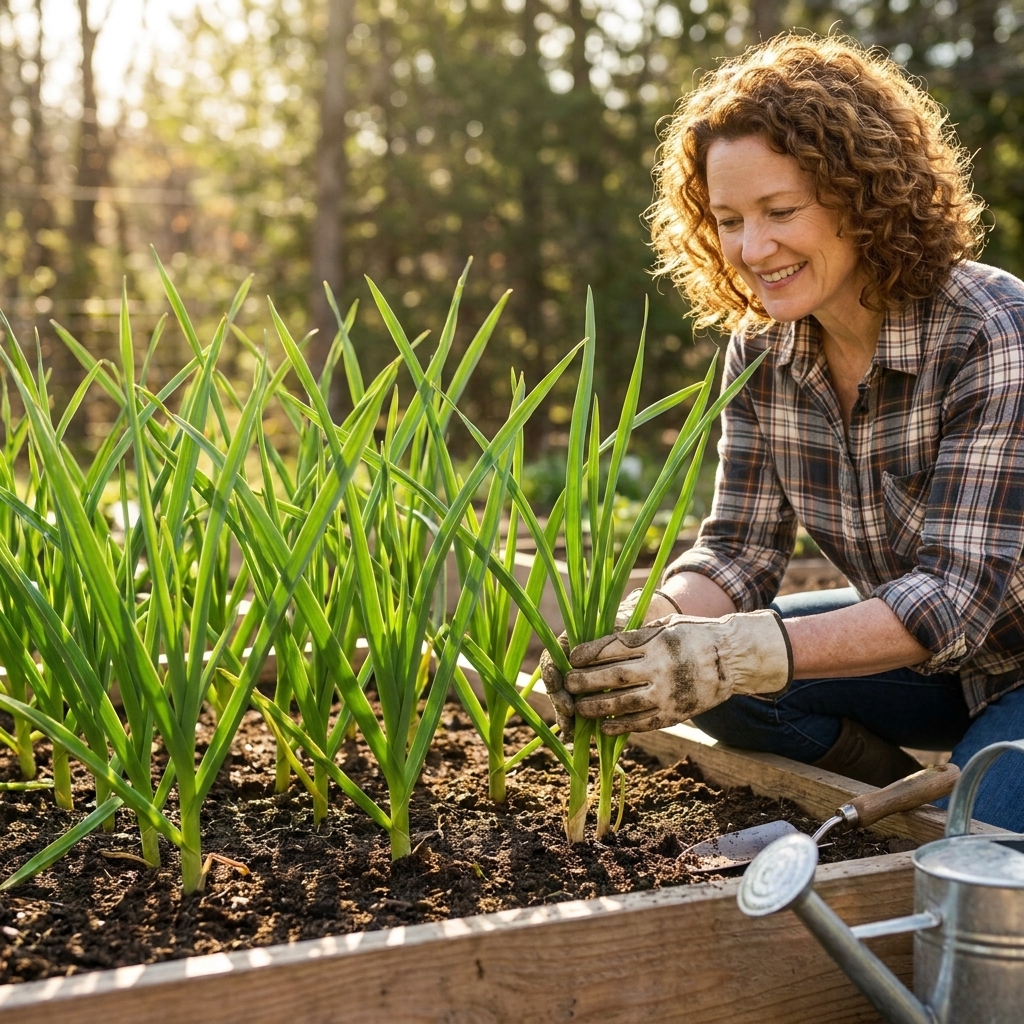
Garlic benefits from nitrogen in early spring while it is making leaves. Those leaves are the solar panels that build your bulbs later.
- First feeding: when growth is 4 to 6 inches tall.
- Second feeding: about 3 to 4 weeks later, especially in sandy soil or beds that get heavy spring rain.
Use a gentle organic nitrogen source and water it in. Stop heavy feeding once bulbs begin to size up in early summer. Too much nitrogen late can delay maturity and reduce storage quality.
Watering
Garlic likes consistent moisture in spring. Aim for soil that feels evenly moist a couple inches down, not muddy. In many climates, rain handles this. If you are irrigating, a deep soak is better than frequent sprinkles.
Weeding
Garlic does not compete well with weeds. Keep the bed tidy, especially in spring, because weeds steal water and nutrients during prime growth.
Scapes
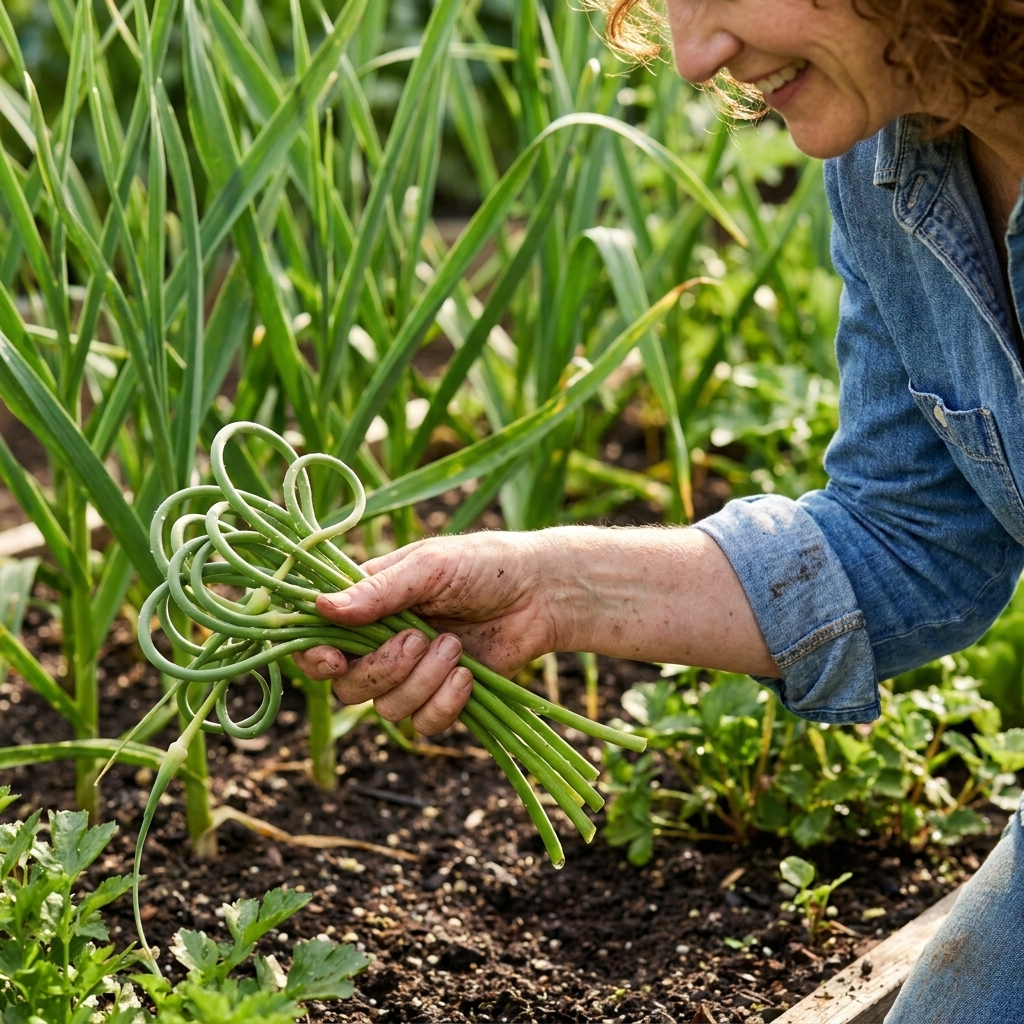
If you planted hardneck garlic, you will get scapes in late spring or early summer. They start as a straight stalk, then curl into a loop.
Why cut scapes?
Removing scapes helps the plant put more energy into the bulb. It can also make harvest timing a little more predictable.
When to cut
Cut when the scape has made one full curl and is still tender. Use clean pruners and snip low on the stalk without damaging leaves.
Do not toss them
Scapes are delicious. Chop into pesto, stir fry, scrambled eggs, or toss on the grill with a little oil and salt.
When to harvest
Harvest timing is the difference between bulbs that store for months and bulbs that split their wrappers and invite rot.
The leaf rule I use
Garlic is ready when the bottom leaves have browned and the top leaves are still mostly green.
- Hardneck: harvest when you have about 4 to 6 green leaves remaining.
- Softneck: harvest when you have about 5 to 7 green leaves remaining.
Each green leaf roughly corresponds to a wrapper layer around the bulb. It is not exact, but it is a handy way to think about storage potential.
Do a test dig
Before you harvest the whole bed, dig one bulb and inspect it. You want well-formed cloves with tight wrappers, not a bulb that has started to separate.
Ease up on watering
If conditions allow, I like to stop regular watering about 1 to 2 weeks before harvest. Drier soil near the finish line can help wrappers tighten and makes curing easier. If your soil is very dry and the plants are stressing hard, do not force it. Just avoid big swings.
How to harvest without damage
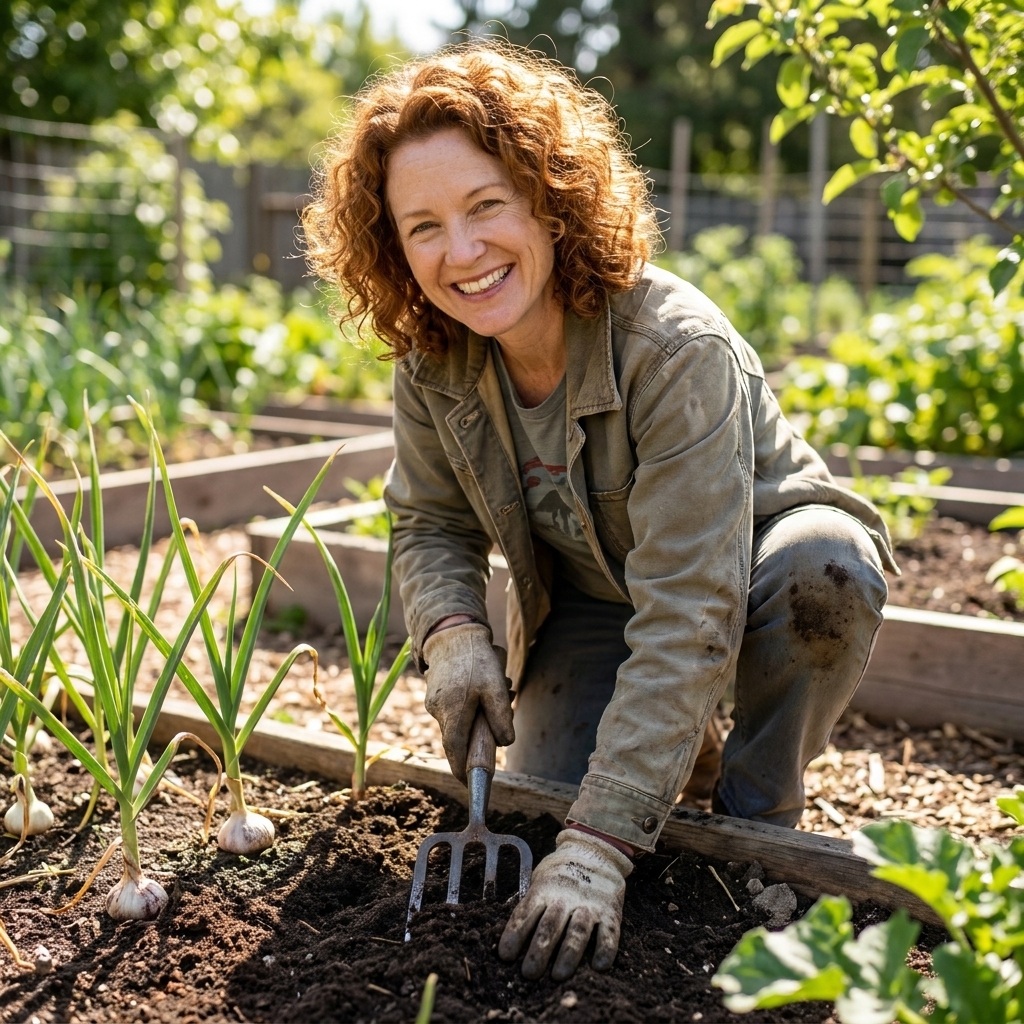
Do not yank garlic by the stalk. Use a garden fork or trowel to loosen soil a few inches away from the bulb, then lift gently.
Curing garlic
Curing is simply drying the outer layers and neck so the bulb stores safely. Freshly pulled garlic is juicy and tender, and it will not keep long until it cures.
First: handle it like produce, not like firewood
- Keep bulbs out of direct sun after harvest.
- Do not wash the bulbs.
- Gently knock off big clumps of soil, but leave the roots and leaves on for now.
Where to cure
Choose a spot that is:
- Shady
- Dry
- Well ventilated
A covered porch, garage with a fan, shed with airflow, or a spare room with good ventilation all work. Avoid damp basements.
How to arrange bulbs
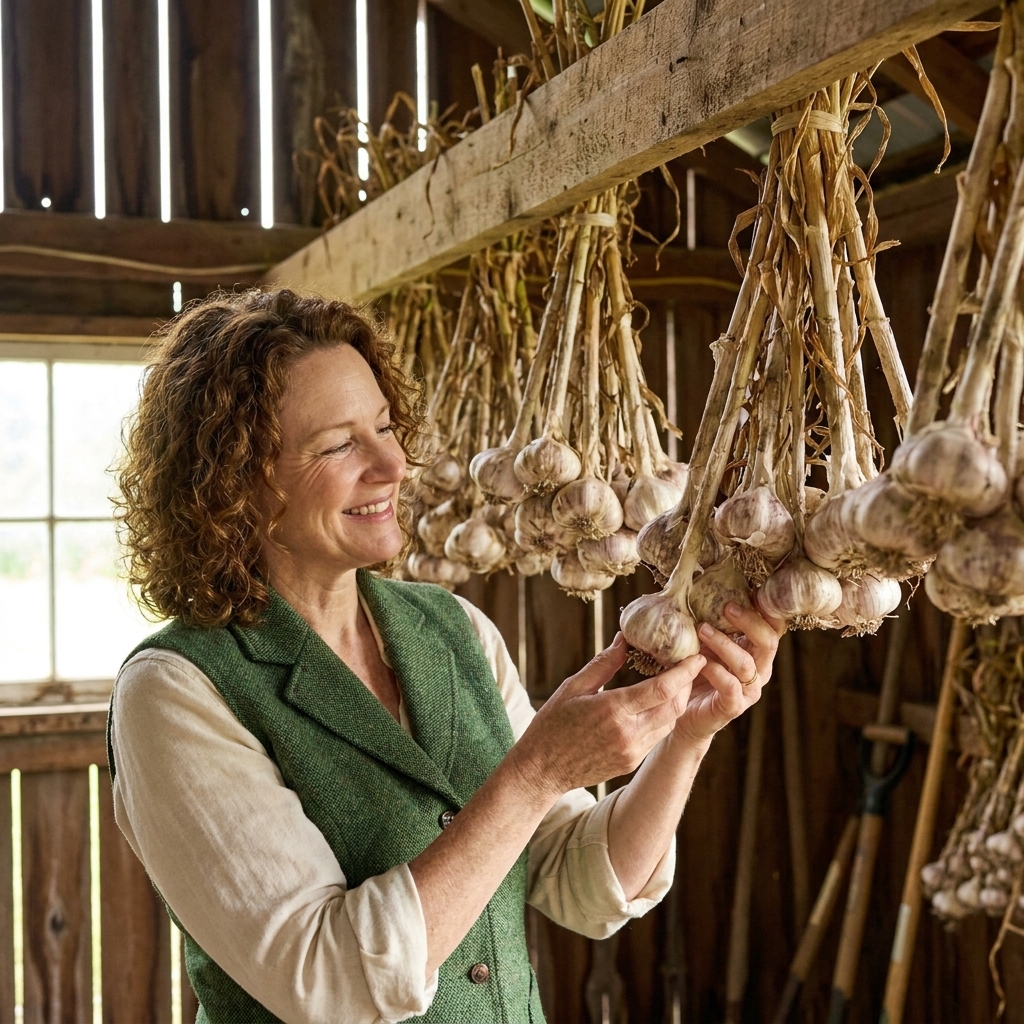
- Lay them in a single layer on a rack or screen, or
- Bundle small groups and hang them, or
- Set them on slatted shelves so air can move around all sides
How long to cure
Most garlic takes 2 to 4 weeks to cure, depending on humidity and airflow.
Signs it is cured
- Outer skins feel papery and dry.
- Necks are dry and tight, not bendy and wet.
- Roots are dry and bristly.
If you are in a humid climate, plan on the longer end and use a fan for steady airflow.
Cleaning and trimming
Once garlic is cured, you can tidy it up for storage.
How to clean
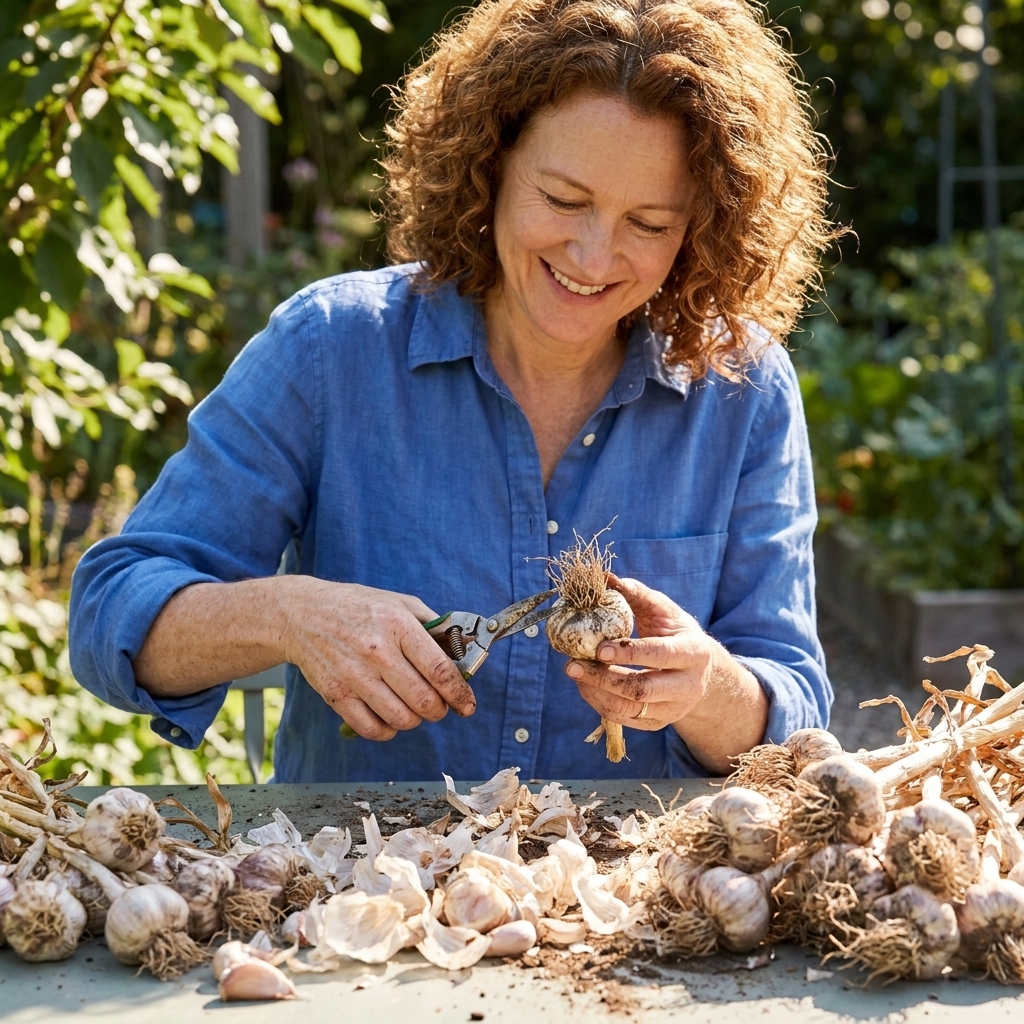
Brush off remaining soil. If a wrapper layer is filthy, peel off only the dirtiest outer layer. Try not to strip it down too far, because those wrappers protect the cloves in storage.
Trim roots and tops
- Roots: snip close to the base.
- Hardneck tops: cut the stalk about 1 inch above the bulb.
- Softneck tops: you can trim similarly, or leave longer if you plan to braid.
How to store garlic
Properly cured garlic stores best in a spot that is cool, dry, and airy.
Best storage conditions
- Temperature: cool room temperature is fine for most homes. Avoid warm spots above the fridge or near the stove.
- Airflow: use mesh bags, slatted crates, baskets, or paper bags with holes.
- Darkness: keep it out of bright light to slow sprouting.
What not to do
- Do not store in sealed plastic. It traps moisture and invites mold.
- Be cautious with the fridge. Refrigeration is fine short-term, but for long-term storage it can be tricky in a typical home fridge because temps and humidity fluctuate, and cold exposure can shorten dormancy once bulbs return to room temperature. For pantry garlic, a cool, dry room with airflow is usually the easiest win.
Check your stash every couple of weeks and pull any soft bulbs right away. One bad bulb can raise humidity in the container and spoil neighbors.
Saving garlic to replant
Homegrown seed garlic can be wonderful, especially once it adapts to your garden. Save your largest, healthiest, best-shaped bulbs. Store them like the rest, and set them aside so you are not tempted to cook with them in February.
If you ever notice persistent disease issues, it is smart to buy fresh seed garlic again and rotate beds.
Troubleshooting
Lots of leaves, small bulbs
- Planted too late, so root growth was weak going into winter
- Too much competition from weeds in spring
- Not enough nitrogen early in spring
- Not enough sun
- Cloves were small to begin with
Beds stayed too wet, bulbs rotted
- Poor drainage or heavy clay without enough organic matter
- Low spots that collect water
- Mulch piled too thick in a wet climate, reducing airflow at the soil surface
Bulbs split (cloves separating)
- Harvested too late
- Inconsistent watering during bulb sizing, especially drought followed by heavy irrigation
Yellowing early in spring
- Natural winter wear and tear, especially after a hard cold snap
- Nitrogen deficiency
- Waterlogged soil
Common pests and diseases
If you want the short, practical list: garlic is usually easy, but it is not invincible. Thrips can rough up leaves, rust can show up in humid conditions, and white rot is the nightmare scenario that makes rotation non-negotiable. Your best prevention tools are clean seed garlic, good drainage, long crop rotation, and pulling any suspicious plants instead of hoping they will bounce back.
If you are unsure, do a gentle soil check. If it is soggy, focus on drainage. If it is dry and pale, a light feeding and steady watering usually perks garlic right up.
FAQ
Can I plant garlic in containers?
Yes, as long as the container is large and deep enough and drains well. Use a pot at least 10 to 12 inches deep, plant cloves 4 to 6 inches apart, and mulch the top. In very cold climates, protect the pot from freeze-thaw swings by moving it to a sheltered spot.
Should I soak garlic cloves before planting?
It is optional. Healthy seed garlic typically does fine planted dry. If you have had disease issues in the past, your best prevention tools are crop rotation, clean seed garlic, good drainage, and not overwatering.
How many cloves does it take to grow a bulb?
One clove grows into one full bulb, assuming it is healthy and has enough time and nutrition.
Why did my garlic sprout in storage?
Usually it is too warm, too bright, or the garlic was not fully cured. Variety matters too. Some softnecks resist sprouting longer than many hardnecks, but storage conditions still do most of the heavy lifting.
Your fall garlic checklist
- Pick a sunny, well-drained spot and rotate away from alliums.
- Plant the biggest cloves pointy side up, 2 to 3 inches deep, 4 to 6 inches apart.
- Mulch 3 to 6 inches for winter protection and weed control.
- Feed lightly in early spring, weed regularly, water consistently.
- Cut hardneck scapes for bigger bulbs.
- Ease up on watering 1 to 2 weeks before harvest if conditions allow.
- Harvest when lower leaves brown but several top leaves stay green.
- Cure 2 to 4 weeks in shade with strong airflow, then trim and store airy and cool.
If you only try one new fall crop this year, make it garlic. Future you, standing in the kitchen in January with a perfect bulb in hand, is going to be very grateful.