Spot nitrogen, calcium, magnesium, potassium, phosphorus, iron, and sulfur issues in your veggies and fix them naturally with compost, gypsum, lime, and smar...
Veg Loom
October 17, 2026
By Maggie O'Connell
Test and Adjust Soil pH for Better Vegetable Harvests
Learn how to test your garden soil pH at home and adjust it safely with garden lime or elemental sulfur for healthier plants and bigger vegetable yields.

Maggie O'Connell
Maggie O'Connell is a lifelong gardener and the voice behind Vegloom, dedicated to helping people grow their own food regardless of their yard size. With over 15 years of hands-on experience in backyard agriculture, she specializes in raised bed gardening, organic soil building, and seasonal planting calendars. When she isn't writing, Maggie can usually be found tending to her sprawling heirloom tomatoes or experimenting with new compost recipes.
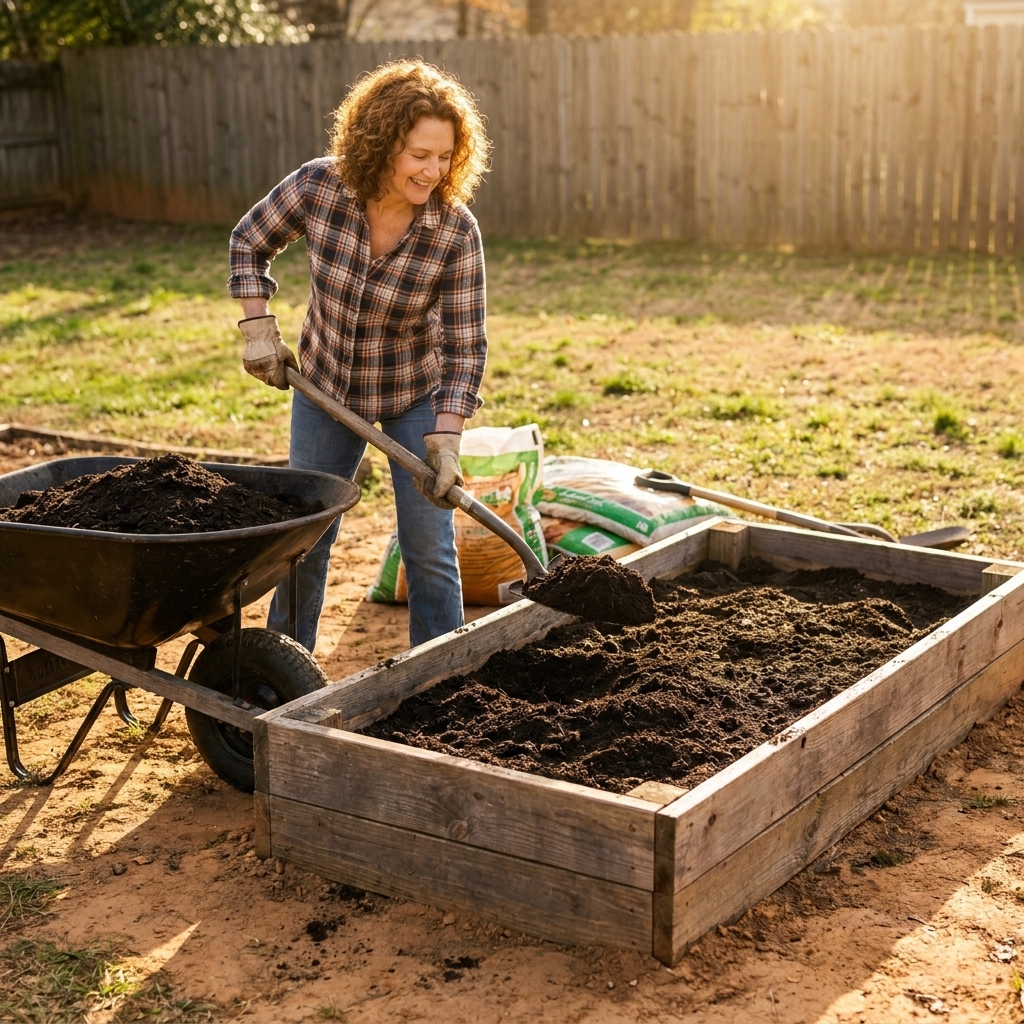
I learned the hard way that “good soil” is not just about compost and mulch. When my first yard turned out to be stubborn, dense clay, I built raised beds and piled in organic matter like it was my job. The plants looked fine at first, but my peppers stayed small, my beets were sad, and my beans acted like they were permanently unimpressed. The missing piece was pH.
Soil pH is simply how acidic or alkaline your soil is, measured on a 0 to 14 scale. Most vegetables are happiest in slightly acidic to neutral soil, and when pH is out of range, nutrients can get locked up even if your soil is otherwise rich. The good news: you can test pH at home, and adjusting it is slow, steady, and very doable with garden lime (to raise pH) or elemental sulfur (to lower pH).
One important reality check before we jump in: soil chemistry is complicated. pH is a powerful clue, not a crystal ball. The goal is not perfection, it is getting into a healthy range and staying there.
Why pH affects yields
Vegetables pull nutrients from the soil solution around their roots. When pH drifts too low or too high, some nutrients become harder for plants to access, and a few can become overly available in ways that stress roots. The exact details depend on your soil and water, but these patterns show up often:
- Low pH (acidic soil) can limit calcium, magnesium, and phosphorus availability. It can also increase aluminum and manganese solubility in ways that can irritate roots.
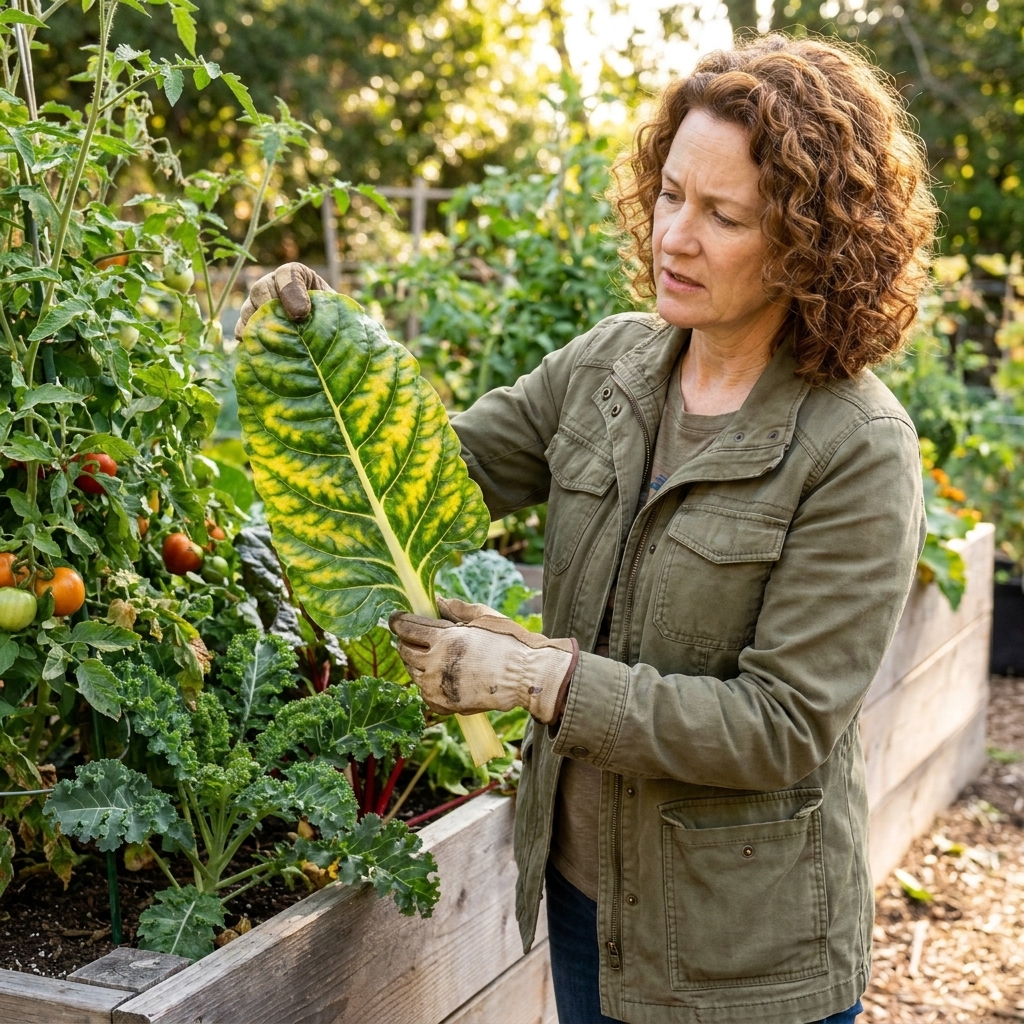
- High pH (alkaline soil) commonly leads to iron, manganese, and zinc deficiencies, even when those nutrients are present in the soil.
If you have ever seen yellowing leaves with green veins (often iron chlorosis), slow growth, weak flowering, or vegetables that just refuse to size up, pH is worth checking before you throw more fertilizer at the problem.
Best pH for vegetables
Most garden vegetables do best between pH 6.0 and 7.0. There are a few exceptions, but if you aim for that sweet spot, your whole garden usually benefits.
Quick targets
- Tomatoes, peppers, eggplant: 6.0 to 6.8
- Beans, peas: 6.0 to 7.0
- Lettuce, spinach, kale, chard: 6.0 to 7.0
- Carrots, radishes, turnips: 6.0 to 6.8
- Beets: 6.0 to 7.0 (they tolerate slightly higher)
- Cucumbers, squash, melons: 6.0 to 6.8
- Onions, garlic: 6.0 to 7.0
- Potatoes: 5.0 to 6.0 (more acidic can help reduce potato scab risk)
My simple rule: If you grow a little of everything, aim for about pH 6.5. If you grow mostly potatoes, you can run a bit lower in that bed.
How to test pH
You have three realistic options: a basic probe meter, a chemical test kit, or a lab test. For vegetable gardening, I like a chemical test kit for quick checks and a lab test every few years for the full picture.
Option 1: Chemical test kit
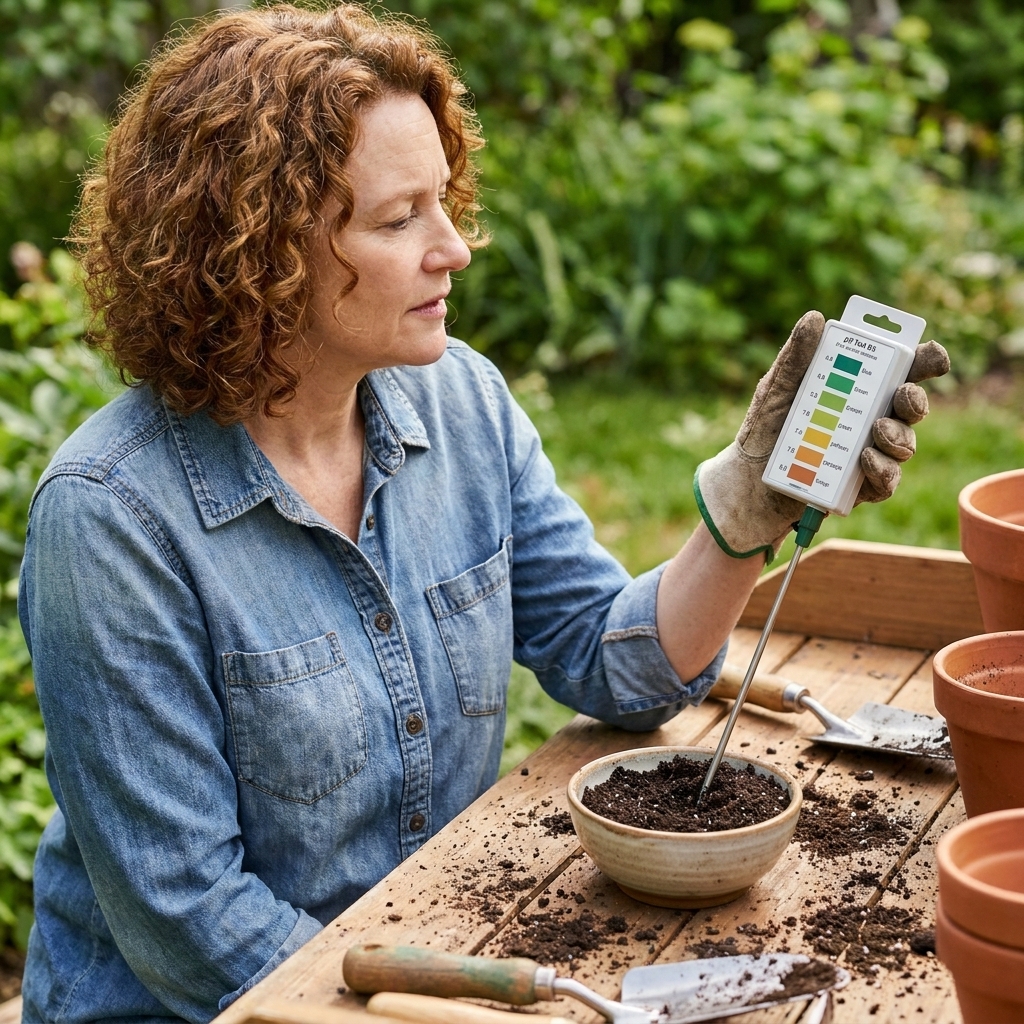
These kits use a powder or liquid reagent and a color chart. They are not fancy, but they are consistent if you follow the directions and use a good sample. (Most “wrong” readings are really sample problems, lighting issues, or muddy soil water.)
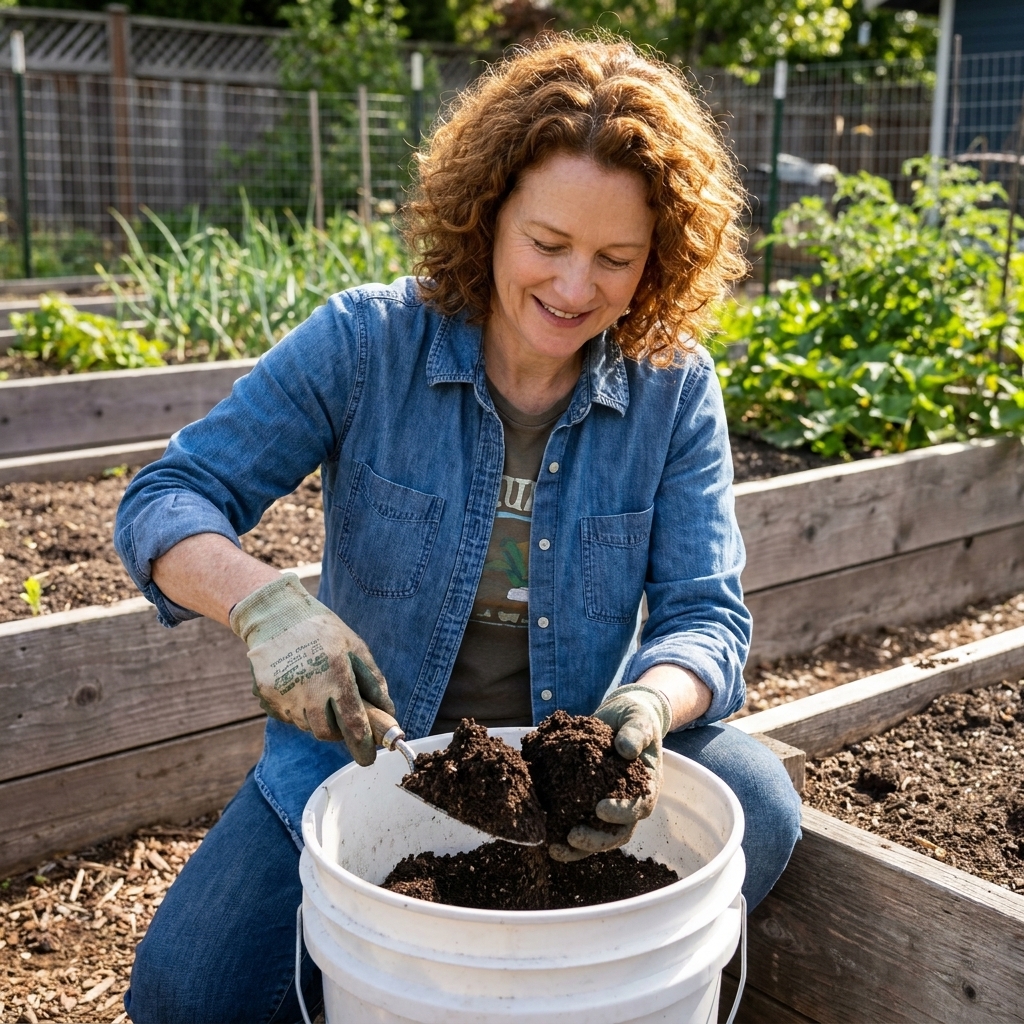
- Collect a good sample. Scoop soil from 4 to 8 spots in the bed, 4 to 6 inches deep. Mix in a clean bucket.
- Remove debris. Pick out sticks, mulch chunks, and stones.
- Follow the kit instructions exactly. Use the recommended amount of soil and water. Distilled water is best if your tap water is very hard or alkaline.
- Match the color in good light. Daylight beats kitchen lighting.
Option 2: Probe meters
Some probe meters do fine, many are inconsistent. If you use one, calibrate it if possible, keep the probe clean, and take multiple readings. Treat it as a “trend tool,” not a final answer.
Option 3: Lab test
A lab test tells you pH plus nutrient levels and often a lime recommendation based on your soil type. It also helps with a key point: pH alone does not tell you how much lime you need. Your soil’s buffering capacity (often tied to texture, organic matter, and CEC) determines how stubborn it will be about changing.
If your garden is struggling year after year or you are adjusting pH for the first time, a lab test is worth every penny.
When to test
- Best time: Early spring before planting, or fall after clean-up.
- How often: Once a year in new beds, then every 2 to 3 years once things are stable.
Also test after big changes, like filling a new raised bed with a fresh soil blend, adding lots of composted manure, switching fertilizers, or applying lime or sulfur for the first time.
If you irrigate with alkaline well water, pH can creep upward over time, especially in raised beds and containers. In that case, testing yearly is a smart habit.
Before you adjust
Two gardens can have the same pH reading and need very different amounts of lime or sulfur to change it. That is because of buffering capacity, which is largely determined by soil texture and organic matter.
- Sandy soils and many bagged raised bed mixes change pH faster, and they can be over-corrected more easily.
- Clay soils resist change and often require more amendment to move the pH needle.
This is why I recommend small adjustments, then retesting, instead of trying to “fix it all” in one weekend. If your pH is far from target, a lab recommendation is the safest way to avoid a big swing.
Safety note: Lime and sulfur are simple tools, but they are still dusty, irritating materials. Wear gloves and eye protection, avoid breathing dust, and store bags where kids and pets cannot get into them.
Raise pH with lime
If your soil is too acidic (below your target range), you raise pH with garden lime. For vegetable beds, the two common forms are:
- Calcitic lime (calcium carbonate): raises pH and adds calcium.
- Dolomitic lime (calcium magnesium carbonate): raises pH and adds calcium plus magnesium.
Which one should you choose? If you do not know your magnesium level, dolomitic is a common, generally safe default. If a soil test shows magnesium is already high, stick with calcitic.
How much lime
Lime rates vary a lot based on soil texture and on the product itself (pelletized vs pulverized, and its CCE or ENV rating). So instead of pretending there is one “right” number, here is a cautious trial dose that works well for many raised beds and home gardens:
- To nudge pH upward slightly: apply about 2 to 3 pounds of lime per 100 square feet.
- For a 4x8 raised bed (32 sq ft): that is roughly 0.6 to 1.0 pound total.
Important: Always check the bag for coverage rates, and when in doubt, apply the lower amount. Also, cup measures are unreliable because products vary in density. If you can, weigh it.
How to apply lime
- Pick your timing. Fall is ideal because lime works gradually. Early spring works too, just know results can be slower.
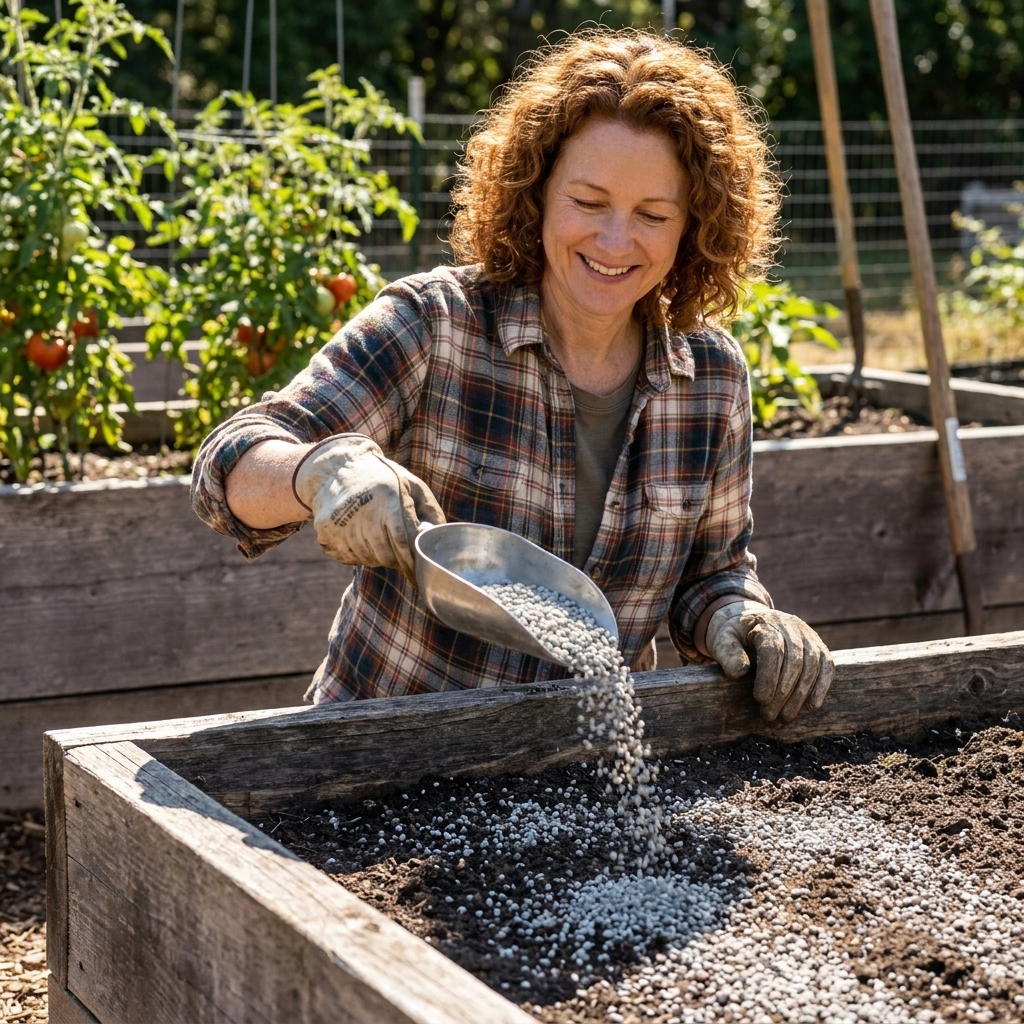
- Spread evenly. Sprinkle the measured amount over the soil surface.
- Mix it in. Work it into the top 4 to 6 inches. Lime moves very slowly through soil on its own.
- Water well. Moist soil helps reactions start.
How long it takes
You may see some movement in a few weeks, but a full adjustment often takes 2 to 6 months, sometimes longer in cool weather or heavier soils. Retest in about 8 to 12 weeks to see where you landed.
Lower pH with sulfur
If your soil is too alkaline (above your target range), the go-to amendment for vegetable gardens is elemental sulfur. Soil microbes convert sulfur into a mild acid over time, lowering pH. That means temperature and moisture matter. Warm, moist soil moves faster than cold, dry soil.
You may also hear about aluminum sulfate. It can act faster, but it is easier to over-apply, and in acidic conditions it can increase aluminum availability in ways you do not want in a food garden. Elemental sulfur is usually the steadier choice unless a professional soil recommendation says otherwise.
How much sulfur
Elemental sulfur is powerful, and it is easy to overshoot in raised beds. Rates also vary by soil type, starting pH, and how far you are trying to move it. A cautious trial dose:
- To lower pH slightly: try 0.5 pound per 100 square feet.
- For a 4x8 raised bed (32 sq ft): that is about 0.15 pound (roughly 2 to 3 ounces by weight).
If you need a larger change than that, do it in steps across a season. Retest between applications. If your pH is way high, a lab test is the fastest way to get an accurate sulfur recommendation without guesswork.
How to apply sulfur
- Measure carefully. Use a kitchen scale if you have one. Small beds require surprisingly small amounts.
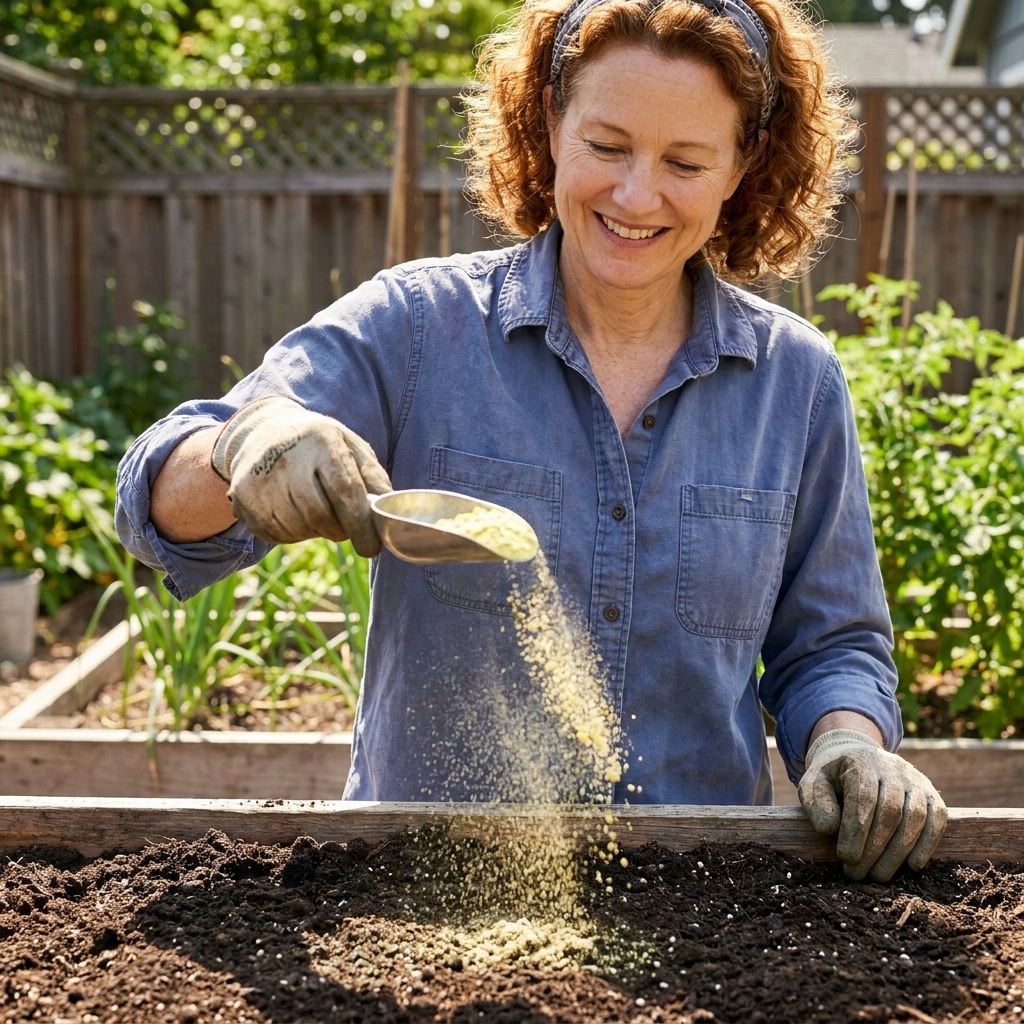
- Spread evenly. Avoid dumping it in one spot.
- Mix into the top layer. Work it into the top 3 to 6 inches.
- Water after application. Moisture supports microbial activity.
How long it takes
Expect a gradual shift over 4 to 12 weeks in warm, moist conditions. In cool soil, it can take longer. Retest after about 6 to 8 weeks, and adjust again if needed.
A calm correction plan
If you want maximum yields without stressing your plants or your nerves, here is the process I use in my own beds:
- Test pH using a composite soil sample.
- Pick a realistic target. For mixed vegetables, aim for pH 6.3 to 6.8.
- Decide whether you are raising (lime) or lowering (sulfur).
- Apply a small, measured dose. Use the conservative trial rates above unless you have a lab recommendation.
- Incorporate and water.
- Wait, then retest. 8 to 12 weeks for lime, 6 to 8 weeks for sulfur.
- Repeat if needed. Multiple small corrections beat one dramatic swing every time.
Common mistakes
- Adjusting without testing. Guessing usually leads to over-correction.
- Using wood ash as a “natural lime.” Wood ash can raise pH quickly and unevenly, and it is easy to overdo. If you use it at all, use tiny amounts and retest.
- Applying lime and fertilizer together without thinking. Lime can change nutrient availability. If you are doing a major correction, separate applications by a couple of weeks.
- Not mixing amendments in. Top-dressing alone works slowly and can create a weird pH layer near the surface.
- Expecting instant results. pH adjustment is a slow conversation with your soil, not a one-day makeover.
Raised beds vs in-ground
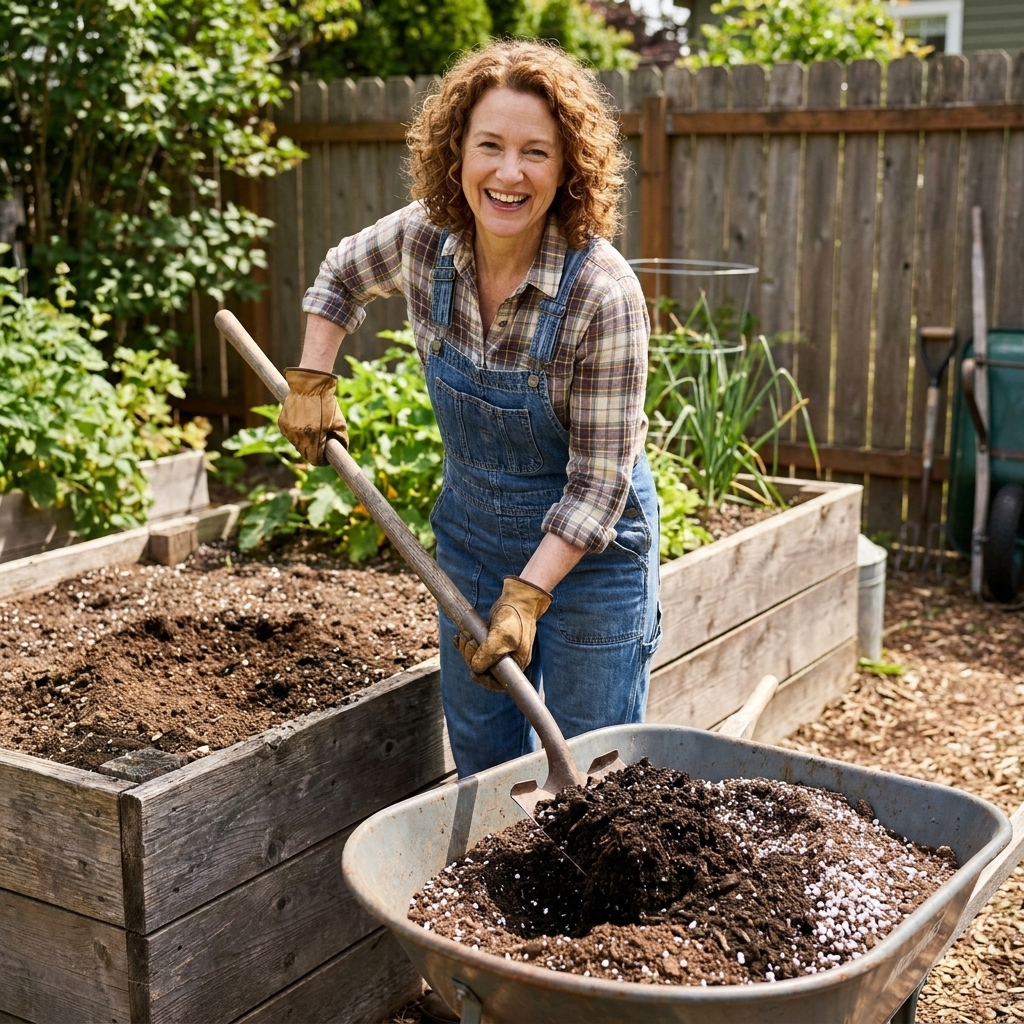
Raised beds often contain lighter, compost-rich mixes that respond faster to pH adjustments. That is great, but it means you should:
- Use smaller doses than you would for heavy garden soil.
- Retest more frequently when making changes.
- Mix amendments thoroughly since the root zone is more compact and concentrated.
In-ground clay soil may take more lime or sulfur to budge, and it can take longer to see results. Patience pays off.
FAQ
Can I adjust pH while plants are growing?
Yes, but keep it gentle. Very light applications of lime or sulfur can be worked into the top inch or two, then watered in. Avoid heavy corrections mid-season. If plants are already stressed, focus on steady watering and balanced feeding, then do your main pH work in fall or early spring.
Is pelletized lime better than powdered lime?
Pelletized lime is easier to spread and less dusty. Powdered lime can react a bit faster because it has more surface area, but it is messy. For home vegetable gardens, pelletized is usually the friendlier choice.
Does compost change soil pH?
Compost tends to be near neutral and often helps buffer swings, but it is not a reliable tool for making big pH corrections. Think of compost as your soil’s steady diet, not your pH medicine.
My pH is fine. Why are my vegetables still struggling?
If pH is in range, look next at sunlight, watering consistency, nitrogen balance, and soil structure. A lab soil test can identify low phosphorus or potassium, excess salts, or micronutrient issues that a simple pH test will not catch.
Takeaway
If you remember one thing, let it be this: pH is the gatekeeper for nutrients. You can have the prettiest compost pile on the block, but if pH is off, your vegetables may still act hungry.
Test first, adjust slowly with lime or elemental sulfur, and retest before you add more. Your soil will settle into that productive sweet spot, and once it does, the whole garden gets easier. Bigger harvests, fewer mystery problems, and a lot more meals that taste like they came straight from a grandmother’s porch.