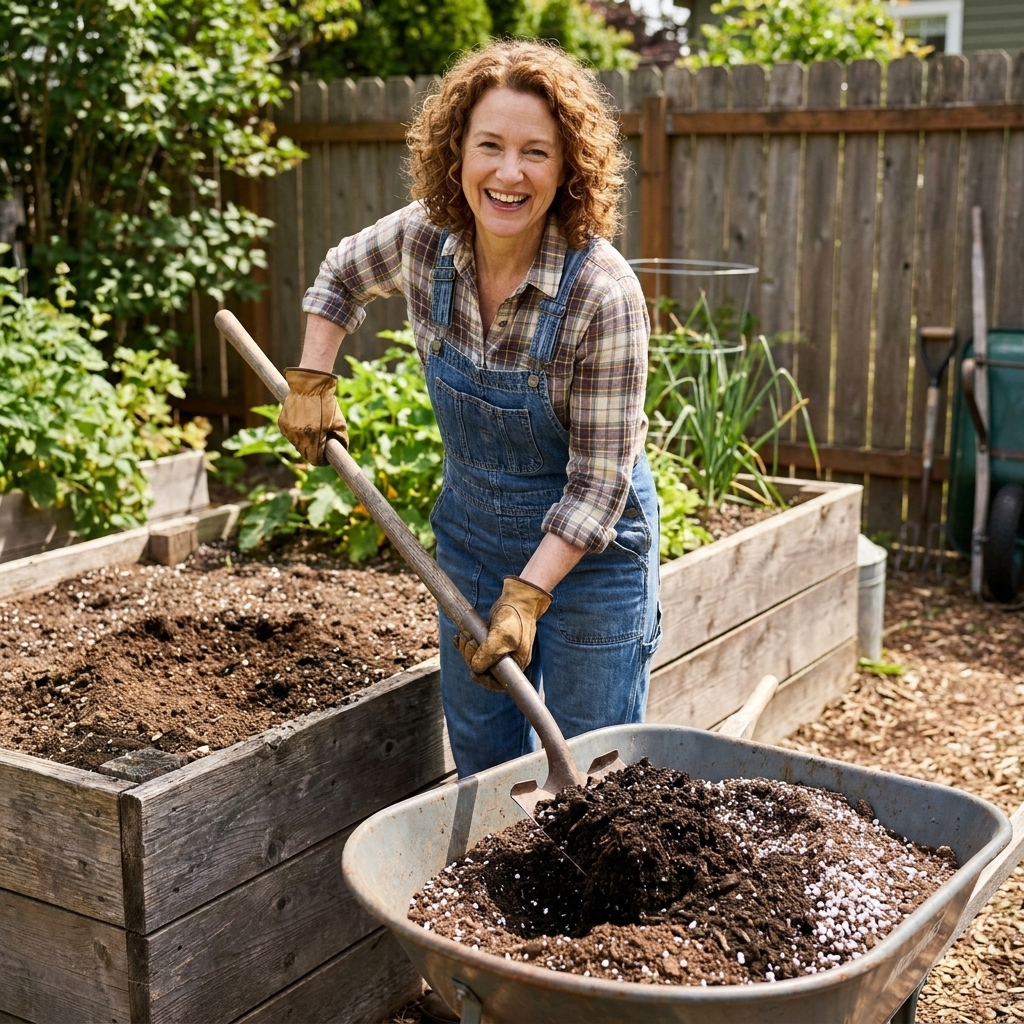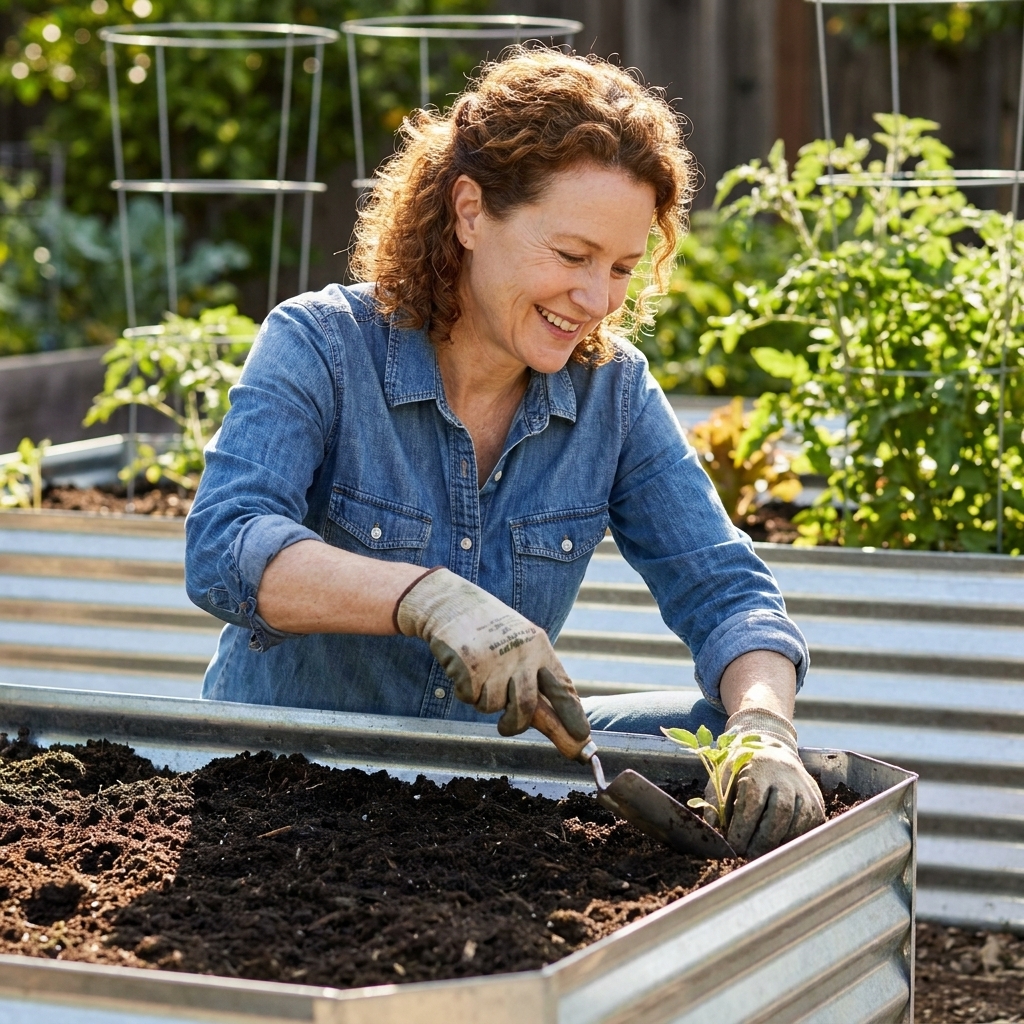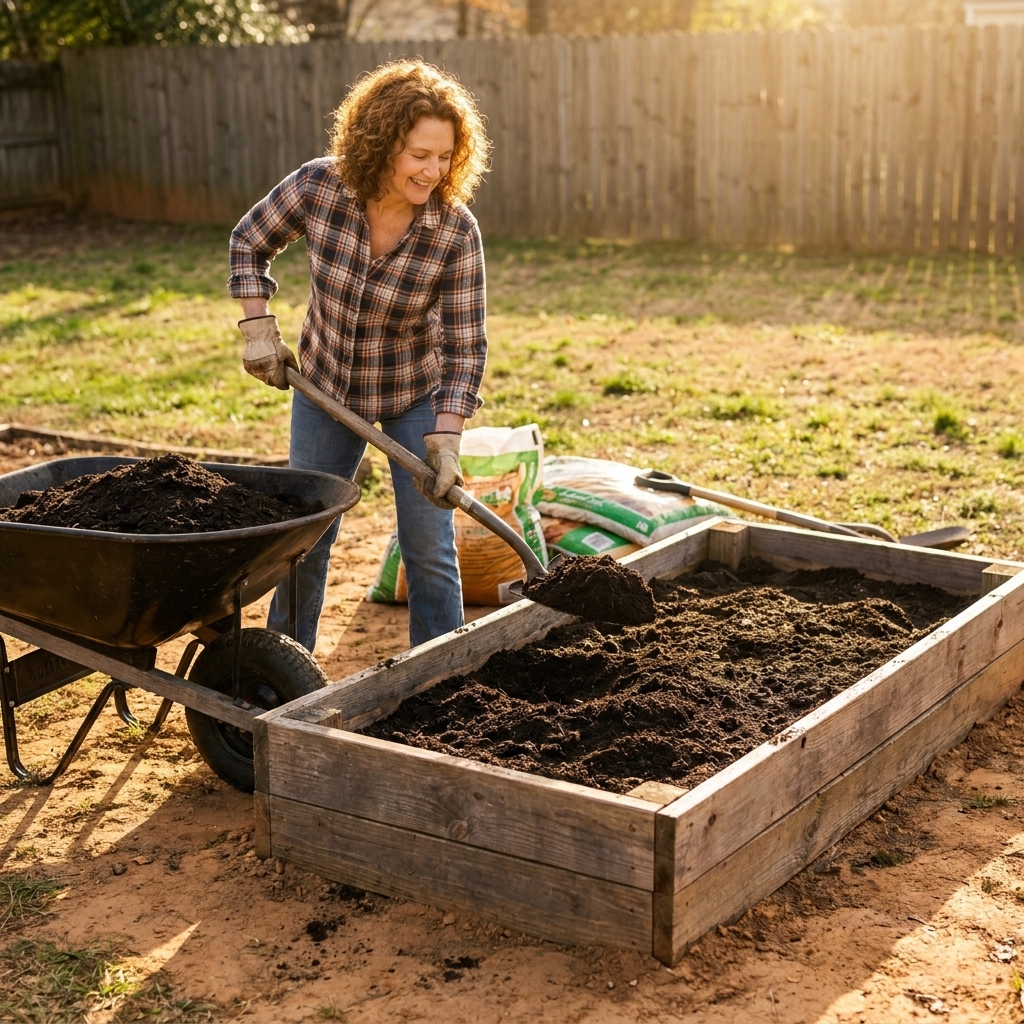
Practical steps to loosen heavy clay, improve drainage, and build fertile raised bed soil with compost and other organic amendments so vegetables can thrive.
Veg Loom
October 17, 2026
By Maggie O'Connell
Beginner Compost for Vegetable Gardens
Learn how to make nutrient-rich compost at home with the right green-to-brown balance, proper moisture, and simple turning. Turn kitchen scraps into black gold for your vegetable beds.

Maggie O'Connell
Maggie O'Connell is a lifelong gardener and the voice behind Vegloom, dedicated to helping people grow their own food regardless of their yard size. With over 15 years of hands-on experience in backyard agriculture, she specializes in raised bed gardening, organic soil building, and seasonal planting calendars. When she isn't writing, Maggie can usually be found tending to her sprawling heirloom tomatoes or experimenting with new compost recipes.
The first time I made compost on purpose (not the accidental “mystery pile” behind the shed), I was trying to tame a stubborn patch of clay soil. I wanted that dark, crumbly stuff gardeners brag about. What I got was a wet, sour mess that attracted flies and absolutely did not smell like success.
If that sounds familiar, you are in the right place. Compost is simply controlled decomposition. Once you understand the three levers you can actually control, the rest is just routine: balance (greens and browns), moisture, and airflow. Do those well and you will end up with the black gold that makes vegetable gardens explode with healthy growth.
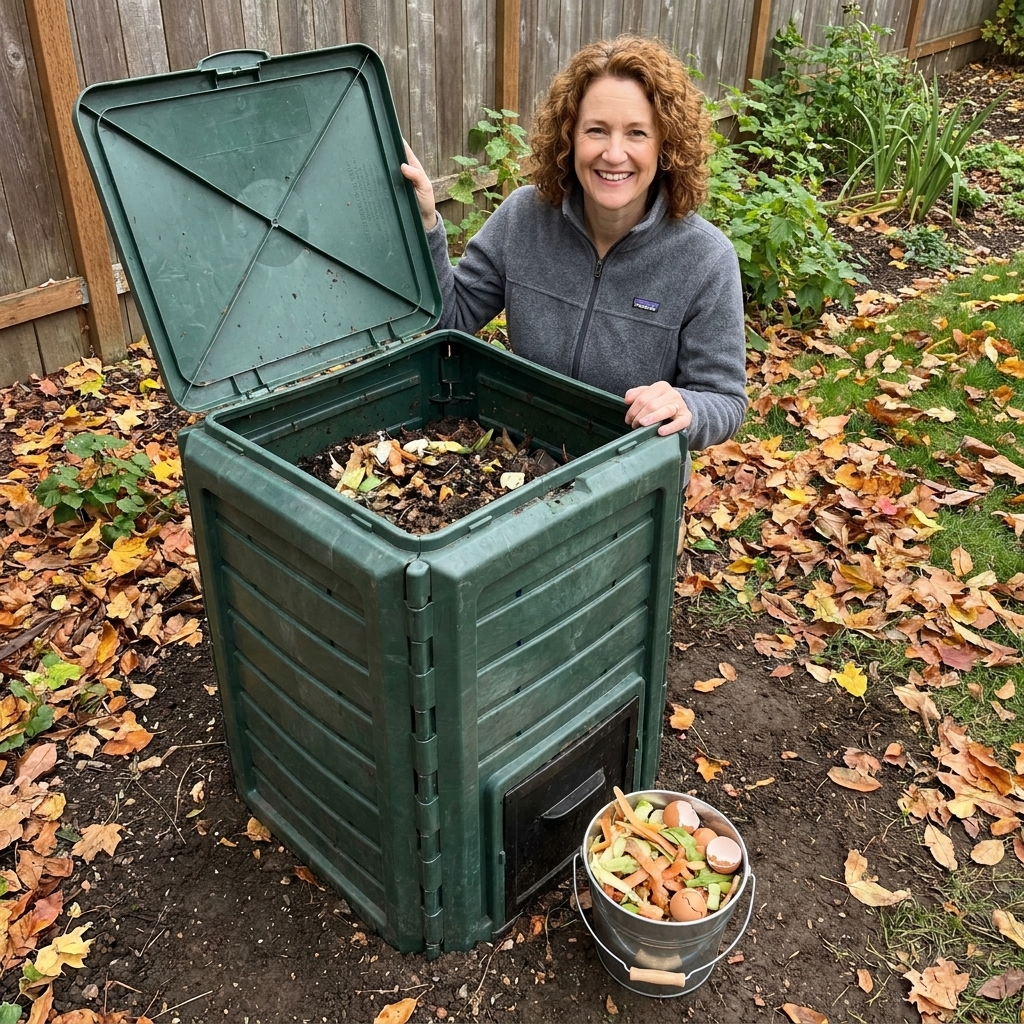
What compost does for vegetables
Vegetables are hungry. They grow fast, make fruit, and ask a lot of the soil. Finished compost helps in a few big ways:
- Feeds soil life that cycles nutrients into plant-available forms.
- Improves structure so beds drain better but hold moisture longer.
- Buffers nutrients, meaning fewer dramatic ups and downs than quick-release fertilizers.
- Supports root health and resilience during heat, heavy rain, and pest pressure.
Think of compost as a long, steady meal for your garden, not an energy drink.
Greens vs. browns
Compost needs carbon and nitrogen. In home composting, we usually talk about those as browns (carbon-rich) and greens (nitrogen-rich).
One quick note that saves confusion: “green” and “brown” describe nutrient balance, not always how wet something feels. Coffee grounds, for example, count as a green even though they are not dripping wet. And a bag of leaves after rain might be damp, but leaves are still a brown.
Greens (nitrogen)
Greens tend to be softer and break down quickly. They help the pile heat up and keep decomposition moving.
- Fruit and vegetable scraps
- Coffee grounds and paper filters
- Fresh grass clippings (thin layers only)
- Fresh garden trimmings (non-diseased)
- Manure from animals like rabbits or horses, plus poultry manure (high nitrogen). Use thoughtfully and compost thoroughly. See safety notes below.
Browns (carbon)
Browns add bulk, airflow, and that slow-burning carbon microbes need.
- Dry leaves
- Straw (not hay full of seeds)
- Shredded cardboard (remove plastic tape)
- Shredded paper (non-glossy)
- Wood chips or sawdust (use sparingly, they are very carbon-heavy)
The beginner-friendly ratio
Forget perfect math at first. Use this simple rule:
- By volume: aim for about 2 to 3 parts browns to 1 part greens.
If your pile is slimy, smelly, or attracting flies, you usually need more browns. If it is just sitting there looking like a dry museum exhibit, you usually need more greens and moisture.
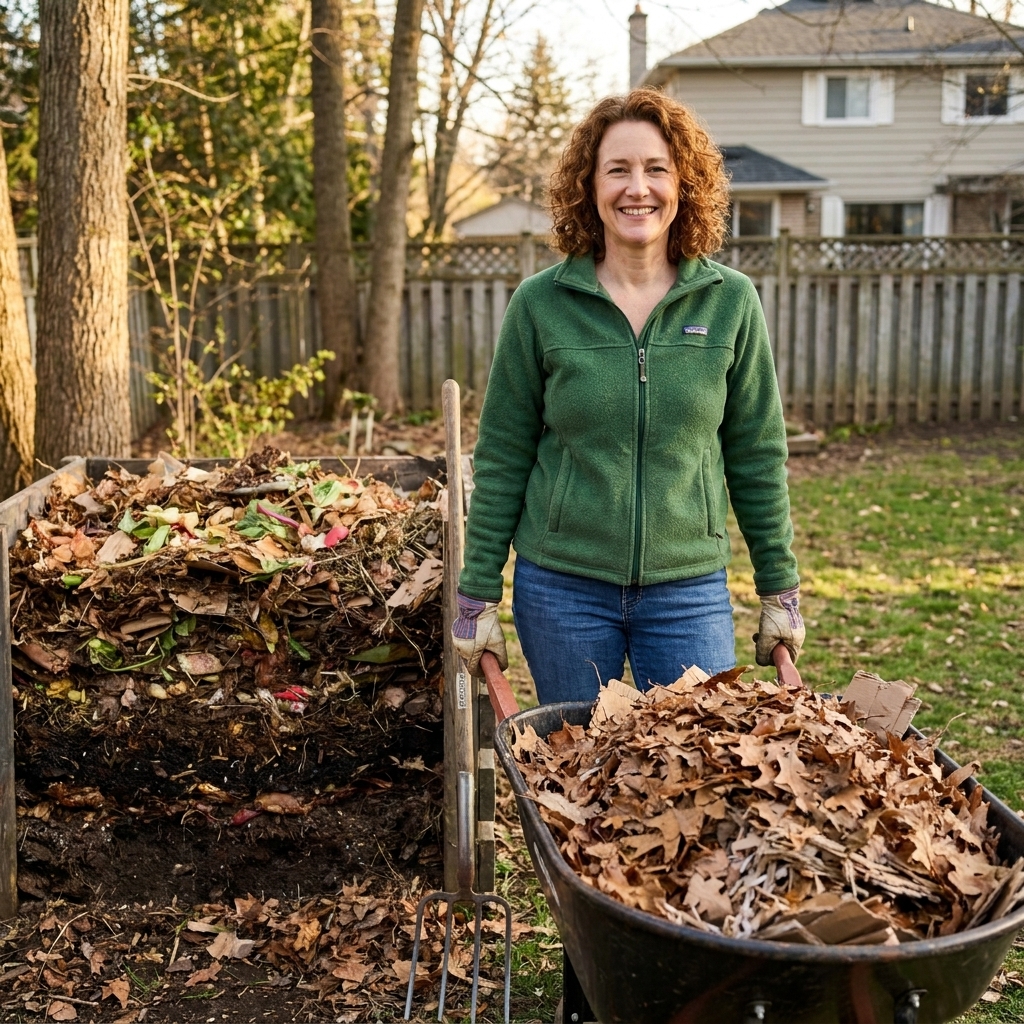
Pick a setup you will use
The best compost system is the one you will keep feeding and checking. Here are three beginner-friendly options.
1) Open pile
Pros: cheap, easy to turn, handles lots of material. Cons: can look messy, attracts critters if managed poorly.
If you have space, make a pile at least 3 ft x 3 ft x 3 ft. Smaller piles struggle to heat up.
2) A bin
Pros: neat, holds heat, helps keep pets out. Cons: turning can be harder depending on the bin design.
Choose one with good ventilation and easy access to the bottom so you can harvest finished compost.
3) Tumbler
Pros: turning is effortless, great for small yards. Cons: dries out quickly, limited capacity, can be slow if you underfill.
If you go tumbler, keep extra browns nearby and watch moisture closely.
How to build the pile
You can build compost in one big “lasagna” day or add as you go. Either way, the structure is the same.
Step 1: Start with airflow
Ideally, place your compost directly on soil for drainage and earthworm access. If you must compost on concrete or asphalt, it can still work. Just pay closer attention to drainage, airflow, and any leachate, and turn regularly.
Add a loose base layer of small sticks, coarse stems, or woodier garden trimmings if you have them. This helps air move up through the pile.
Step 2: Add browns, then greens, then repeat
A good pattern is:
- 4 to 6 inches browns (dry leaves, shredded cardboard)
- 1 to 3 inches greens (scraps, coffee grounds, fresh clippings)
- A light sprinkle of finished compost or garden soil if you have it, to inoculate with microbes
Keep layering until the pile is at least 3 ft x 3 ft x 3 ft. Cap the top with browns to discourage pests and odors.
Step 3: Chop or shred for speed
Smaller pieces break down faster. I keep a cheap pair of pruners by the compost and snip long stems and tough greens. Shredded leaves and cardboard are compost gold because they prevent mats that block airflow.
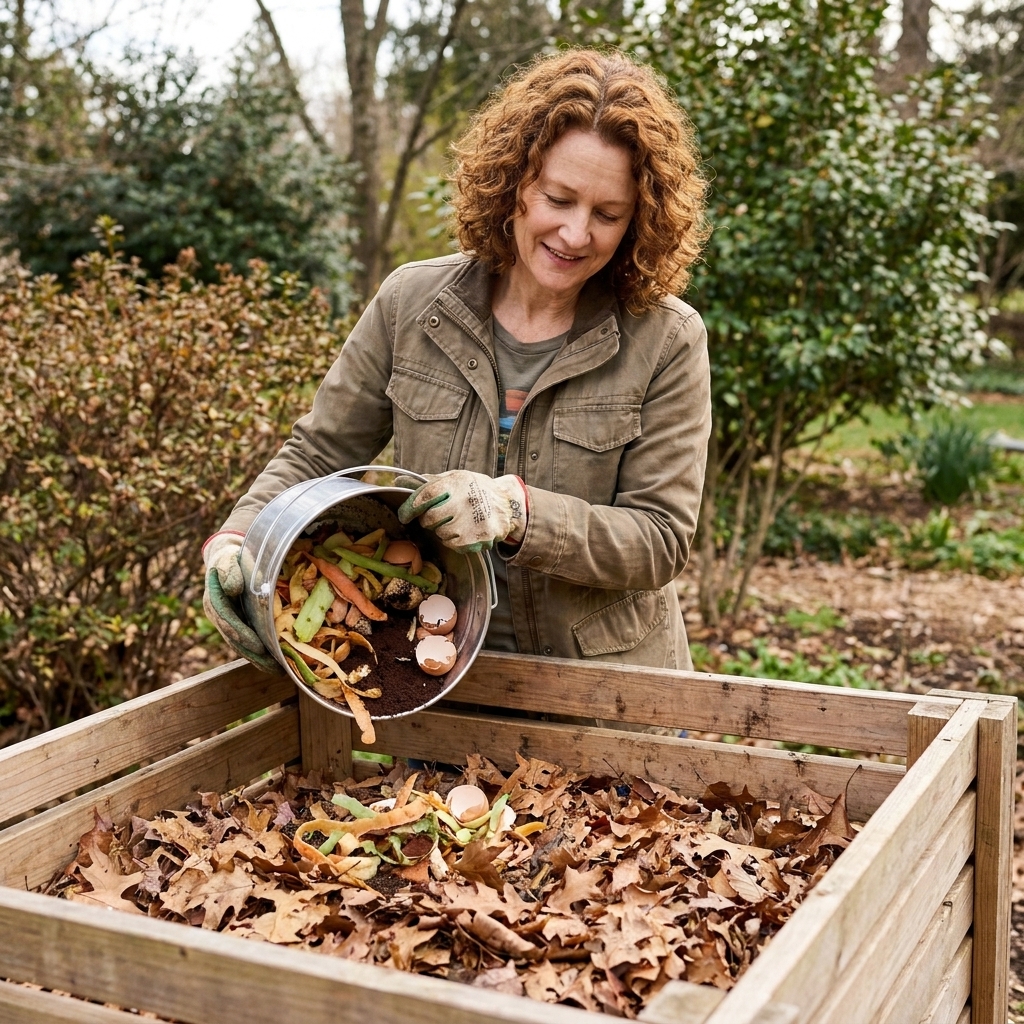
Moisture test
Microbes need water, but they also need oxygen. The sweet spot is compost that feels like a wrung-out sponge.
How to check
Grab a fistful from the center of the pile.
- If water drips when you squeeze, it is too wet.
- If it crumbles into dust and feels crispy, it is too dry.
- If it holds together and feels evenly damp, you are right on track.
How to fix it fast
- Too wet: add more browns (shredded leaves, cardboard), fluff the pile, and turn it to bring air in.
- Too dry: add greens and lightly water as you turn, aiming for damp throughout, not soggy layers.
A common beginner mistake is watering only the top. When you do add water, do it while turning so moisture spreads evenly.
Airflow and turning
Turning introduces oxygen and mixes materials so the whole pile decomposes. It also helps prevent smells.
How often to turn
- Fast compost (hot): turn every 5 to 10 days once the pile is built and heating.
- Low-effort compost (cool): turn every 3 to 4 weeks, or whenever you feel like it. It will still become compost, just slower.
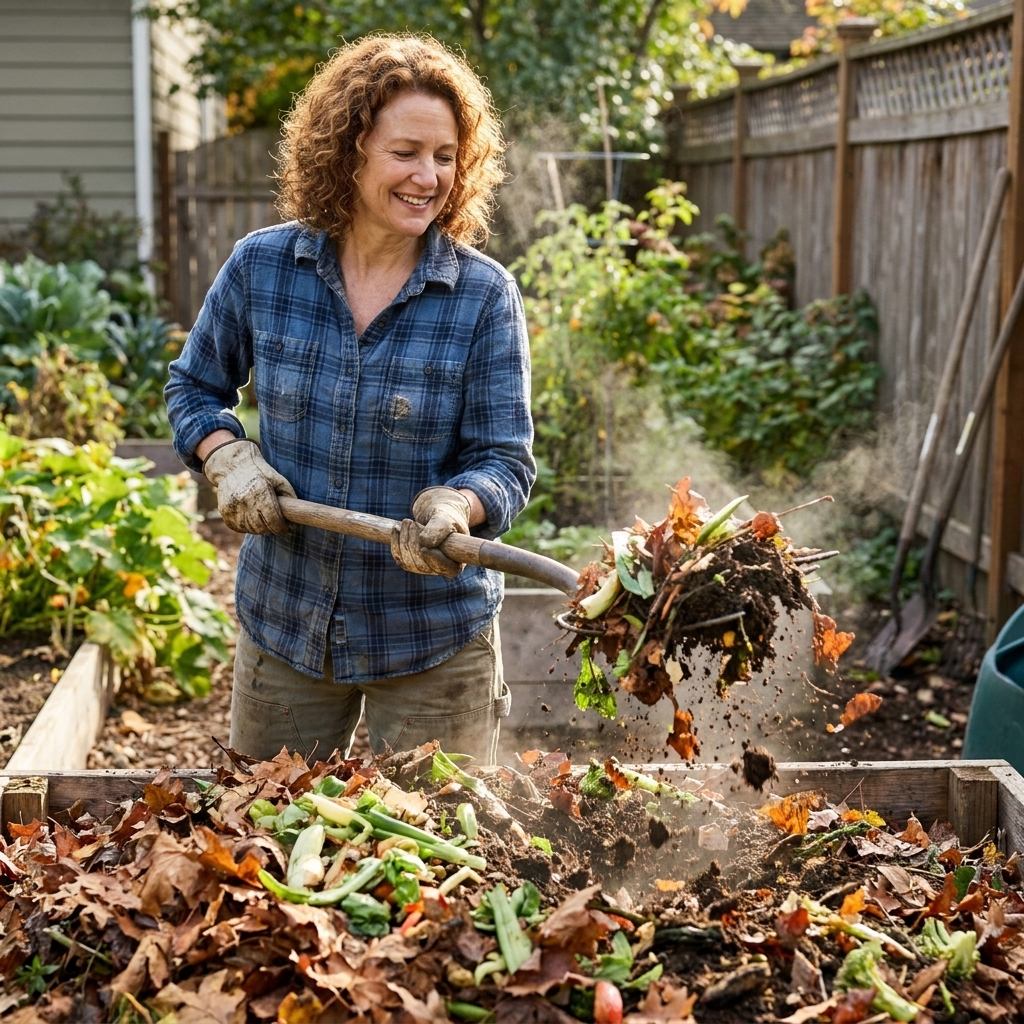
A simple turning method
With a garden fork:
- Pull the outer material into the center.
- Break up clumps as you go.
- If you notice dry pockets, sprinkle a little water.
- If you hit a wet, smelly section, mix in browns right then.
What to compost
Most compost problems come from the wrong inputs. Here is the practical beginner list.
Great for compost
- Vegetable and fruit scraps
- Eggshells (crushed)
- Coffee grounds and tea leaves (skip plastic tea bags)
- Yard trimmings that are not diseased
- Dry leaves, straw, shredded paper and cardboard
Use caution
- Weeds with seeds: only if you maintain a truly hot pile, otherwise you may plant weeds everywhere when you spread compost.
- Thick grass clippings: they mat and go anaerobic. Add in thin layers with lots of browns.
- Manure: nutrient-rich, but it carries pathogen risk if handled poorly. Compost it thoroughly before using in vegetable beds, especially for crops you eat raw. Avoid pet waste entirely.
- Straw, hay, or manure from unknown sources: these can sometimes carry persistent herbicides that survive composting and can damage vegetables. Source carefully if you can, especially if you have had problems with twisted, stunted seedlings in the past.
Skip these in a home pile
- Meat, fish, bones
- Dairy and oily foods
- Grease and cooked leftovers drenched in oil
- Dog or cat waste
- Plants with serious disease issues
If you want to compost things like meat and dairy, look into specialized systems designed for that purpose. For most veggie gardeners, it is not worth the pest risk.
Compost safety basics
If you grow food, the safest, simplest rule is this: use fully finished compost, and be extra careful with any compost that includes manure.
When in doubt, let compost cure longer, apply it to the soil (not the leaves), and follow your local extension or food-safety guidance for manure-based compost timing before harvest. This matters most for crops you eat raw, like lettuce, carrots, radishes, and herbs.
When compost is finished
Finished compost should look and smell like the forest floor.
- Color: dark brown to nearly black
- Texture: crumbly, soil-like
- Smell: earthy, not sour or rotten
- Temperature: similar to the outside air (no hot center)
- Ingredients: mostly unrecognizable, though a few eggshell bits or twig pieces are normal
In an actively managed pile with good particle size and enough volume, compost can finish in as little as 6 to 12 weeks. In a more casual pile, it often takes 6 to 12 months. Both are okay. The difference is how soon you want that black gold.
How to use compost
This is the part I love because it feels like you are paying your soil back.
Beds
- Top-dress: spread 1 to 2 inches of finished compost on the surface and let worms and watering work it in.
- Planting time boost: mix a few handfuls into each transplant hole for heavy feeders like tomatoes, peppers, squash, and brassicas.
- New beds: compost is a key ingredient, but do not rely on compost alone. Pair it with quality topsoil and aeration materials as needed for structure.
Compost as mulch
A thin layer around plants helps retain moisture and suppress weeds. Keep compost 1 to 2 inches away from stems to prevent rot.
Compost tea, simplified
If you are curious, you can steep a shovel of finished compost in a bucket of water for a day or two, then water it into the soil. Keep it simple, and treat it as a nice extra, not a miracle product.
If you use any kind of compost tea on edible crops, the safest approach is soil drench only, not foliar spraying on leaves you will eat, especially close to harvest. And again, maturity and clean handling matter.
Troubleshooting
“My compost smells rotten.”
That is usually too much moisture and not enough air.
- Turn the pile.
- Add plenty of browns.
- Break up mats of grass clippings or food scraps.
“It is attracting flies.”
Food scraps are exposed or there are too many greens on top.
- Bury kitchen scraps in the center.
- Always cap fresh additions with browns.
- Avoid adding greasy foods.
“It is not heating up.”
Most often the pile is too small, too dry, or too brown-heavy.
- Build it bigger (at least 3 ft x 3 ft x 3 ft).
- Moisten while turning.
- Add more greens like coffee grounds or fresh clippings in thin layers.
“I have ants in my compost.”
Ants love dry compost. Moisten and turn. They usually move out once conditions are right for decomposition.
“Critters are getting into my pile.”
Secure the bin, bury scraps, and avoid meat and dairy. If rodents are a concern in your area, choose a pest-resistant bin and keep the pile tidy.
A simple weekly routine
If you want compost without it becoming another big project, this is a rhythm that works in busy seasons:
- All week: collect kitchen scraps in a small lidded container.
- Once a week: empty scraps into the center of the pile and cover with a thick layer of browns.
- Every 1 to 2 weeks: do a quick moisture check and a light turn.
- After big yard cleanups: stockpile browns like dry leaves so you are not scrambling later.
If you take only one tip from this article, make it this: always keep extra browns on hand. A trash can of dry leaves or a stack of torn cardboard turns composting from frustrating to foolproof.
FAQ
Can I compost citrus and onion scraps?
Yes, in normal household amounts. Chop them up and mix well. The “never compost citrus” rule is mostly about adding huge quantities at once.
Do I need worms to make compost?
No. Traditional compost relies on microbes and whatever soil life finds its way in. Worm bins are a separate method called vermicomposting, and they are wonderful for small spaces, but not required.
Is mold in compost bad?
Usually not. White, webby fungal growth is common and part of decomposition. If you see lots of mold and the pile is also smelly or slimy, adjust moisture and add browns.
Can I use unfinished compost in my vegetable garden?
It is better to let it finish. Unfinished compost can tie up nitrogen temporarily as it continues decomposing, which can slow plant growth. If you must use it, use it as a mulch layer in the off-season, not mixed into planting holes.
Closing thoughts
Compost is one of the most forgiving garden skills you can learn. Even when you mess it up, the fix is usually simple: add browns, adjust moisture, and turn for air. Keep showing up, keep the pile fed, and one day you will lift the lid and find that sweet-smelling, crumbly black gold your vegetables have been waiting for.