A practical, gardener-tested breakdown of granular vs. liquid organic fertilizers, including how to apply them, when liquids are not really “food,” and a...
Veg Loom
October 17, 2026
By Maggie O'Connell
Worm Castings for Herbs and Vegetables
Learn how to harvest, store, and use worm castings to support herb and veggie growth in containers and raised beds, plus careful recipes for casting tea and aerated compost tea.

Maggie O'Connell
Maggie O'Connell is a lifelong gardener and the voice behind Vegloom, dedicated to helping people grow their own food regardless of their yard size. With over 15 years of hands-on experience in backyard agriculture, she specializes in raised bed gardening, organic soil building, and seasonal planting calendars. When she isn't writing, Maggie can usually be found tending to her sprawling heirloom tomatoes or experimenting with new compost recipes.
If you have ever wished you could fertilize your basil, tomatoes, and salad greens without playing the game of “Will this burn my plants?”, worm castings are your new best friend. Castings are basically the end result of worms doing what they do best: turning kitchen scraps and bedding into a dark, crumbly, earthy-smelling amendment that behaves like a slow, steady pantry of plant nutrition.
I lean on worm castings hardest when seedlings have just been transplanted, when container herbs start looking tired midseason, and when my raised beds need a gentle nudge that will not push excess leafy growth at the expense of flowers and fruit. Let’s walk through what castings are, how to harvest and store them, and the two easiest ways to use them: top dressing and tea.
What worm castings do (and why they work so well)
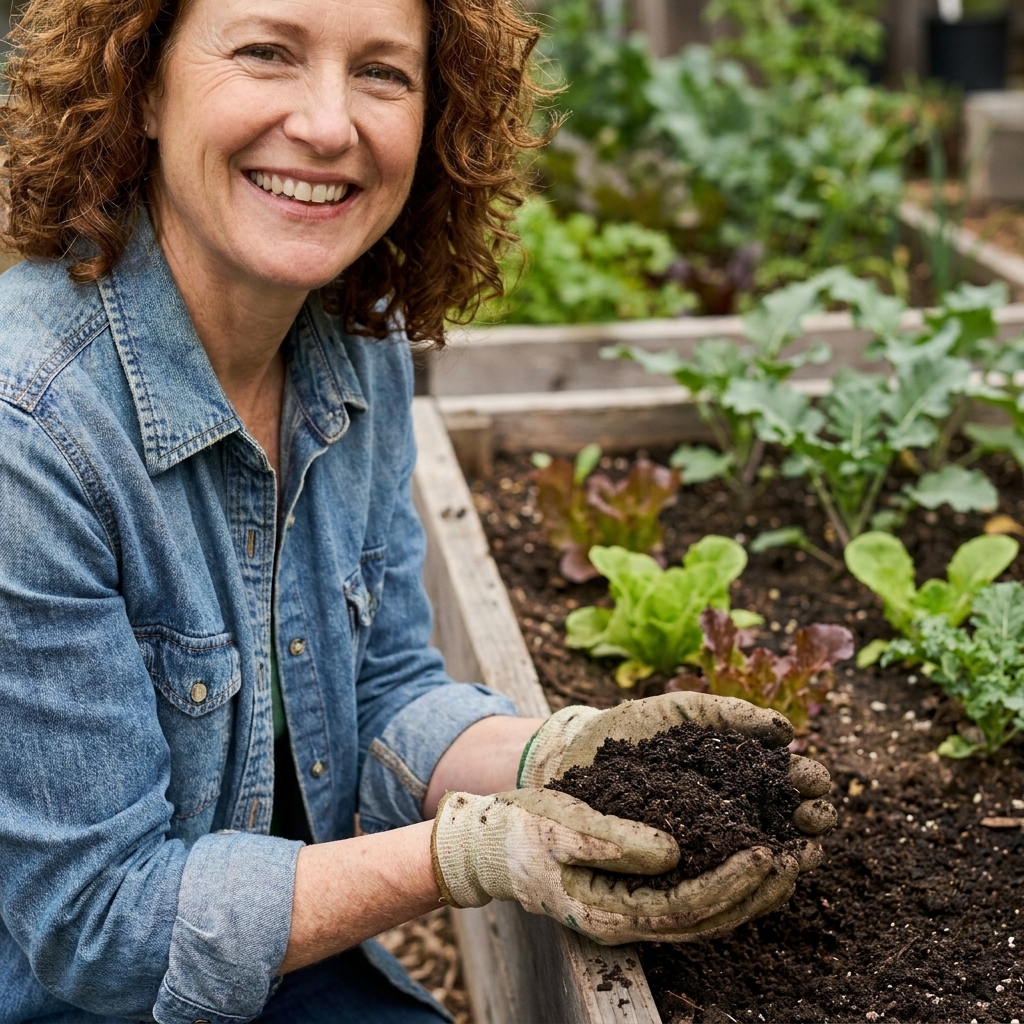
Worm castings are the digested material worms leave behind after they break down organic matter. They are not just “worm poop” in the joke sense. They are a biologically active soil amendment that supports plants in a few key ways.
- Gentle nutrition. Castings contain plant nutrients in modest amounts, released slowly. That makes them much harder to overdo than many fertilizers.
- Microbial life. The real magic is the living biology. Castings help inoculate soil with beneficial microbes that improve nutrient cycling and root health.
- Better soil structure. In raised beds, they help loosen and “fluff” the root zone. In containers, they help potting mix hold moisture a little more evenly without turning swampy.
- Root friendly compounds. Castings contain humic substances and other biologically active compounds that can support root development and plant resilience.
A quick reality check that makes castings easier to use well: most worm castings are a low-analysis input. Exact NPK varies by feedstock and how they are finished, but they are generally not an “all the nutrients your tomatoes need” product. They shine as a soil builder and a gentle, steady support, not a high-octane fertilizer.
If you are growing edibles, this is the kind of input that plays nicely with organic methods, companion planting, and soil building over time.
Worm castings vs compost (and vs “worm tea”)
Compost and castings are cousins, not clones. Compost is decomposed organic matter made mostly by heat and microbes. Castings are processed by worms and tend to be finer textured and more microbially dense per scoop.
A few quick definitions so we stay on the same page:
- Worm castings: The finished, soil-like material from a worm bin or worm system.
- Worm tea (leachate): Liquid that drains out of a worm bin. It varies a lot in quality and can go anaerobic if it sits. I do not use leachate straight on plants.
- Aerated compost tea (ACT) made with castings: A brewed, oxygenated tea using worm castings as the microbial starter. This is what most gardeners mean when they talk about “worm casting tea” for plants.
If you only remember one thing: castings are a reliably gentle input when they come from clean, well-managed systems. Leachate is unpredictable. Aerated tea can be helpful when brewed and used carefully, but results are not guaranteed and depend on inputs, timing, and application.
How to harvest worm castings at home
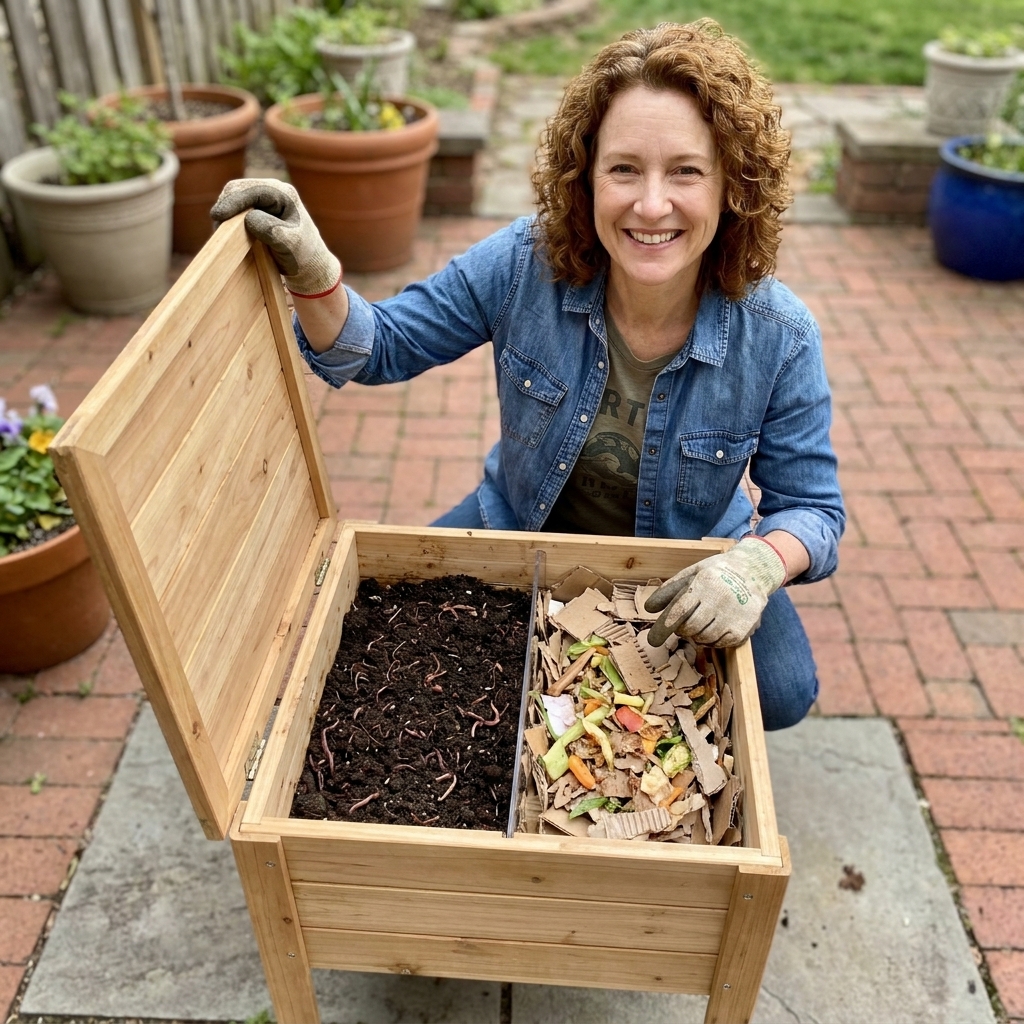
If you have a worm bin, you can harvest castings a few different ways. The “best” method is the one you will actually do without dreading it.
Option 1: Side-to-side migration
This is my favorite for a simple tote-style bin.
- Push the finished material to one side of the bin.
- Add fresh bedding and food to the empty side.
- Wait 1 to 3 weeks for most worms to migrate to the fresh side.
- Scoop out the finished castings from the old side.
You will still find a few worms and cocoons, which is fine. I pick out the adult worms I see and let the rest ride.
Option 2: Light sorting
- Dump the bin contents onto a tarp or into a wide tray under a bright light or indirect sun.
- Make small cone-shaped piles.
- Wait 5 to 10 minutes. Worms dive away from light.
- Gently scrape castings from the top of each pile, repeating until you are left with mostly worms and uncomposted bits.
This feels fussy the first time, but it goes quicker than you think once you get a rhythm.
Option 3: Screen it
If you want especially fine castings for seed starting mixes or brewing tea, run finished material through a 1/8 to 1/4 inch screen. Pick out chunky bits and toss them back in the bin.
How to store worm castings
Castings are alive. Storing them like an inert bag of fertilizer misses the point. The goal is to keep them slightly moist and oxygenated.
- Keep them damp, not wet. Think wrung-out sponge. If they dry completely, biology slows way down.
- Use a breathable container. A bucket with air holes, a paper bag inside a tote, or a lidded bin that you open periodically to exchange air works well.
- Store cool and out of sun. A garage shelf or shaded shed is perfect. Heat can stress microbes.
- Avoid anaerobic storage. Skip sealed jars or containers with soggy castings. That is when funky smells and “bad tea” problems start.
- Use within a few months for peak life. They are still useful later, but freshest tends to be most biologically active.
If you buy bagged castings, check that they smell earthy, not sour. Lumpy is fine. A swampy odor is not. And source matters: I prefer castings from reputable producers who can tell you what the worms are fed. For crops eaten raw, I also avoid products made from questionable inputs.
How to apply worm castings as a top dressing
Top dressing is the simplest, safest way to use castings. You sprinkle, lightly scratch in, then water. The castings settle into the root zone slowly and feed the soil life right where roots are working.
For raised beds
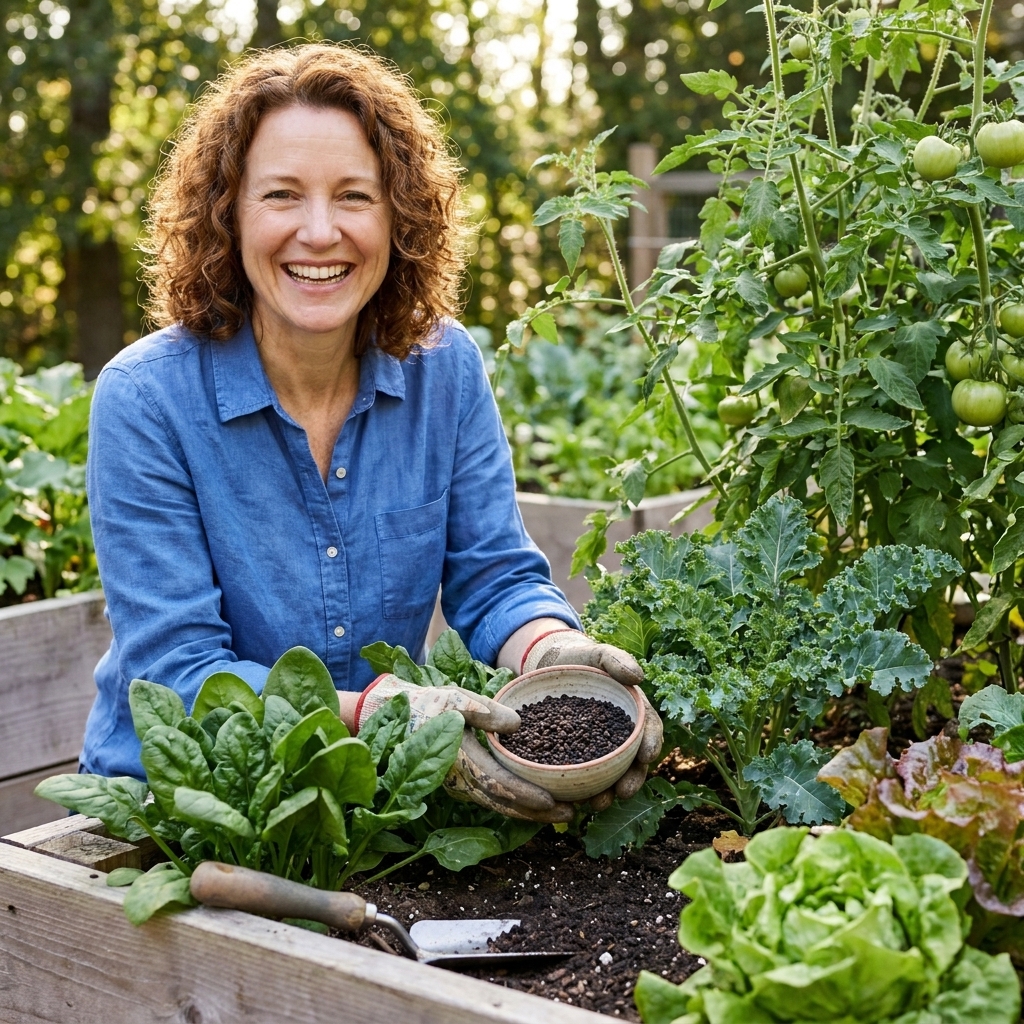
- New transplants: Add about 1/4 to 1/2 cup castings in the planting hole or sprinkled around the transplant, then water in.
- Established plants: Apply a thin ring around the drip line and gently scratch into the top inch of soil. Avoid burying stems.
- Seasonal bed refresh: If a bed looks tired midseason, spread roughly 1/4 inch across the surface, then water.
These are typical starting ranges, not hard rules. A thin, consistent layer beats a thick blanket.
For containers
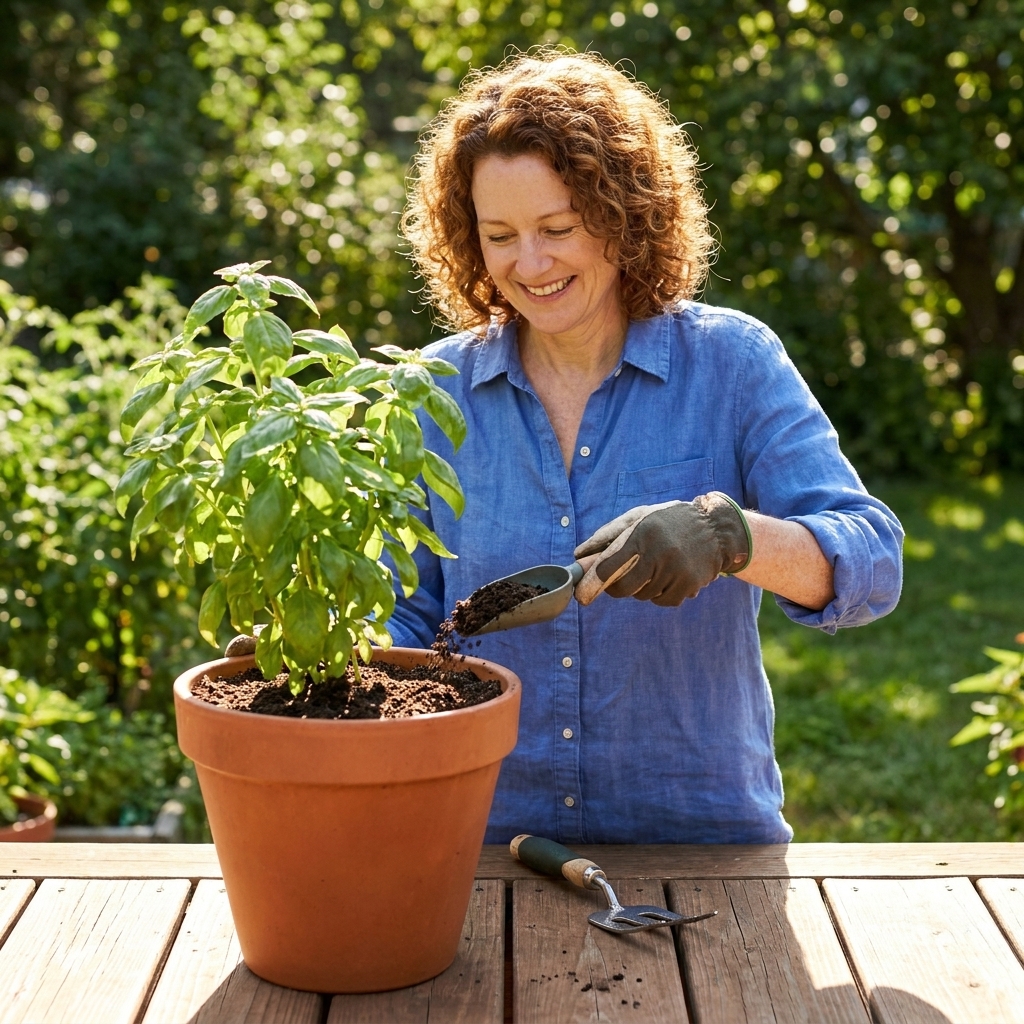
- Sprinkle 1 to 2 tablespoons per small herb pot, or about 1/4 to 1/2 cup for larger containers (like a 12-inch pot or 5-gallon grow bag).
- Gently work into the top layer with your fingers or a hand fork.
- Water thoroughly.
In pots, I reapply about every 3 to 4 weeks during heavy growth. For light-feeding herbs like thyme or oregano, I back off to every 6 to 8 weeks. If your container mix stays wet for days, cut the amount back.
How to mix worm castings into soil
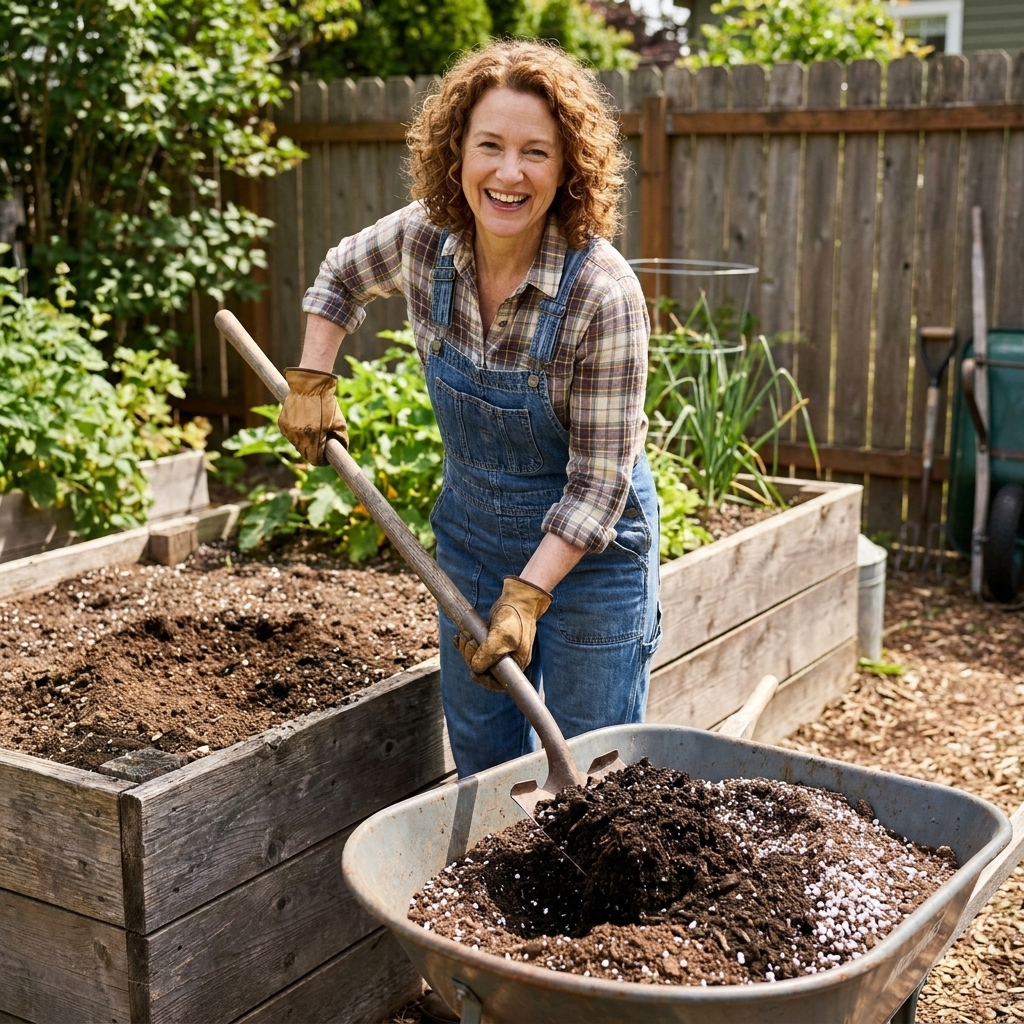
Mixing castings into the root zone is great for new beds and new containers.
Raised beds and in-ground rows
Blend castings into the top 4 to 6 inches of soil before planting. A practical starting rate is:
- 5 to 10 percent by volume of your amended soil mix for general fertility.
If you already build rich soil with compost, stay on the lower end. If your bed soil is new, sandy, or just not holding life well yet, the higher end can help. If plants are still struggling after you have improved fertility, a soil test can be more useful than adding more castings. pH, salts, and nutrient imbalances matter.
Potting mixes for containers
For edible containers, I like these starting points:
- 10 to 20 percent castings mixed into your potting mix for leafy greens and many herbs.
- 5 to 10 percent castings for drought-tolerant herbs (rosemary, lavender-type herbs) so the mix stays airy.
Two cautions for containers: castings can hold water, and containers already run wetter than beds after a big rain. If your pots tend to stay soggy, reduce the percentage and increase drainage materials like perlite or pine bark fines.
Worm casting tea: two careful options
Tea is for when you want quicker delivery, especially for containers and fast growers like lettuce, basil, cucumbers, and tomatoes. You have two main options: a quick soak (simple) and an aerated brew (more microbially active). Just keep expectations realistic. Compost teas can be inconsistent, and they are not a guaranteed growth hack.
Option A: Simple casting tea
This is beginner-friendly and still effective as a soil drench.
- Add 1 cup of worm castings to 1 gallon of dechlorinated water.
- Stir well and let it steep 4 to 12 hours.
- Strain (optional, but helpful for watering cans and sprayers).
- Use the same day.
Apply as a soil drench around the base of plants. I use it most on container herbs that need a pick-me-up.
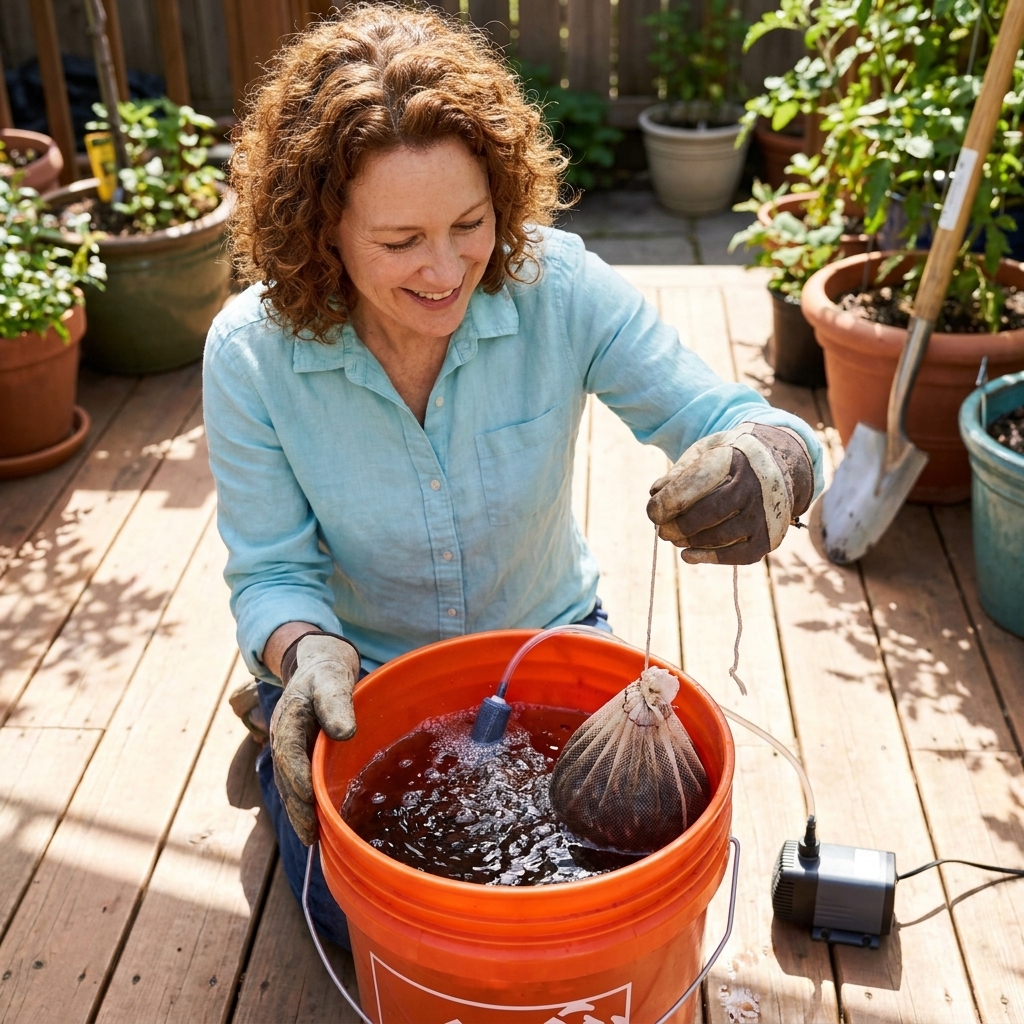
Option B: Aerated compost tea (ACT) using worm castings
If you enjoy tinkering and want a higher microbial activity brew, this is the method. It can be useful, but it also demands clean inputs and clean equipment.
You need: a clean 5 gallon bucket, an aquarium air pump, airline tubing, and an air stone.
- Fill bucket with 4 gallons of dechlorinated water.
- Add 2 cups fresh worm castings (a mesh bag makes straining easier).
- Add 1 to 2 tablespoons unsulfured blackstrap molasses (optional). If you use it, measure lightly and keep everything well-aerated.
- Aerate continuously for 18 to 24 hours.
- Use immediately when the brew smells pleasantly earthy.
How to apply (food safety first): I treat ACT as a soil drench, not a foliar spray, especially for crops eaten raw. If you choose to spray leaves anyway, do it only early in a plant’s life, strain extremely well, keep it off harvestable portions, and leave plenty of time before harvest. Use high-quality castings from a reputable source, use potable water, and sanitize buckets, stones, sprayers, and tubing after each brew. When in doubt, skip foliar use and drench the soil instead.
If a brew smells sour, rotten, or sulfur-like, do not use it on plants. Dump it on an active compost pile and clean your equipment.
How often to use worm castings
The right schedule depends on what you are growing and how rich your base soil already is. Here are reliable starting points that work in most raised beds and containers. Adjust based on plant growth, watering patterns, and how rich your soil already is.
Seedlings and transplants
- At transplant time: a light sprinkle in the hole or a thin ring around the plant.
- After 2 to 3 weeks: top dress lightly or use a simple tea drench if growth stalls.
Leafy herbs and greens
- Containers: top dress every 3 to 4 weeks.
- Raised beds: top dress every 4 to 6 weeks, or use a tea drench every 2 to 3 weeks during peak harvest.
Fruiters
- At planting: mix a handful into the hole or side dress after planting.
- When flowering starts: top dress and water in.
- Midseason: tea drench every 2 to 4 weeks if plants are producing heavily.
Castings are supportive, not a complete fertility plan for heavy feeders. Pair them with compost, mulch, and a balanced organic fertilizer if your soil test shows gaps in key nutrients.
Best uses by crop
Basil and other cut-and-come-again herbs
Top dress lightly every few weeks and pinch regularly. Castings keep the plant pushing new growth without the harshness that can make basil taste a little “too fertilized.”
Tomatoes
At transplant: a small scoop in the hole, then mulch. At first flowering: a casting ring around the drip line. If you brew tea, I save it for heavy fruit set, and I apply it as a soil drench.
Peppers
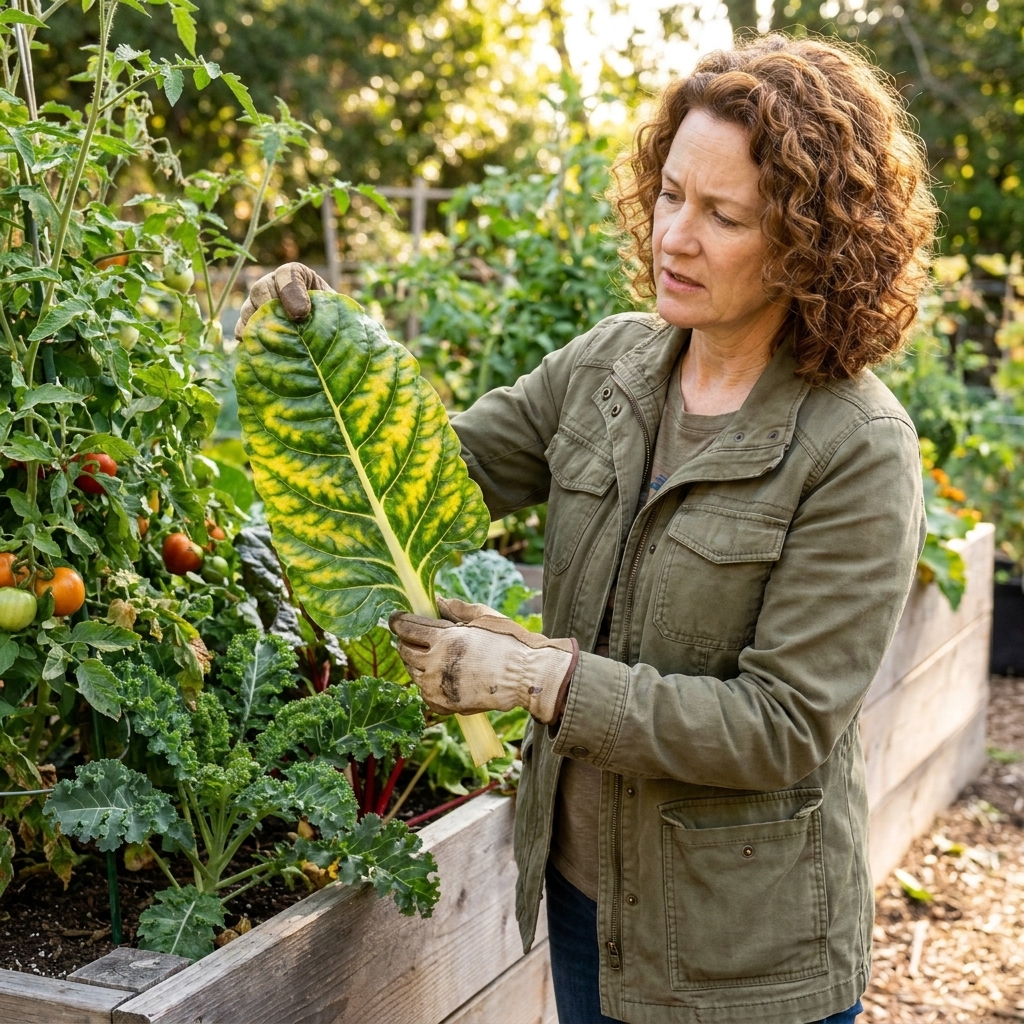
Peppers love steady nutrition. I top dress monthly, then use a simple tea drench when buds start forming if the plants look pale.
Lettuce and spinach
These respond fast. A thin top dress at planting and one tea drench two weeks later can make the difference between “meh” and lush.
Root crops
Go light. Too much richness can push tops at the expense of roots. I mix a small amount into the bed before sowing and call it good.
Common mistakes (and how to avoid them)
- Using worm bin leachate like it is tea. Leachate can be anaerobic and inconsistent. If you collect it, compost it or dilute heavily and apply to non-edibles. For vegetables, stick to castings or a carefully made tea from castings.
- Assuming all castings are “automatically safe.” Castings are gentle in terms of salts and burn risk, but quality depends on inputs and handling. Choose reputable sources, avoid questionable feedstocks, and do not use anything that smells sour or has been stored anaerobically.
- Letting castings bake dry in the sun. Store them cool and slightly moist. Think “living soil,” not “dust.”
- Overapplying in containers. Too much can make mixes hold more water than you want. If your pot stays damp for days, reduce castings and increase aeration.
- Brewing tea too long without enough air. If it smells sour or rotten, do not use it. Dump it on an active compost pile and clean your equipment.
- Expecting castings to fix everything. They help a lot, but plants still need sun, consistent watering, and decent base soil. If you keep adding amendments and nothing improves, it is time for a soil test.
Buying worm castings: what to look for
If you are not ready for a worm bin, buying castings is still worthwhile. Here is how I pick a bag.
- Smell: Earthy, like a forest floor. Not sour, not ammonia-like.
- Texture: Fine and crumbly with occasional small bits is normal.
- Moisture: Slightly damp is good. Bone dry is less biologically active.
- Source transparency: I prefer brands that share what the worms are fed and how castings are processed.
If you see fungus gnat activity when you open a bag, do not panic. Let the castings air out a bit, then top dress outdoors. In indoor seed starting, use screened, slightly drier castings and avoid overwatering.
FAQ
Can worm castings burn plants?
It is very unlikely. Castings are gentle. The bigger risk is making a container mix too water-retentive if you add a lot.
Do worm castings replace fertilizer?
For light feeders and short-season greens, they can cover a lot of ground. For heavy feeders like tomatoes and peppers, castings are best as part of a bigger plan that includes compost, mulch, and sometimes an organic fertilizer.
Can I use worm castings for seedlings?
Yes, but use them lightly. A small percentage mixed into a seed starting blend or a very thin top dress after the first true leaves is plenty.
How do I dechlorinate water for tea?
If your tap water is chlorinated, letting it sit out in an open bucket overnight often helps, and agitation or sunlight can speed it up. If your municipality uses chloramine, it does not gas off easily. In that case, use filtered water, rainwater, or a small amount of dechlorinator made for aquariums.
Should I put castings directly in the planting hole?
For transplants, yes in modest amounts. For direct-sown seeds, I prefer mixing castings into the top layer of bed soil so moisture stays even and roots can find nutrition as they grow.
The simple routine that works
If you want a no-fuss plan, do this:
- At planting: add a small handful of castings to each transplant hole.
- Every month: top dress containers and raised beds lightly, then water.
- As needed: use a simple casting tea soil drench when plants are under stress or growth slows, and save more involved aerated brews for when you can keep inputs and equipment truly clean.
It is steady, gentle, and forgiving. And that is what most of us need in the garden, right alongside a little optimism and a good pair of gloves.