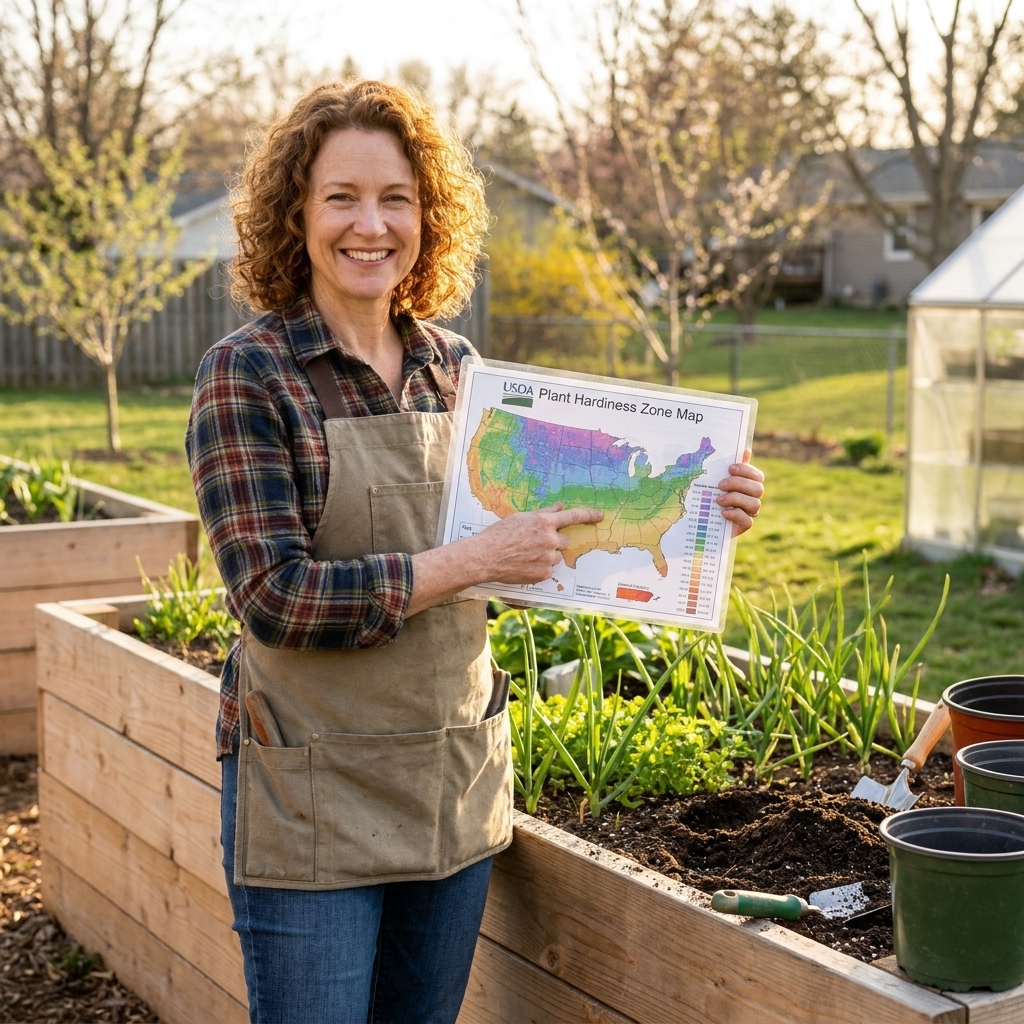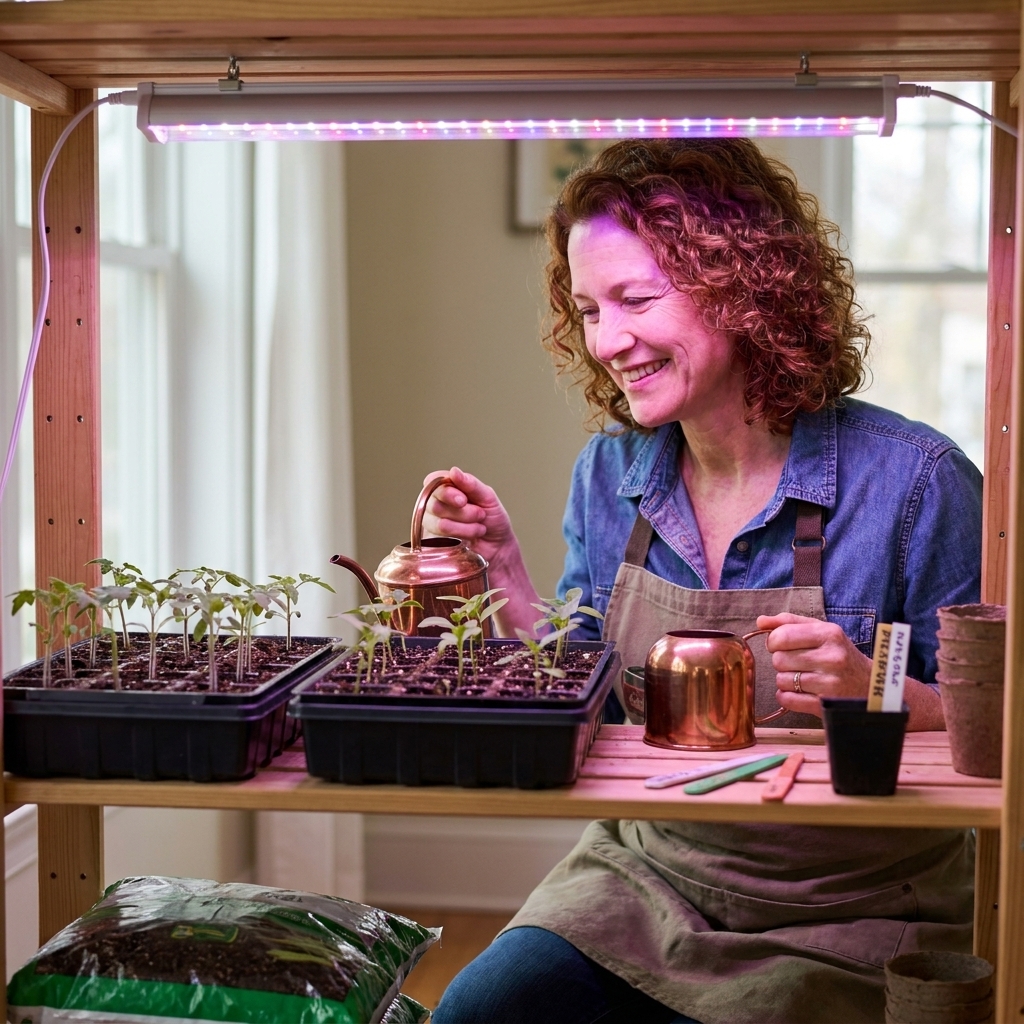
Find your first and last frost dates, then map them to exact weeks for starting seeds indoors, direct sowing outside, and transplanting vegetables with confi...
Veg Loom
October 17, 2026
By Maggie O'Connell
DIY Hoop House for Raised Beds
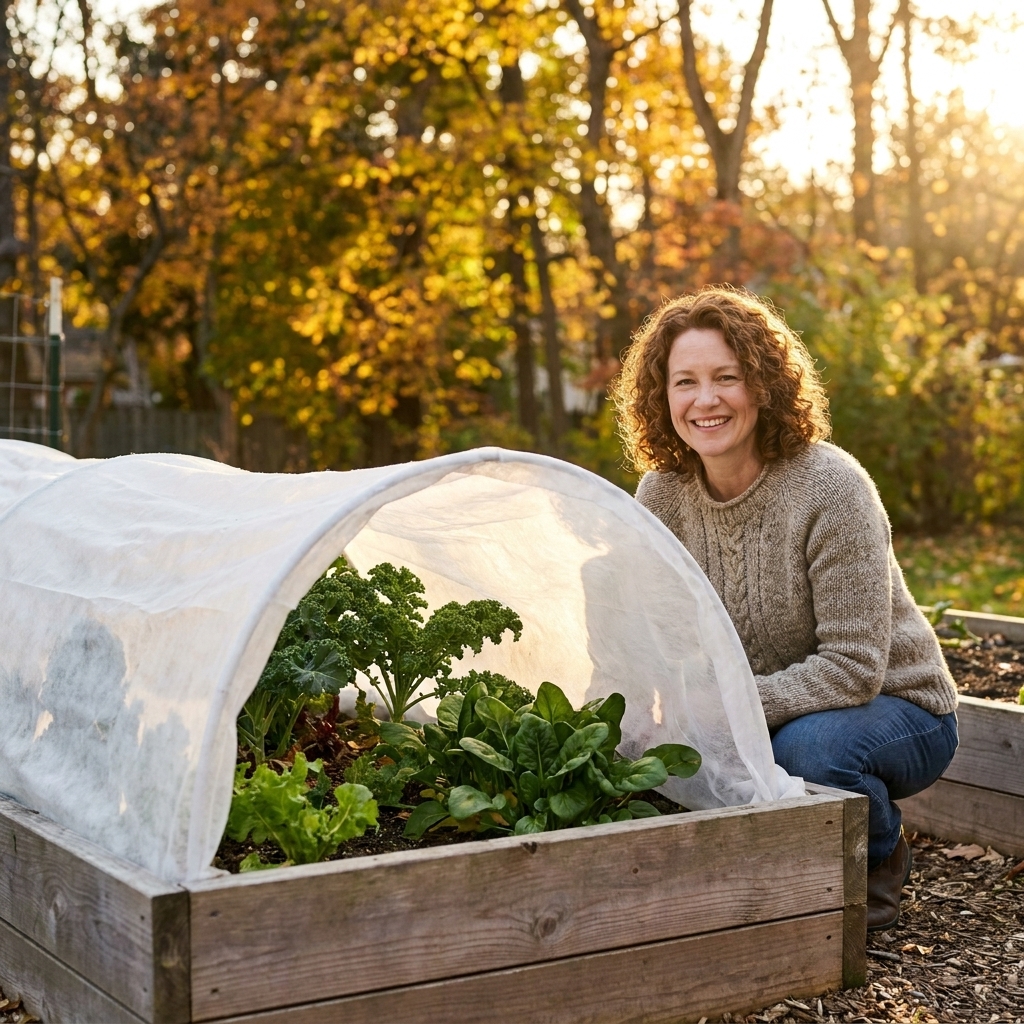
Build a simple PVC hoop house low tunnel over your raised bed to protect seedlings from frost, warm the soil faster, and keep harvesting later into fall. Step-by-step materials, sizing, spacing, and cover tips.

Maggie O'Connell
Maggie O'Connell is a lifelong gardener and the voice behind Vegloom, dedicated to helping people grow their own food regardless of their yard size. With over 15 years of hands-on experience in backyard agriculture, she specializes in raised bed gardening, organic soil building, and seasonal planting calendars. When she isn't writing, Maggie can usually be found tending to her sprawling heirloom tomatoes or experimenting with new compost recipes.
The first spring I tried to “just get a head start,” I tucked my lettuce and peas into my raised bed, admired my ambition, and then watched a late cold snap knock everything flat. It was a good reminder that enthusiasm is not a frost protection plan.
A simple DIY hoop house is. And the nice part is you do not need carpentry skills or a permanent structure. With a few PVC hoops and a row cover or plastic, you can warm soil earlier in spring, protect tender transplants, and keep greens going long after the first chilly nights of fall.
Quick terminology note: What I am describing here is a low tunnel (often casually called a hoop house). It is a removable, over-a-bed cover. It is not a walk-in high tunnel.
What it does and does not do
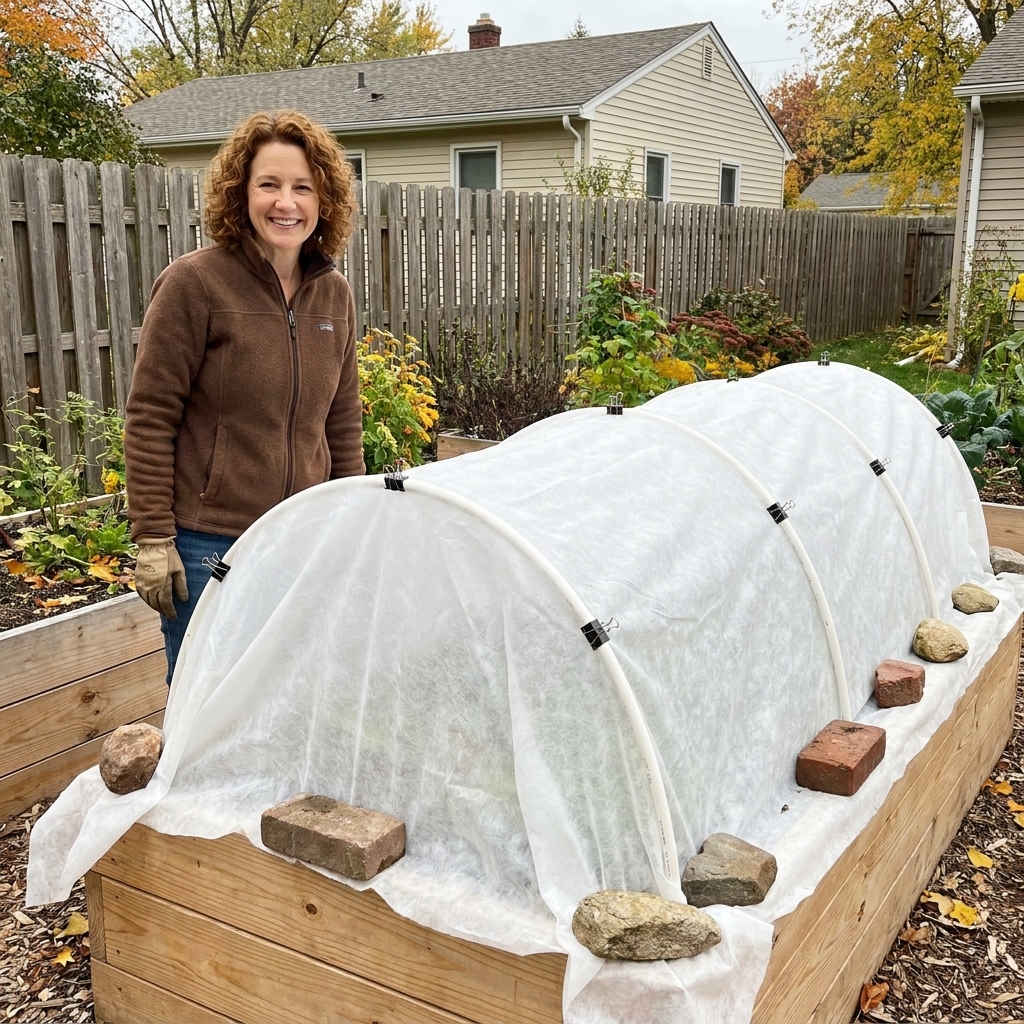
Think of a hoop house as a lightweight, removable mini greenhouse that traps warmth and blocks wind. The cover creates a calmer, warmer pocket of air around your plants, and it helps the soil hold heat overnight.
It helps with
- Light frost protection: especially for spring greens, peas, brassicas, and hardened-off transplants.
- Faster soil warming: which can shave days or weeks off early-season waiting.
- Wind protection: big for young seedlings that get sandblasted in March and April.
- Extended fall harvest: kale, spinach, lettuce, carrots, and scallions can keep going surprisingly late.
It will not
- Defy deep winter: if your nights are consistently far below freezing, you will need heavier protection, multiple layers, or a more rigid structure.
- Replace ventilation: sunny days can overheat a covered bed quickly, even when the air feels cool.
Materials and tools
You can build this in an hour once you have the parts. I like to keep my hoops and clips stacked in the shed so I can throw the cover on anytime a surprise cold night shows up.
For one raised bed
- PVC pipe for hoops: 1/2 inch schedule 40 PVC is common for small beds. 3/4 inch is sturdier for windy yards or wider spans.
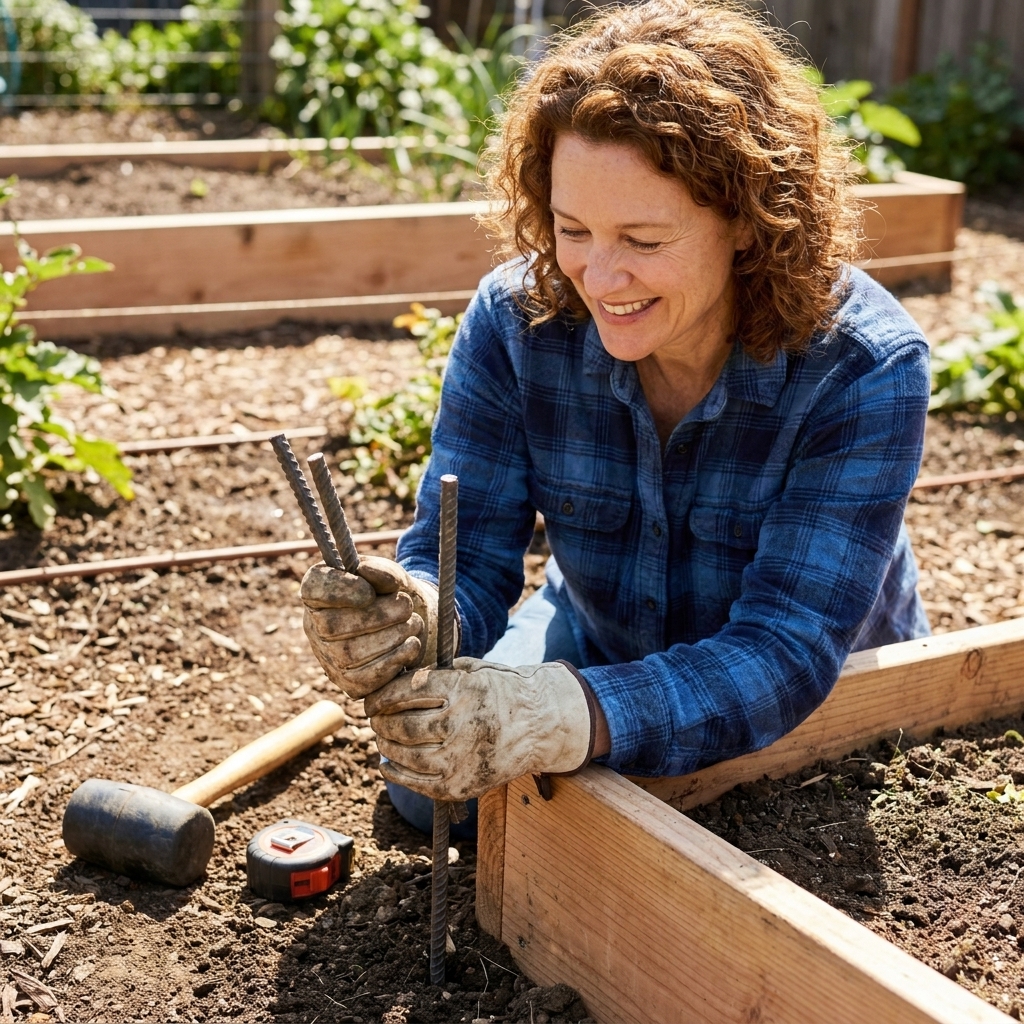
- Rebar stakes: 3/8 inch to 1/2 inch diameter, cut into 18 to 24 inch pieces. You will use these like “sockets” to hold each hoop end.
- Cover: choose one:
- Floating row cover (frost cloth): breathes, reduces overheating, great for spring and fall.
- Greenhouse plastic (poly film): warms more, but often needs venting on sunny days.
- Clamps or clips: spring clamps, binder clips, or purpose-made row cover clamps for PVC.
- Optional: a ridge pole (another length of PVC) plus zip ties or screw-on PVC clamps to stiffen the frame. If you use tape, choose outdoor, UV-rated tape and treat it as temporary.
- Weights or anchors: sandbags, bricks, boards, or lengths of lumber to pin down fabric edges.
Tools
- Measuring tape
- Marker
- Hacksaw or PVC cutter
- Hammer or mallet for driving rebar
- Work gloves and eye protection
Step-by-step frame
1) Pick hoop spacing
For most raised beds, place hoops every 3 to 4 feet. If your site is windy, you use plastic, or you want a stiffer tunnel, tighten that to every 2 to 3 feet.
- 4x8 bed: usually 3 hoops (one at each end and one in the middle).
- 4x12 bed: usually 4 to 5 hoops, depending on wind.
2) Place rebar sockets
For most raised beds, I recommend driving the rebar just inside the bed, snug to the inside wall. It is easy to align, and your anchors and boards can sit on the bed edge without fighting the rebar.
Drive each stake so about 8 to 12 inches remain above ground. Keep the pair for each hoop directly across from each other.
Tip from my clay-yard days: If the soil is rock-hard, water the spots first or pre-make a pilot hole with a long screwdriver or metal rod.
3) Cut your PVC hoops
The length of PVC depends on your bed width and how tall you want the tunnel. For a typical 4-foot-wide bed, many gardeners start with 10-foot lengths of PVC to make a nice arch with workable headroom. If your PVC is stiff from cold weather or you want a lower, tighter tunnel, you may prefer a slightly shorter length.
- Lower hoops warm faster and resist wind better.
- Taller hoops give more growing space for larger plants, but need stronger anchoring.
4) Install the hoops
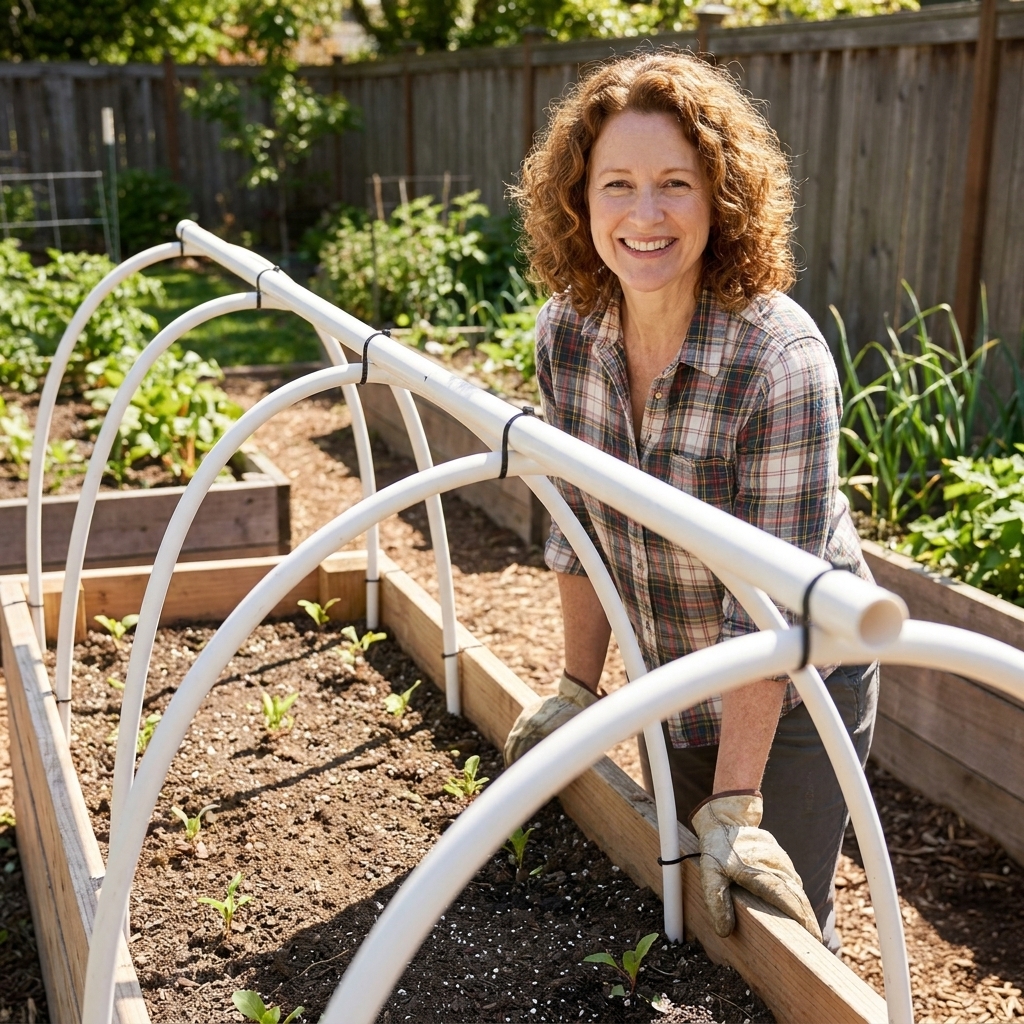
Slide each end of the PVC over the rebar stakes to form an arch. Step back and eyeball that the hoops are roughly aligned. If one side looks higher, you can push that rebar a bit deeper to even it out.
5) Add a ridge pole (optional but worth it)
If you get spring gusts, a ridge pole is the difference between “stays put” and “ends up in your neighbor’s yard.” Run a length of PVC along the top of the hoops and attach it at each hoop with zip ties or screw-on PVC clamps.
Cover choice
Option A: Frost cloth
This is my everyday favorite for raised beds because it breathes. It protects from light frosts, cuts wind, and you can often leave it on for days without cooking your plants.
- Best for: lettuce, spinach, arugula, peas, carrots, radishes, broccoli, cabbage, kale.
- Temperature boost: highly variable. In calm conditions with well-sealed edges, heavier row covers can add meaningful protection, but think in terms of “a few degrees” as a baseline, with more possible when you double-layer and keep wind out.
- Pest bonus: if you seal the edges, row cover can also help block cabbage moths and flea beetles.
Option B: Greenhouse plastic
Plastic gives you more heat, but it demands more attention. On a sunny 45°F day, the inside can get hot fast.
- Best for: warming soil early, protecting hardier crops in colder spells, pushing the season at both ends.
- Must-do: vent on sunny days to prevent overheating and condensation issues.
- Pest note: plastic is about heat. It is not an insect barrier unless you build a fully sealed setup with screened vents.
Cover sizing
Buy your cover with anchoring in mind. You want enough extra material to drape, seal, and close the ends without pulling it drum-tight.
- Width: measure the distance over the top of the hoops, then add at least 12 to 24 inches per side so you can pin it down with boards or weights.
- Length: bed length plus 2 to 4 feet total for end “doors” and clipping slack.
If you are on the fence, size up. Extra fabric is easier to manage than a cover that barely reaches.
Attach the cover
1) Drape with slack
Lay the fabric or plastic over the hoops with a little extra looseness, not drum-tight. A bit of give helps prevent tearing when the wind pushes and pulls.
2) Clip it to the hoops
Use clamps at each hoop, especially near the corners where wind likes to grab.
3) Seal the edges
You have a few good options:
- Boards along both sides: my go-to. Lay a 1x3 or 2x4 on top of the fabric edge and weigh it down. Easy to lift for harvest and venting.
- Bricks or sandbags: quick and flexible.
- Bury the edges: works well for plastic, but it is less convenient in a raised bed because you will disturb bed edges and mulch.
4) Make end doors (optional)
For frequent venting and easy access, pinch and clip the ends so you can open one side like a flap. If you want to get fancy later, you can add a simple roll-up side with a length of PVC as the roll bar.
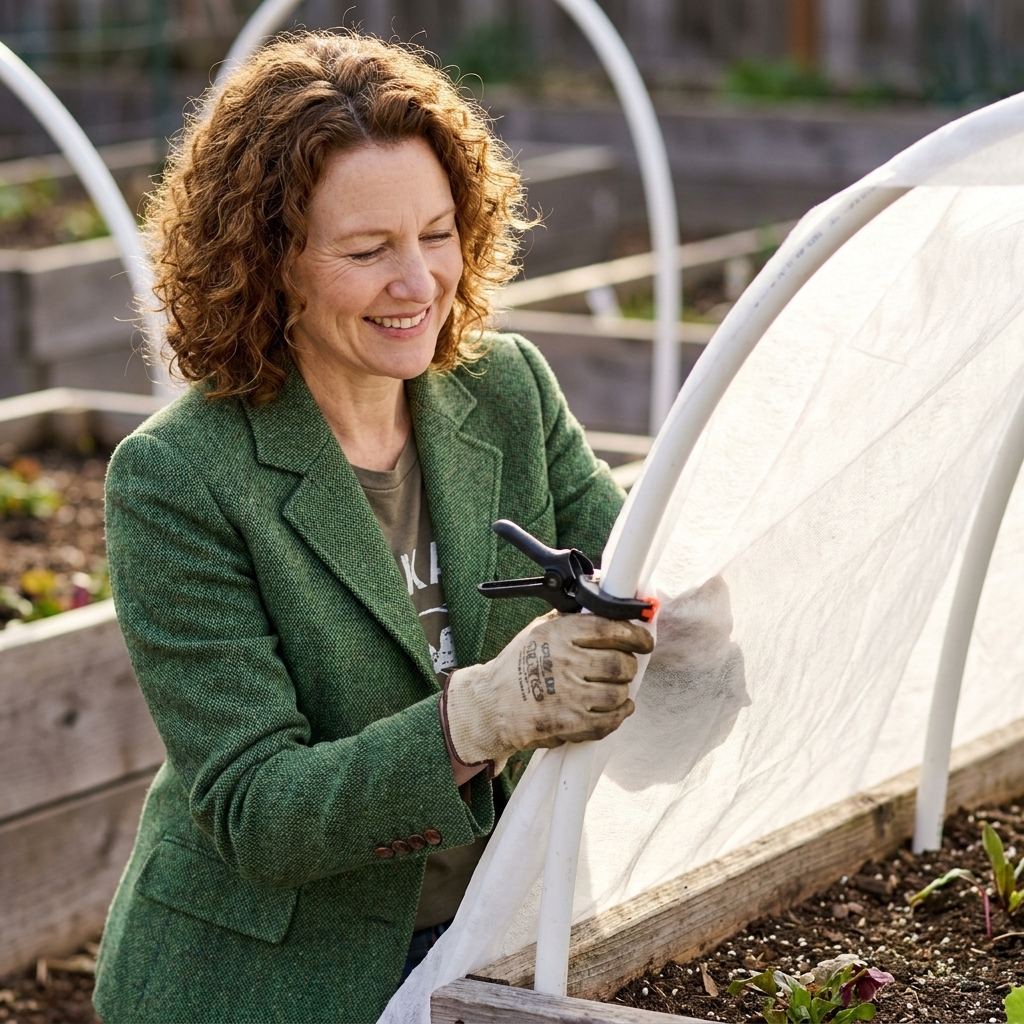
Easy access for weeding and harvest
This is the part people forget until they are trying to pull a radish while holding a flapping cover with their elbow.
- Board method: use boards to pin both long sides, then lift one board like a lid to harvest, weed, water, and vent.
- Clip method: keep extra clamps nearby and unclip one side at a time.
- Path side tip: if your bed has a “front” side you always stand on, make that your regular opening side so you are not stepping into beds or squeezing behind them.
Ventilation
If there is one mistake I see (and have personally made), it is forgetting that sun is stronger than cold. Even with frost cloth, temperatures can climb under cover on bright days.
Simple rules
- If it is sunny and above 45 to 50°F: crack it open, at least on one side.
- If you are using plastic: expect to vent on most sunny days, even when the air feels chilly.
- Close it before sunset: to trap warmth for the night.
If you are away at work and cannot babysit vents, choose frost cloth instead of plastic. It is more forgiving.
What to plant
Early spring winners
- Spinach, lettuce, arugula, mustard greens
- Radishes and baby turnips
- Peas (especially if your spring is cold and windy)
- Brassicas: broccoli, cabbage, kale, bok choy
- Onions and scallions
Late fall holdovers
- Kale and collards (tough as nails)
- Spinach (sweetens after cold nights)
- Claytonia and mâche if you grow them
- Carrots and beets (great for “store in the soil” harvesting)
Note on summer crops: Tomatoes, peppers, and cucumbers can go under hoops, but they quickly outgrow low tunnels. For them, hoops are most useful for early-season protection right after transplanting, then you remove the cover.
Two easy upgrades
Double-layer on cold nights
For a surprise frost, add a second layer of protection: frost cloth over the hoops plus a lighter cloth directly over the plants, or frost cloth plus a temporary plastic layer on top (vent carefully the next day). Layers trap more air, and trapped air is insulation.
Add thermal mass
If you want to squeeze out extra warmth, tuck a few gallon jugs of water along the inside edges. They absorb heat during the day and release it overnight. It is not magic, but it can smooth out temperature swings.
Common problems
My cover keeps ripping
- Give the cover more slack.
- Add a ridge pole to reduce flapping.
- Use more clamps, especially at corners.
- Switch to a heavier row cover or a higher quality UV-stabilized plastic.
The whole thing lifts in wind
- Drive rebar deeper and use longer stakes.
- Add a ridge pole.
- Use boards or sandbags along the entire edge, not just at the corners.
- Add another hoop or two (tighter spacing makes a surprising difference).
Condensation and fungus
- Vent more often.
- Water in the morning, not late afternoon.
- Avoid letting leaves stay pressed against wet plastic.
It gets too hot inside
- Switch from plastic to frost cloth for day-to-day use.
- Clip the cover higher on one side to create a gap for airflow.
- Vent early in the day before it heats up.
Sizing cheat sheet
These are practical starting points for common beds. Your best hoop length depends on how tall you want the tunnel, how flexible your PVC is in cold weather, and your wind and snow reality.
- 3-foot-wide bed: 8 to 9 foot PVC hoops often work well.
- 4-foot-wide bed: 10 foot PVC hoops are a common, easy choice.
- Hoop spacing: every 3 to 4 feet (or 2 to 3 feet for windy sites and plastic covers).
- Rebar length: 18 to 24 inches, leaving 8 to 12 inches above ground.
If you are unsure, buy one length of PVC first, test-fit it into two rebar sockets, and make sure you like the height before cutting everything.
Safety notes
- Wear eye protection when cutting PVC and hammering rebar.
- Cap rebar tops temporarily while you work so you do not catch a leg on them.
- If you use plastic in strong sun, choose UV-stabilized greenhouse film so it does not shred mid-season.
Care and storage
PVC lasts longer if you treat it like a tool, not lawn furniture.
- UV and brittleness: sun and temperature swings can make PVC more brittle over time. If you can, store hoops out of direct sun when you are not using them.
- Off-season stash: I stack hoops flat in the shed or garage so they are ready for the next surprise cold snap.
FAQ
How many degrees of protection will I get?
It depends on wind, cloud cover, soil warmth, and your cover type. Frost cloth often protects a few degrees, and heavier cloth or double-layering can protect more, especially when edges are well sealed. Plastic can add more warmth, but you must vent to avoid overheating.
Can I water with the cover on?
Often, yes with frost cloth. Many spunbond covers let water through, but very heavy fabric or certain weaves can shed water, especially with fast overhead watering. If water is beading and rolling off, just lift one side and water normally. With plastic, you will need to open it to water unless you have drip irrigation installed.
Will a low tunnel protect against hard freezes?
A simple low tunnel helps, but hard freezes often require extra layers, thermal mass, or bringing the most tender plants indoors. I treat my hoop house like a season extender, not a miracle worker.
Do I need to remove the cover during snow?
Wet snow is heavy. If you expect accumulation, brush it off promptly and consider adding a ridge pole and closer hoop spacing. For frequent snow loads, sturdier materials than PVC may be a better long-term plan.
How I use it
If you want the simplest routine: set up the hoops once, keep a frost cloth folded nearby, and cover your bed anytime the forecast dips near freezing. In spring, it buys you earlier salads. In fall, it turns your raised bed into a little pantry you can harvest from after dinner.
And if your first attempt looks a little lumpy? Welcome to the club. As long as it holds heat and stays put in the wind, it is doing its job.